I still remember the first time I tried to crochet a blanket – I had grand visions of snuggling under something beautiful I’d made with my own hands. What I ended up with was more like a wonky trapezoid that could barely cover a throw pillow. The problem? I had no idea how much yarn I actually needed, what size to make it, or even which stitch would work best for a beginner.
If you’re sitting there with a crochet hook in one hand and big blanket dreams in your head, I totally get it. Blankets seem like they should be straightforward – just keep crocheting until it’s blanket-sized, right? But there’s actually quite a bit of planning that goes into making a blanket you’ll love (and that won’t take you three years to finish).
The good news is that once you understand the basics of blanket construction, yarn requirements, and sizing, you’ll be able to tackle any blanket project with confidence. I’ve made dozens of blankets over the years – from quick baby blankets to king-sized afghans – and I’m going to share everything I wish someone had told me when I was starting out.
Quick Answer
Most throw blankets need 1,200-2,000 yards of worsted weight yarn and measure 50×60 inches. Baby blankets require 800-1,200 yards at 30×40 inches, while afghan blankets need 2,500-4,000 yards at 60×80 inches.
Standard Blanket Sizes and Yarn Requirements
Let’s start with the basics – blanket sizes aren’t just random numbers. There are standard dimensions that work well for different purposes, and knowing these will help you plan your project from the start.
| Blanket Type | Dimensions (inches) | Worsted Weight Yarn | DK Weight Yarn |
|---|---|---|---|
| Baby Blanket | 30 x 40 | 800-1,200 yards | 1,000-1,400 yards |
| Lap Blanket | 36 x 48 | 1,000-1,500 yards | 1,200-1,800 yards |
| Throw Blanket | 50 x 60 | 1,500-2,200 yards | 1,800-2,600 yards |
| Twin Blanket | 66 x 90 | 3,000-4,200 yards | 3,600-5,000 yards |
| Full/Queen | 80 x 90 | 4,000-5,500 yards | 4,800-6,600 yards |
I always recommend starting with a throw blanket if it’s your first big project. It’s large enough to feel substantial but not so massive that you’ll lose motivation halfway through. Plus, 50×60 inches is perfect for most couches and chairs.
Baby blankets are another great starting point. They work up relatively quickly, and if you make a mistake, it’s not as heartbreaking as messing up a king-sized project. I’ve found that 30×40 inches is the sweet spot for baby blankets – big enough to be useful but not so large that it becomes a tripping hazard.
Pro tip: Always buy about 10% more yarn than you think you need. Dye lots can vary, and running out of yarn when you’re 90% done is the worst feeling in the world.
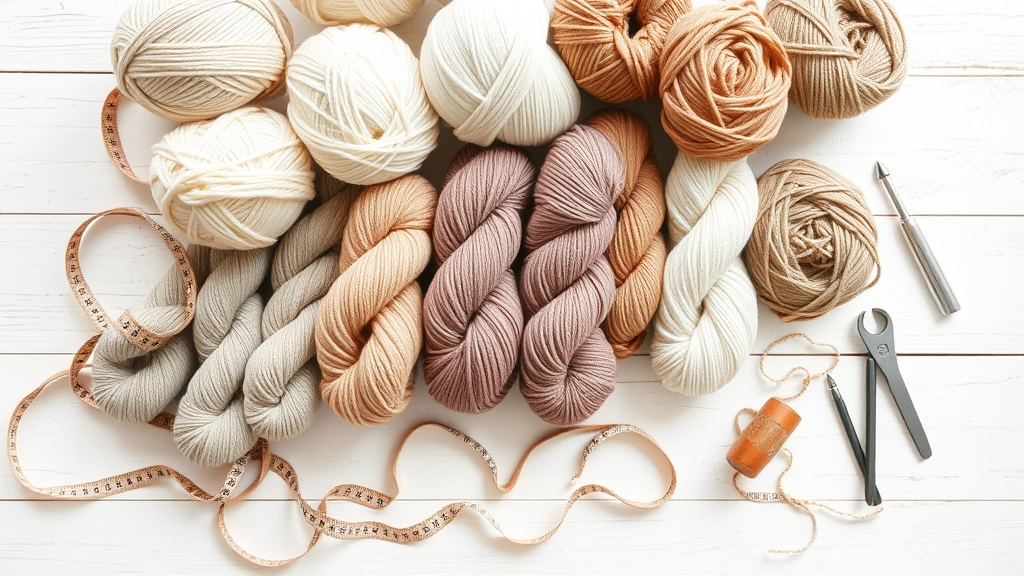
Choosing the Right Yarn Weight and Fiber
Yarn choice can make or break your blanket project. I learned this the hard way when I made a beautiful lace-weight blanket that was absolutely gorgeous but took me eight months to complete. For most blanket projects, you want something that works up relatively quickly but still looks substantial.
Worsted weight yarn (weight 4) is my go-to for most blankets. It’s thick enough to create good coverage without being bulky, and it works up at a nice pace. You’ll typically use a 5mm (H) or 5.5mm (I) hook with worsted weight, depending on how tight or loose you crochet.
DK weight (weight 3) is perfect if you want more stitch definition or are making something with intricate colorwork. It takes a bit longer to work up, but the results are often more refined. I use a 4mm (G) or 4.5mm (7) hook with DK weight.
When it comes to fiber content, think about how the blanket will be used. Lion Brand and Red Heart both make excellent acrylic yarns that are machine washable – perfect for baby blankets or everyday throws. For something more luxurious, consider cotton or a cotton blend, especially for summer blankets.
Fiber Guide: Acrylic is durable and washable, cotton is breathable and gets softer with washing, wool is warm and naturally water-resistant, and bamboo is silky and naturally antibacterial.
Yarn Weight Considerations
I’ve experimented with different yarn weights over the years, and here’s what I’ve learned about each:
Chunky weight (5): Great for quick projects, but can be heavy and use a lot of yarn. Perfect for chunky blanket patterns that you want to finish in a weekend.
Worsted weight (4): The goldilocks of blanket yarns – not too thick, not too thin. Most patterns are written for this weight.
DK weight (3): Takes longer but gives beautiful stitch definition. Great for complex stitch patterns or colorwork.
Sport weight (2): I only recommend this for experienced crocheters who don’t mind a long-term project. The results are lovely but it’s a commitment.
How to Calculate Yarn Amounts Accurately
Nothing’s worse than running out of yarn when you’re almost finished. I’ve developed a system over the years that helps me estimate yarn amounts pretty accurately, and I’m going to share it with you.
The most reliable method is to make a gauge swatch – I know, I know, nobody likes making swatches, but hear me out. Make a 4×4 inch square in your chosen stitch pattern, then weigh it on a kitchen scale. Multiply that weight by the total square inches of your planned blanket, and you’ll have a pretty accurate yarn requirement.
Here’s the math: If your 4×4 inch swatch (16 square inches) weighs 0.5 ounces, and you want a 50×60 inch blanket (3,000 square inches), you’ll need about 94 ounces of yarn. Most worsted weight skeins are 3.5-7 ounces, so you’d need roughly 13-27 skeins depending on the brand.
- Make Your Swatch
Crochet a 4×4 inch square using your chosen yarn, hook, and stitch pattern. Don’t skip this step – different stitches use different amounts of yarn.
- Weigh the Swatch
Use a kitchen scale to weigh your swatch in ounces or grams. Digital scales work best for accuracy.
- Calculate Total Square Inches
Multiply your blanket’s length by width. A 50×60 inch throw has 3,000 square inches.
- Do the Math
Divide total square inches by 16 (your swatch size), then multiply by your swatch weight. Add 10% extra for safety.
If math isn’t your thing, most yarn manufacturers provide estimates on their websites. The Craft Yarn Council also has helpful charts for common blanket sizes.
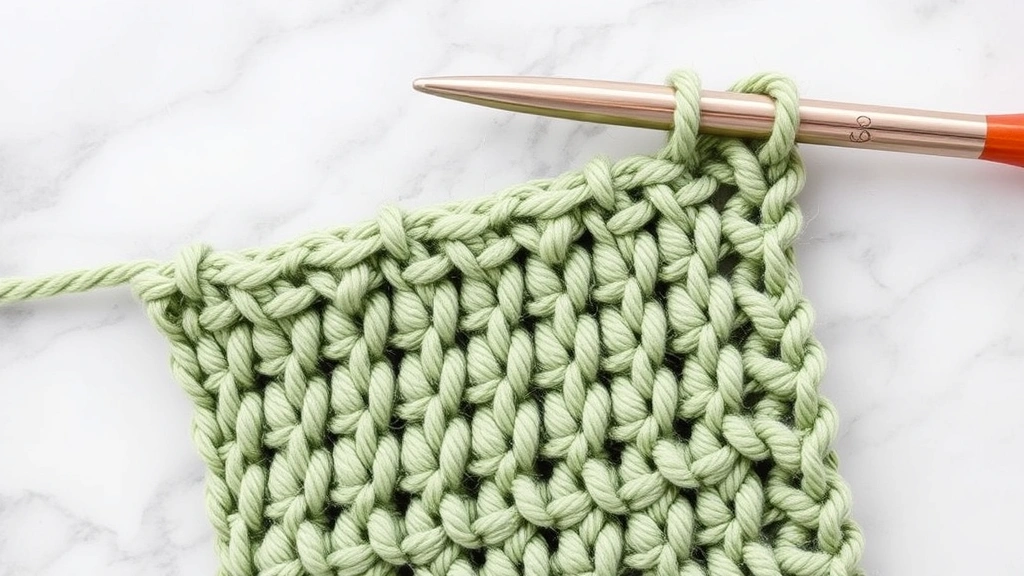
Best Crochet Stitches for Blankets
Choosing the right stitch can make the difference between a blanket you love working on and one that sits unfinished in your craft room. I’ve tried dozens of stitch patterns over the years, and some are definitely more blanket-friendly than others.
For beginners, I always recommend starting with single crochet patterns. Yes, it takes longer than double crochet, but it creates a dense, warm fabric that’s perfect for blankets. Plus, it’s nearly impossible to mess up once you get the rhythm down.
Double crochet is my second choice for beginners. It works up much faster than single crochet and creates a nice, even fabric. The Ravelry database shows that double crochet is used in about 40% of all blanket patterns, so you’ll have plenty of options.
Stitch Pattern Recommendations
Moss Stitch: This is my absolute favorite blanket stitch. It’s just single crochet and chain stitches, but it creates a beautiful textured fabric that looks way more complicated than it is. It also lies flat beautifully – no curling edges.
Granny Stripe: If you want something with visual interest but don’t want to deal with joining squares, granny stripe is perfect. You can change colors as often as you like, and it works up relatively quickly.
C2C (Corner to Corner): This technique is having a moment, and for good reason. You can create amazing graphgan designs, and the diagonal construction means you’re never working on a massive piece all at once.
For more experienced crocheters, consider trying advanced blanket patterns with cables, bobbles, or intricate colorwork. Just remember that complex stitches use more yarn and take longer to complete.
Avoid stitches with lots of chains and spaces for everyday blankets – they tend to catch on things and don’t provide much warmth.
Blanket Construction Methods
There are several ways to construct a crochet blanket, and the method you choose affects everything from portability to finishing techniques. I’ve tried them all, and each has its place.
All-in-one construction is exactly what it sounds like – you start at one corner or edge and crochet until you reach the final size. This works great for simple stitch patterns and means minimal finishing work. The downside is that your project gets heavy and unwieldy as it grows.
Motif construction involves making individual squares, hexagons, or other shapes and joining them together. This is incredibly portable – you can make motifs anywhere – and it’s easier to fix mistakes. The trade-off is more finishing work and potentially visible seam lines.
Strip construction is a middle ground where you make long strips and join them. It’s more portable than all-in-one but less fiddly than individual motifs. I love this method for striped blanket designs.
Joining Methods
If you choose motif or strip construction, you’ll need to join your pieces. Here are the most common methods:
Slip stitch join: Quick and easy, but can create a ridge. Good for rustic or casual blankets.
Single crochet join: Creates a small ridge that can be decorative. Works well when you want the join to be part of the design.
Invisible join: Takes more time but creates seamless-looking connections. Perfect for formal or gift blankets.
Join-as-you-go: You attach pieces as you make them, which saves finishing time but requires more planning.
Planning Your Blanket Project
I’ve learned that a little planning upfront saves hours of frustration later. Before you buy a single skein of yarn, sit down and think through your project.
First, consider who the blanket is for and how it will be used. A baby blanket needs to be soft and machine washable. A decorative throw can be more delicate. A teenager’s blanket should probably be machine washable and durable enough to survive dorm life.
Think about your timeline too. If you’re making a Christmas gift in November, choose a quick-working pattern and chunky yarn. If you have months to work on it, you can be more ambitious with your stitch choices.
Project Planning Checklist: Purpose and recipient, timeline, skill level required, yarn budget, storage space for work-in-progress, and whether you enjoy repetitive stitching or need variety.
Color planning is huge, especially if you’re doing stripes or colorwork. I like to lay out all my yarn colors and take a photo – sometimes combinations that look great in the store don’t work as well together in larger quantities. For color-changing patterns, plan your transitions carefully.
Don’t forget about your workspace either. Large blankets need room to spread out, and you’ll want good lighting for evening stitching sessions. I have a dedicated blanket basket where I keep my current project – it keeps everything together and makes it easy to grab and go.
Avoiding Common Blanket-Making Mistakes
I’ve made pretty much every blanket mistake in the book, so let me save you some heartache. The most common mistake I see is not maintaining consistent tension throughout the project. Your stitches might start tight and loosen up as you get comfortable, or you might crochet differently when you’re tired versus fresh.
Check your stitch count regularly, especially in the first few rows. It’s much easier to fix a mistake early than to discover you’ve been decreasing stitches for six inches. I count every few rows until I’m confident in my pattern.
Another big mistake is not considering drape and weight. Some stitch patterns create a stiff fabric that doesn’t drape nicely, while others are so loose they don’t provide much warmth. If you’re unsure, make a larger swatch and see how it behaves.
Always keep notes about your project – hook size, yarn brand and color numbers, any modifications you make. Future you will thank you when you want to make another one or need to buy more yarn.
Blocking is often overlooked but can make a huge difference in your finished blanket. Even simple patterns benefit from a good steam blocking to even out stitches and help the fabric relax into its final shape.
Finally, don’t underestimate the finishing work. Weaving in ends, adding borders, and final blocking can take several hours. Plan for this time so you’re not rushing through the final steps.
Common Questions
How much yarn do I need for a baby blanket?
For a standard 30×40 inch baby blanket, you’ll need 800-1,200 yards of worsted weight yarn, depending on your stitch pattern. Dense stitches like single crochet use more yarn than open patterns. I always buy an extra skein because running out of yarn is heartbreaking, and you can use leftovers for matching accessories.
What’s the best yarn for a beginner’s first blanket?
I recommend starting with a medium-weight acrylic yarn like Red Heart Super Saver or Lion Brand Vanna’s Choice. They’re forgiving, machine washable, and affordable. The slight texture helps hide uneven stitches while you’re learning. Avoid slippery yarns like bamboo or cotton until you’re more comfortable with tension control.
How long does it take to crochet a throw blanket?
A 50×60 inch throw blanket typically takes 40-80 hours of active crocheting time, depending on your speed and stitch choice. Working an hour each evening, most people finish in 2-4 months. Quick patterns using chunky yarn and simple stitches can be completed in 20-30 hours.
Should I use a border on my blanket?
Borders aren’t necessary, but they give a polished, finished look and help prevent curling edges. A simple single crochet border works for most blankets, while decorative borders can add visual interest. Add borders after blocking the main blanket body for the best results.
Can I make a blanket without a pattern?
Absolutely! Start with a foundation chain in your desired width, then work in rows using your chosen stitch until you reach the right length. This works especially well for simple stitches like single crochet, double crochet, or moss stitch. Just maintain consistent stitch counts and tension.
What hook size should I use for blanket yarn?
Most worsted weight blanket yarns work well with a 5mm (H) or 5.5mm (I) hook. Check your yarn label for recommendations, but don’t be afraid to go up a hook size for a softer, more drapeable fabric. Your gauge swatch will help you decide what works best for your project.
How do I fix a blanket that’s curling at the edges?
Curling usually happens when your foundation chain is too tight or you’re working with uneven tension. Try blocking the blanket first – steam blocking often relaxes the fabric enough to eliminate curling. If that doesn’t work, add a border of single crochet around the entire perimeter.
Is it cheaper to crochet or buy a blanket?
For basic blankets, buying is often cheaper upfront. However, handmade blankets last longer and can be customized exactly to your preferences. A throw blanket costs $30-60 in materials but provides dozens of hours of relaxing crafting time. Consider it an investment in both the finished product and your hobby.
Making your first crochet blanket is honestly one of the most rewarding projects you can tackle. Yes, it takes time and patience, but there’s something magical about creating something so substantial and useful with just a hook and some yarn. Every blanket I’ve made has taught me something new, whether it’s a technique, a better way to plan projects, or just that I really don’t enjoy working with fuzzy yarn.
Start with something manageable – maybe a lap blanket or baby blanket – and don’t put too much pressure on yourself to make it perfect. Some of my favorite blankets have little irregularities that remind me I made them by hand. The most important thing is to choose a project you’re excited about and yarn you enjoy working with.
Remember, every experienced crocheter started exactly where you are now. We’ve all made wonky blankets, run out of yarn at inconvenient times, and had to frog projects that just weren’t working. It’s all part of the learning process, and honestly, part of the fun. So grab your hook, pick your yarn, and start stitching. Your future cozy evenings under a blanket you made yourself will be worth every minute you spend creating it.