I still remember the first time I tried to crochet a blanket – I had grand visions of this gorgeous, perfectly even masterpiece. What I got instead was something that looked like it had been through a washing machine tornado, with edges that curved like a boomerang. Sound familiar? You’re definitely not alone in this struggle.
The truth is, keeping your crochet work flat and even isn’t some mysterious art form that only the crochet gods understand. It’s actually pretty straightforward once you know what’s causing those pesky curls, waves, and wonky edges. After years of making (and fixing) these mistakes, I’ve learned that most shaping issues come down to just a few common culprits: tension problems, incorrect stitch counts, and not understanding how your yarn and hook work together.
Whether you’re working on your first dishcloth or attempting an ambitious blanket project, getting flat, even results is totally achievable. I’ve seen beginners go from creating accidental bowls to making beautifully flat squares in just a few practice sessions. The key is understanding why your work is misbehaving in the first place, then applying some tried-and-true techniques to fix it.
Quick Answer
Keep crochet work flat by maintaining consistent tension, counting stitches carefully, and using the right hook size for your yarn weight. Most curling happens from too-tight stitches or incorrect stitch counts in rows or rounds.
Why Your Crochet Curves and Curls
Let’s start with the science behind why your beautiful flat rectangle suddenly decides it wants to be a taco shell. Most crochet curling happens because of uneven fabric tension – and I’m not talking about the tension in your hands (though that matters too). When one side of your fabric is tighter than the other, physics takes over and creates curves.
The most common culprit is working too tightly. When your stitches are super snug, they create a fabric that’s denser and shorter than it wants to be naturally. This compressed fabric tries to relax by curling inward. I see this especially with new crocheters who grip their hook like they’re holding onto a cliff edge.
Another major cause is inconsistent stitch counts. If you’re accidentally adding or dropping stitches as you go, your work will start to flare out or pull in. Even one missed stitch per row can create noticeable shaping over time. This is why experienced crocheters are always counting – it’s not obsessive behavior, it’s preventive maintenance.
Here’s something I wish someone had told me earlier: your yarn choice matters more than you think. Slippery yarns like bamboo or silk can make tension control harder, while sticky cotton yarns are more forgiving for beginners.
The type of stitch you’re using also affects how flat your work stays. Single crochet tends to curl more than double crochet because it creates a denser, less flexible fabric. Understanding these characteristics helps you choose the right approach for your project.
Mastering Tension Control
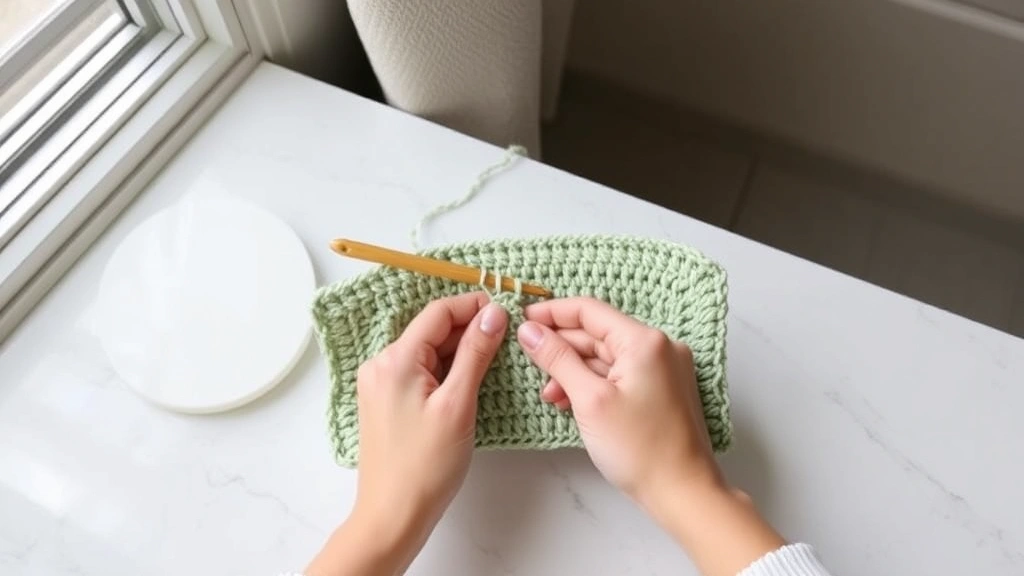
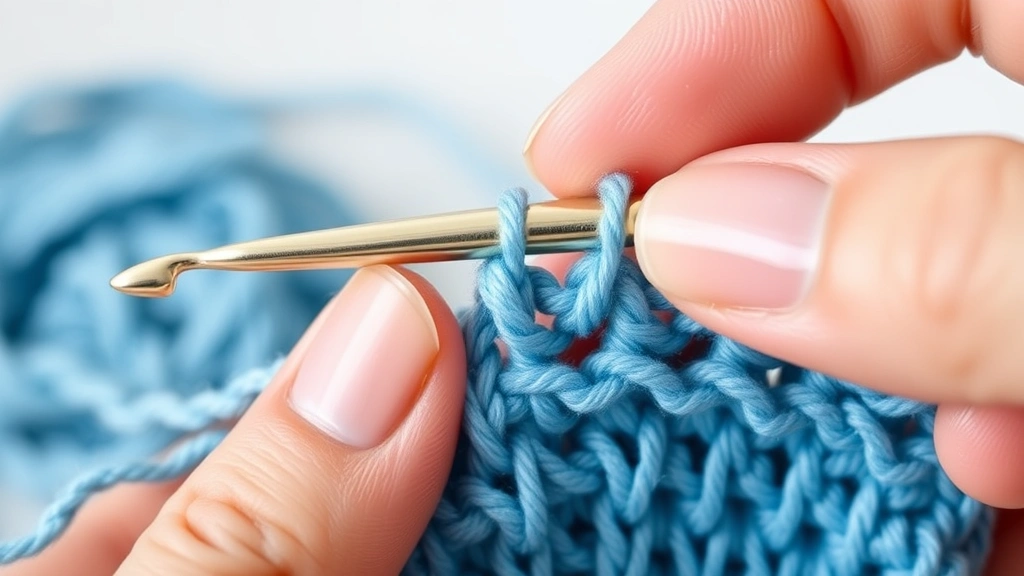
Tension control is honestly the make-or-break skill for flat crochet work. I used to think “good tension” meant pulling everything as tight as possible – wrong! Good tension means consistent pressure that allows your stitches to have some give while still maintaining their shape.
Here’s my favorite way to check if your tension is right: after working a few rows, gently stretch your fabric horizontally and vertically. It should give slightly in both directions without the stitches distorting. If it feels like cardboard, you’re too tight. If it’s stretchy like a rubber band, you’re too loose.
The yarn-holding technique makes a huge difference. I wrap the yarn around my pinky finger, then thread it over my ring finger, under my middle finger, and over my index finger. This creates natural tension points that help maintain consistency. Some people prefer the knife hold (like holding a butter knife) while others use the pencil grip – find what feels natural for you.
Pro tip: Practice your tension with worsted weight cotton yarn and a size H (5mm) hook. Cotton doesn’t stretch much, so it’ll show tension problems immediately, and the medium weight is forgiving while you’re learning.
When you’re working in rounds, tension becomes even more critical. Each round needs to have the same circumference, or you’ll end up with a cone instead of a flat circle. I always do a quick measurement check every few rounds – the diameter should increase at a predictable rate based on your stitch pattern.
Choosing the Right Hook and Yarn Combination
Getting the hook and yarn pairing right is like finding the perfect dance partner – when it works, everything flows smoothly. The Craft Yarn Council provides standard guidelines, but real-world crochet sometimes requires adjustments.
| Yarn Weight | Recommended Hook Size | Best For Flat Work |
|---|---|---|
| Fingering (1) | B-E (2.25-3.5mm) | Delicate doilies, fine shawls |
| Sport (2) | E-G (3.5-4.5mm) | Baby blankets, lightweight garments |
| DK (3) | G-I (4.5-5.5mm) | Dishcloths, medium blankets |
| Worsted (4) | I-K (5.5-6.5mm) | Afghan squares, scarves |
| Bulky (5) | K-M (6.5-9mm) | Quick blankets, thick potholders |
But here’s the thing – these are starting points, not rules carved in stone. I often go up a hook size or two when I want a more relaxed, drapey fabric that’s less likely to curl. For example, when working with Red Heart Super Saver (a worsted weight), I might use a J (6mm) or even K (6.5mm) hook instead of the recommended I (5.5mm).
Fiber content affects how your finished piece behaves too. Acrylic yarns are generally more forgiving and hold their shape well after blocking. Cotton can be stubborn about curling but responds beautifully to steam blocking. Wool has natural memory and will often relax into shape with gentle blocking.
Quick test: Make a 4-inch square swatch with your chosen yarn and hook. If the edges curl significantly, try going up a hook size. If the fabric feels loose and floppy, go down a size.
Accurate Stitch Counting Techniques
I know, I know – counting stitches sounds about as exciting as watching paint dry. But trust me, this is where the magic happens. Accurate stitch counting is your insurance policy against wonky shaping.
For flat pieces worked in rows, your stitch count should remain exactly the same from row to row (unless you’re intentionally increasing or decreasing). I use stitch markers every 10 or 20 stitches, especially on wide projects like blankets. Those little plastic rings are lifesavers when you’re working a 200-stitch row.
When working in rounds, the math gets a bit more interesting. For a flat circle, you need to increase by the same number of stitches in each round as you started with. So if you start with 6 stitches in your magic ring, you’ll have 6 stitches in round 1, 12 in round 2, 18 in round 3, and so on.
- Mark Your Starting Point
Use a different colored stitch marker to mark the beginning of each round. This helps you keep track of where you are and ensures you’re not accidentally working extra stitches.
- Count as You Go
Don’t wait until the end of a row to count. Check your stitch count every 20-30 stitches, especially when you’re learning or working on a new pattern.
- Use the Touch Method
Run your finger along the top of your previous row, feeling for the distinct “V” shape of each stitch. This tactile counting method is often more accurate than visual counting, especially in low light.
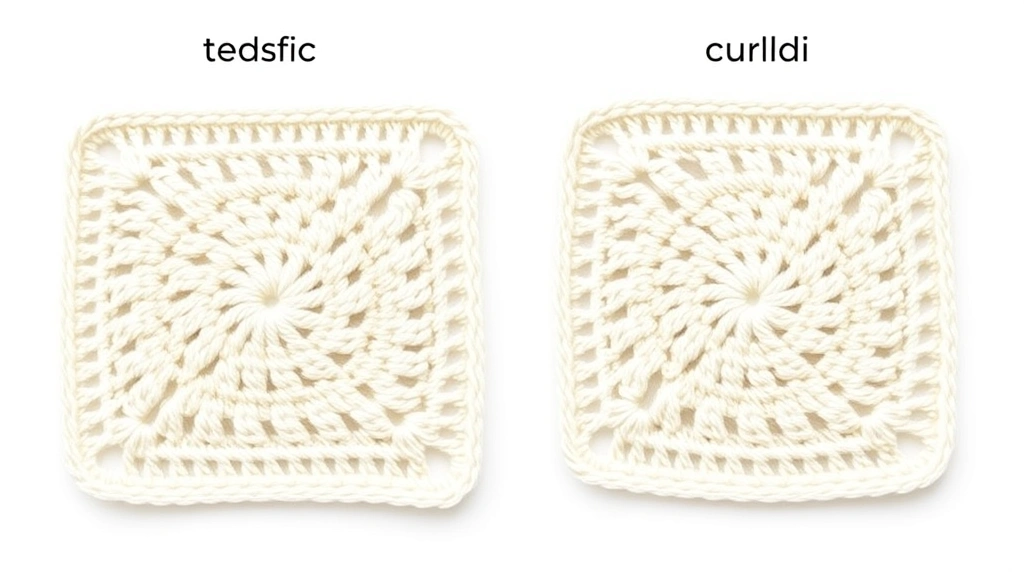
For granny squares, I always count the chain spaces rather than individual stitches. It’s much faster and more reliable. Each side should have the same number of chain spaces if you want a true square.
Specific Techniques for Different Projects
Different types of projects need different approaches to stay flat. Let me share some specific techniques I’ve learned through trial and error (mostly error, if I’m being honest).
Dishcloths and Washcloths
These are perfect beginner projects for practicing flat techniques. Use cotton yarn with a hook one size larger than recommended. The slightly looser gauge prevents the tight, bowl-like curling that cotton loves to do. I always work the foundation chain loosely – if it’s tight, your whole piece will pull in from the bottom.
For a standard 8-inch dishcloth using worsted cotton, I chain 31 (for 30 single crochet stitches plus turning chain), then work in single crochet with a size H (5mm) hook. The key is maintaining that same 30-stitch count in every row.
Blanket Squares
Whether you’re making individual squares or working a blanket in sections, consistent sizing is crucial. I always make a gauge swatch first – not just to check my stitch gauge, but to see how the finished square behaves. Does it curl? Does it cup? This tells me if I need to adjust my approach.
When joining squares later, slight size differences become glaringly obvious. I aim for each square to measure exactly the same when laid flat (not stretched). If one square is consistently smaller, I’ll go up a hook size for future squares rather than trying to stretch the small ones to fit.
Circular Projects
Keeping circles flat requires mathematical precision, but don’t let that scare you. The basic formula is simple: increase by the same number of stitches in each round as your starting ring. But real yarn doesn’t always follow math perfectly.
Circle Check: After every few rounds, lay your work on a flat surface. It should lie completely flat without ruffling at the edges or cupping in the center. If it ruffles, you’re increasing too much. If it cups, you need more increases.
I often need to adjust the standard increase pattern based on my yarn and tension. Sometimes I’ll skip an increase round, or add an extra increase. Trust your eyes more than the pattern – the work will tell you what it needs.
Blocking and Finishing for Perfect Results
Even with perfect technique, most crochet pieces benefit from blocking. Think of it as the final step that transforms your “pretty good” project into something that looks professionally made.
For flat pieces, I use the spray blocking method most often. I pin the piece to my blocking mats (or a clean towel on my spare bed), making sure all edges are straight and corners are square. Then I mist it lightly with water and let it dry completely. This relaxes the fibers and sets the stitches in their proper positions.
Steam blocking works beautifully for natural fibers like wool and cotton. I hold my iron about 2 inches above the fabric and let the steam penetrate the stitches without actually touching the iron to the yarn. Be careful with acrylic – too much heat can melt the fibers.
The blocking process often reveals tension inconsistencies you didn’t notice before. Don’t be discouraged if your first few projects need aggressive blocking to look right. This is normal and part of the learning process.
Pro blocking tip: Take photos of your pieces before and after blocking. You’ll be amazed at the difference, and it’ll motivate you to block everything going forward.
Troubleshooting Common Problems
Let’s talk about fixing the most common flat-work disasters. I’ve made all these mistakes, so you don’t have to feel alone in your crochet struggles.
The Dreaded Bowl Effect
When your flat piece starts looking like a cereal bowl, you’re working too tightly. The fix depends on how far along you are. If you’re just a few rows in, honestly, it’s worth starting over with a looser tension or larger hook. If you’re deep into the project, try stretching each row gently as you finish it, and plan on aggressive blocking at the end.
Wavy Edges
Wavy or ruffled edges usually mean you’re adding stitches accidentally. This happens most often at the beginning and end of rows where it’s easy to work into the wrong stitch. I always place a stitch marker in my last stitch of each row – it makes it impossible to miss or add an extra stitch.
Slanted Rectangles
If your rectangle looks more like a parallelogram, check your turning chains. Inconsistent turning chain height can cause slanting. For single crochet, I chain 1 and turn. For double crochet, I chain 3 and turn. The key is being consistent every single time.
Another cause of slanting is working into the wrong stitch at the beginning of rows. In single crochet, you typically don’t work into the turning chain. In double crochet, you usually do. When in doubt, check your pattern for specific instructions.
Size Inconsistencies
If your project starts one size and gradually becomes another, you’re either gaining or losing stitches over time. This is why I count every few rows, especially when I’m tired or distracted. It’s much easier to fix a mistake after 3 rows than after 30.
Common Questions
Why does my single crochet always curl at the edges?
Single crochet creates a dense, less flexible fabric that naturally wants to curl. Try using a hook one size larger than recommended, work your foundation chain loosely, and consider adding a border of double crochet around the edges for more stability. Cotton yarns are especially prone to this behavior.
How tight should my stitches be?
Your stitches should have some give when you gently tug on the fabric. You should be able to easily insert your hook through the previous row’s stitches without forcing it. If you’re gripping your hook so tightly that your hand cramps, you’re probably working too tightly overall.
What’s the best yarn for practicing flat techniques?
I recommend starting with worsted weight cotton yarn like Lily Sugar ‘n Cream or Lion Brand 24/7 Cotton. Cotton doesn’t stretch, so it shows tension problems immediately, helping you learn faster. Avoid slippery yarns like bamboo or silk while you’re learning – they’re harder to control.
How do I know if my hook size is right?
Make a 4-inch gauge swatch and let it rest for a few hours. It should lay flat without curling, feel pleasant to touch (not stiff or floppy), and match the gauge specified in your pattern if you’re following one. When in doubt, go up a hook size rather than down.
Should I block every project?
For flat pieces like dishcloths, placemats, or blanket squares, yes – blocking makes a huge difference in the final appearance. For items that will get heavy use and frequent washing, like dishcloths, a light spray blocking is usually sufficient. Garments and decorative pieces benefit from more thorough blocking.
How do I fix a project that’s already curling?
If the curling is mild, aggressive blocking might fix it. Pin the piece flat, spray or steam it (depending on the fiber), and let it dry completely. For severe curling, you might need to add a border with a larger hook size, or in extreme cases, frog it and start over with better tension.
Why do my granny squares come out different sizes?
This usually happens because of tension variations between squares, especially if you’re making them over a long period. Try to crochet squares in batches when your tension is consistent. Also, make sure you’re using the same hook size and yarn dye lot for all squares. Small differences become obvious when you try to join them.
What’s the difference between wet blocking and steam blocking?
Wet blocking involves soaking the piece in water, gently squeezing out excess moisture, then pinning it to shape while damp. Steam blocking uses steam from an iron held above the fabric. Wet blocking is gentler and works for all fibers, while steam blocking is faster but can damage heat-sensitive yarns like acrylic.
Getting consistently flat, even crochet work isn’t about perfection – it’s about understanding your materials and developing consistent habits. Every crocheter goes through the phase of creating accidental bowls and wonky rectangles. The difference between a beginner and an experienced crocheter isn’t that one never makes mistakes; it’s that the experienced crocheter knows how to prevent and fix them quickly.
Start with simple projects like dishcloths or easy squares, focus on maintaining consistent tension and accurate stitch counts, and don’t skip the blocking step. With practice, keeping your work flat will become second nature. Before you know it, you’ll be the one helping other crocheters figure out why their projects are misbehaving. Happy crocheting!