You know that moment when you’re browsing Pinterest at 2 AM and stumble across the most gorgeous crochet baby blanket? The one with those perfect, neat stitches that somehow look both cozy and elegant? I’ve been there countless times, and let me tell you – achieving that professional-looking finish isn’t about having magical fingers or years of experience. It’s about understanding a few key techniques that most patterns don’t bother explaining.
After making more baby blankets than I can count (seriously, my friends think I have a baby blanket addiction), I’ve learned that the difference between a blanket that looks homemade and one that looks heirloom-quality comes down to consistency, proper tension, and knowing which stitches work best for different yarn weights. The good news? These aren’t difficult skills to master once someone shows you the ropes.
I still remember my first baby blanket attempt – it looked like a wonky trapezoid with holes you could stick your thumb through. But that disaster taught me more than any perfect project ever could. Now I want to save you from making those same mistakes and help you create something truly beautiful that any new parent would treasure.
Quick Answer
Professional-looking crochet baby blankets require consistent tension, appropriate yarn weight (DK or worsted work best), and strategic stitch selection. Focus on even edges, proper blocking, and choosing patterns that complement your skill level rather than challenging it.
Choosing the Right Yarn Weight and Fiber
Here’s something most crochet tutorials won’t tell you upfront: your yarn choice makes or breaks the final look of your baby blanket. I’ve seen gorgeous stitch patterns completely ruined by the wrong yarn weight, and I’ve watched simple single crochet transform into something stunning with the right fiber choice.
For baby blankets that photograph beautifully and feel luxurious, stick with DK weight (3) or worsted weight (4) yarns. These weights give you enough substance to create defined stitches without being too bulky for delicate baby skin. I personally love Lion Brand Baby Soft or Red Heart Baby for their consistent quality and washability.
Best Fiber Choices for Professional Results
Cotton and cotton blends are your best friends here. They create crisp stitch definition, hold their shape after washing, and get softer with each wash. Avoid fuzzy yarns like mohair or heavily textured novelty yarns – they hide your beautiful stitchwork and can look messy in photos.
When working with chunky yarn projects, remember that thicker yarns work up faster but can overwhelm delicate baby blanket patterns. Save the chunky weights for simple stitch patterns or larger toddler blankets.
Pro Tip: Buy an extra skein beyond what the pattern calls for. Nothing’s worse than running out of yarn when you’re 90% finished, and dye lots can vary significantly.
Essential Stitches for Clean Baby Blankets
Not all crochet stitches are created equal when it comes to achieving that professional look. Some stitches naturally create cleaner lines and more consistent fabric, while others can look uneven even when worked perfectly.
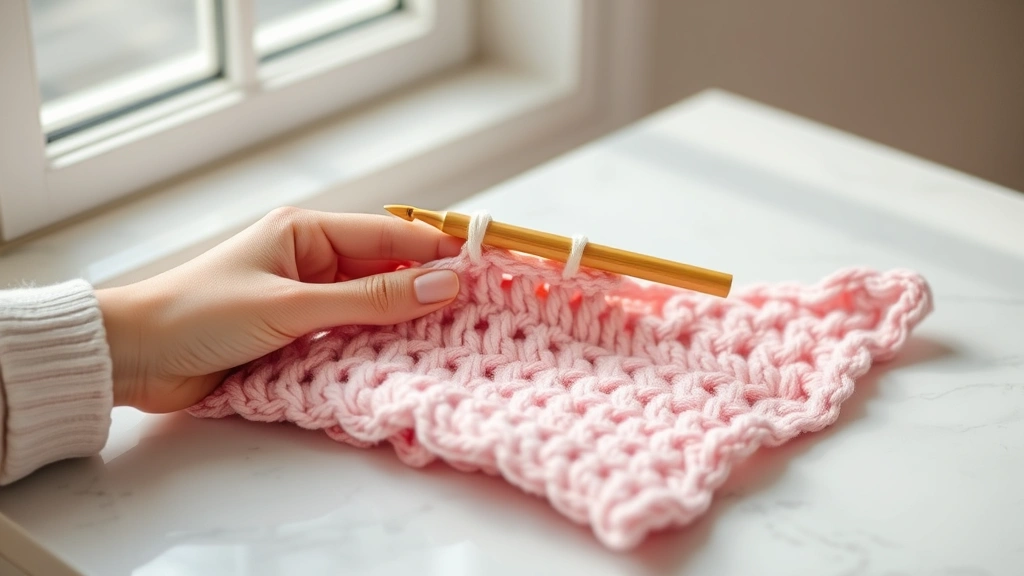
Single Crochet: The Foundation of Professional Work
Single crochet might seem basic, but it’s the backbone of professional-looking baby blankets. The key is working through both loops consistently and maintaining the same yarn-over tension throughout. When worked properly, single crochet creates a dense, even fabric that’s perfect for beginner crochet patterns.
For baby blankets, I recommend using a hook one size larger than the yarn label suggests. This creates a softer drape without compromising stitch definition. With worsted weight yarn, try a 5.5mm (I/9) hook instead of the standard 5mm.
Half Double Crochet for Perfect Balance
Half double crochet strikes the perfect balance between the density of single crochet and the height of double crochet. It works up faster than single crochet but maintains better stitch definition than double crochet, making it ideal for baby blankets where you want both efficiency and professional appearance.
| Stitch Type | Best Hook Size (Worsted) | Fabric Density | Professional Look Rating |
|---|---|---|---|
| Single Crochet | 5.5mm (I/9) | Dense | Excellent |
| Half Double Crochet | 5.5mm (I/9) | Medium | Excellent |
| Double Crochet | 6mm (J/10) | Open | Good with care |
Maintaining Consistent Tension
This is where most crocheters struggle, and honestly, it took me years to figure out why my blankets looked uneven despite following patterns exactly. Tension isn’t just about how tightly you hold your yarn – it’s about consistency in every aspect of your stitching.
The secret is in your yarn hold. I keep my working yarn wrapped around my pinky and over my index finger, maintaining the same finger position for every single stitch. It sounds obsessive, but this consistency is what separates amateur-looking work from professional results.
Recognizing and Fixing Tension Issues
Uneven tension shows up in several ways: wavy edges, stitches that are dramatically different sizes, or fabric that pulls in weird directions. The fix isn’t to crochet tighter or looser overall – it’s to crochet more consistently.
If your blanket is getting wider as you work, you’re likely adding extra stitches or working too loosely at the edges. Count your stitches every few rows and use stitch markers to mark your first and last stitches.
When working on advanced crochet techniques, tension becomes even more critical. Complex stitch patterns amplify any inconsistencies, so master your basic tension before attempting intricate designs.
Professional Edge Finishing Techniques
Nothing screams “homemade” like wonky, uneven edges. Professional-looking baby blankets have crisp, straight edges that frame the central pattern beautifully. This doesn’t happen by accident – it requires specific techniques and a bit of planning.
The Foundation Chain Method
Start with a foundation chain that’s exactly the right length, not “close enough.” I measure my foundation chain against a ruler and adjust before I start my first row. For a 30-inch wide blanket in worsted weight yarn using single crochet, you’ll need approximately 120-125 chains, depending on your tension.
Here’s a technique most patterns don’t mention: work your foundation chain with a hook one size larger than you’ll use for the blanket body. This prevents the bottom edge from being tighter than the rest of your work.
Maintaining Straight Side Edges
The turning chain is crucial for straight edges. For single crochet, chain 1 and turn. For half double crochet, chain 2 and turn. But here’s the key: don’t count your turning chain as a stitch unless the pattern specifically tells you to.
- Mark Your Edges
Use stitch markers to mark the first and last stitch of each row. This prevents accidentally skipping or adding edge stitches.
- Count Regularly
Count your stitches every 5-10 rows. It’s easier to fix a mistake early than to rip out 20 rows of work.
- Check Your Corners
If working in rounds, ensure you’re placing the correct number of stitches in each corner space consistently.
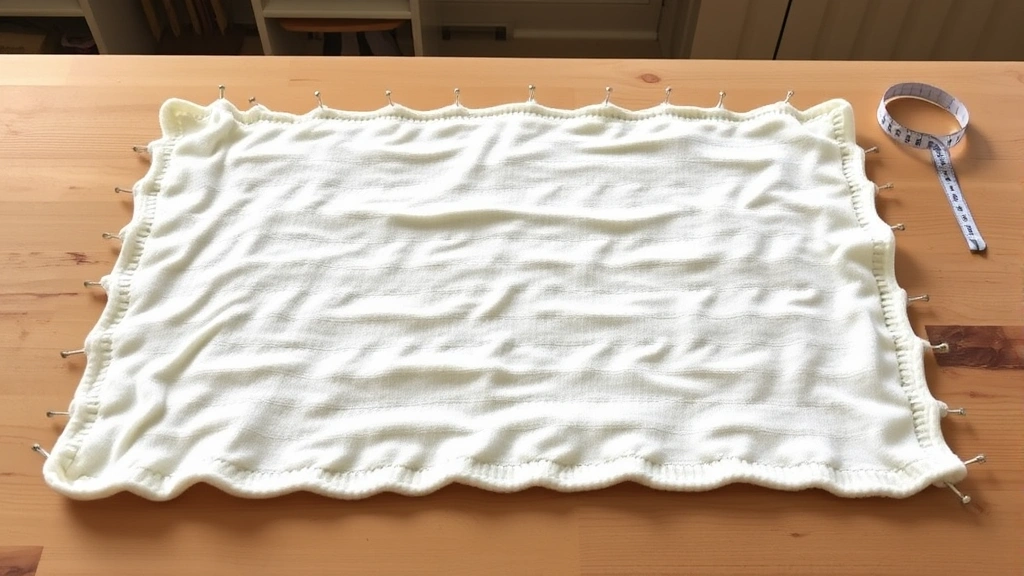
Blocking Methods for Perfect Shape
Blocking transforms good crochet work into professional-looking pieces. It evens out slight tension irregularities, opens up lace patterns, and gives your blanket that crisp, finished appearance you see in pattern photos.
For baby blankets, wet blocking works best. Soak your finished blanket in cool water with a gentle wool wash (even for acrylic yarns – it helps relax the fibers). Gently squeeze out excess water without wringing, then lay flat on blocking mats or clean towels.
Steam Blocking for Quick Touch-ups
Sometimes you don’t need a full wet block – just a quick steam to even out problem areas. Hold a steam iron about 2 inches above the fabric and let the steam penetrate the fibers. Never press the iron directly onto acrylic yarn, as it can melt.
Blocking Tip: Pin your blanket to measurements while damp. This ensures straight edges and proper dimensions. Use rust-proof pins and check your measurements with a tape measure.
Understanding different crochet stitch types helps you know which ones benefit most from blocking. Lace stitches open up dramatically, while dense stitches like single crochet just need light shaping.
Troubleshooting Common Problems
Even experienced crocheters run into issues that can make an otherwise beautiful blanket look unprofessional. The good news is that most problems have straightforward fixes once you know what to look for.
Fixing Curling Edges
If your blanket edges curl inward, you’re likely working too tightly or your foundation chain is too tight. The fix depends on how far along you are. For minor curling, aggressive blocking can help. For severe curling, you might need to add a border in a contrasting stitch pattern.
Single crochet naturally wants to curl more than other stitches. Consider switching to half double crochet for the body of your blanket, or work your edge stitches with a larger hook.
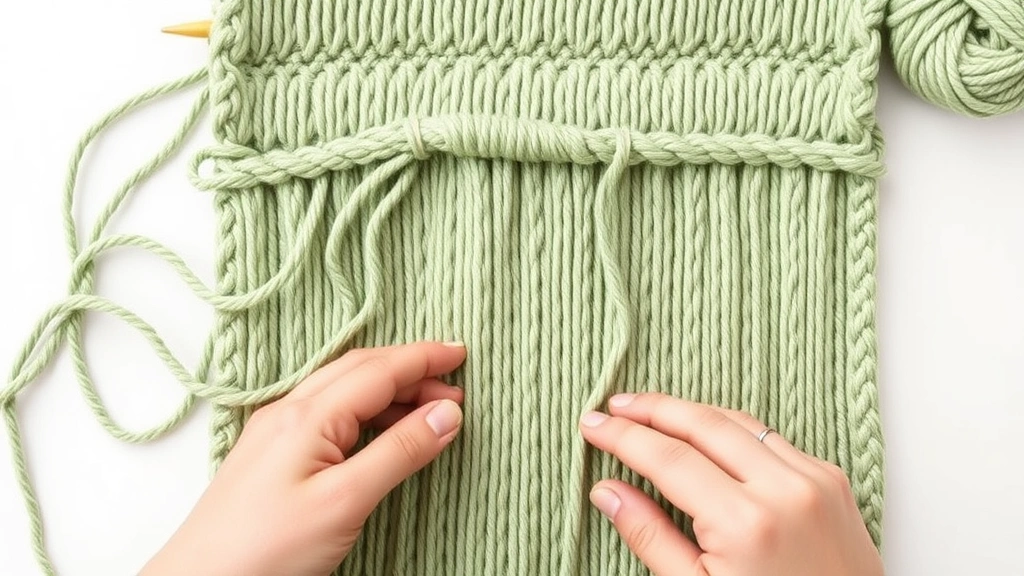
Dealing with Yarn Joins
Visible yarn joins can ruin the professional appearance of your blanket. Instead of knotting yarns together, weave in new yarn for several stitches, work over both the old and new yarn tails, then weave in the remaining tails securely.
When working with variegated yarn tips, plan your color changes carefully. Start new skeins at the beginning of rows when possible, and consider how the color progression will look across the entire blanket.
Adding Professional Finishing Touches
The difference between a good baby blanket and a stunning one often comes down to the finishing details. These touches don’t require advanced skills, but they do require patience and attention to detail.
Border Selection and Execution
A well-chosen border can elevate a simple stitch pattern into something special. For baby blankets, I prefer borders that are 2-4 rounds deep – enough to frame the work without overwhelming it. Single crochet, half double crochet, or simple shell patterns work beautifully.
The key to professional-looking borders is working the corner increases correctly. For square blankets, work 3 stitches in each corner space. For rectangular blankets, you might need 5 stitches in the corners to prevent cupping.
Weaving in Ends Like a Pro
This is where many crocheters get lazy, and it shows in the final product. Each yarn end should be woven through at least 6-8 stitches, changing direction at least once. Use a tapestry needle and follow the path of your stitches rather than just running the tail straight across.
For extra security with slippery yarns like bamboo or silk, weave the tail back through itself in a small loop before trimming. This prevents the end from working loose over time.
When incorporating color changing techniques, plan your yarn ends strategically. Change colors at edges when possible, and consider how multiple yarn ends in one area might affect the drape of your blanket.
Common Questions
What’s the best yarn weight for a professional-looking baby blanket?
DK weight (3) or worsted weight (4) yarns give the best results for baby blankets. They provide enough substance for clear stitch definition while remaining soft and lightweight. Avoid chunky yarns for baby blankets – they’re too heavy and can overwhelm delicate patterns.
How do I prevent my baby blanket edges from curling?
Curling edges usually indicate tension that’s too tight, especially in the foundation chain. Use a hook one size larger for your foundation chain, and consider working a border in half double crochet or double crochet, which curl less than single crochet. Proper blocking also helps significantly.
Should I wash my baby blanket before giving it as a gift?
Absolutely. Washing removes any manufacturing residue and softens the yarn. Use a gentle, fragrance-free detergent and follow the yarn care instructions. This also gives you a chance to see how the blanket behaves after washing and make any necessary adjustments.
How much yarn do I need for a standard baby blanket?
For a 30×36 inch baby blanket in worsted weight yarn, plan for 1200-1500 yards. This varies based on stitch pattern – lace patterns use less yarn, while dense patterns like single crochet use more. Always buy one extra skein to account for tension differences and potential mistakes.
What’s the difference between blocking and just washing?
Blocking involves shaping the piece to specific measurements while damp, using pins or blocking wires to achieve straight edges and proper dimensions. Regular washing cleans the item but doesn’t address shape issues. Blocking is essential for professional-looking results, especially with lace patterns or problem edges.
How do I fix uneven stitches in my finished blanket?
Minor unevenness often improves with proper blocking. For more significant issues, you can carefully adjust individual stitches with a crochet hook while the piece is damp. Severe unevenness might require strategic ripping back and reworking sections – it’s frustrating but worth it for a professional result.
Can I use different yarn brands in the same blanket?
Mixing yarn brands can work if the yarns have similar weight, fiber content, and care requirements. Test a small swatch first to ensure the yarns behave similarly when washed. Different dye lots can also affect the final appearance, so buy all your yarn at once when possible.
What’s the best way to join new yarn mid-project?
Join new yarn at the beginning of a row when possible. Work over both the old and new yarn tails for several stitches, then weave in the remaining tails securely. Avoid knots, which can come undone and create bumps in your finished fabric. This technique from yarn joining methods ensures invisible joins.
Creating professional-looking crochet baby blankets isn’t about perfection – it’s about consistency, proper technique, and attention to finishing details. The techniques I’ve shared here took me years to learn through trial and error, but you can implement them starting with your very next project.
Remember that even experienced crocheters have off days where their tension goes wonky or their edges refuse to behave. The difference is knowing how to fix these issues and having the patience to do it right. Your future self (and the lucky baby who receives your blanket) will thank you for taking the time to master these professional techniques.
Start with one technique at a time – maybe focus on consistent tension for your next blanket, then add proper blocking to the one after that. Before you know it, these professional touches will become second nature, and people will be asking where you bought that gorgeous blanket instead of assuming you made it yourself.