I’ll be honest – when I first started crocheting, the idea of making a whole blanket felt completely overwhelming. All those stitches, all that yarn, all that time. But here’s what I wish someone had told me back then: baby blankets are actually the perfect starting point for your first big crochet project. They’re small enough to finish without losing steam, forgiving enough to hide beginner mistakes, and meaningful enough to keep you motivated when your hands start cramping around row 47.
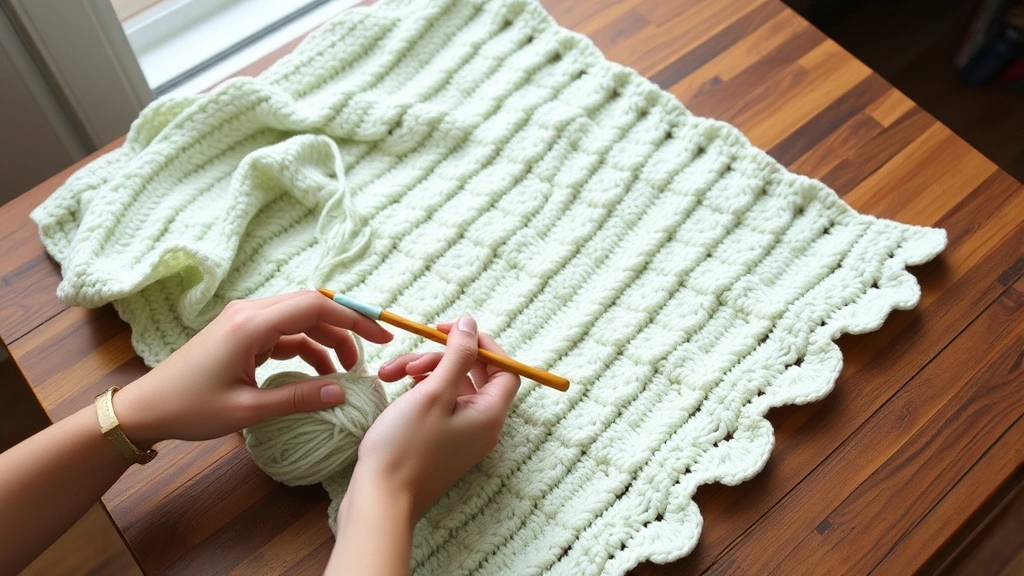
The thing about baby blanket patterns is that they don’t have to be complicated to be beautiful. Some of my favorite blankets I’ve made used nothing more than single crochet stitches in soft pastels. The key isn’t fancy stitches – it’s choosing the right yarn, getting your tension consistent, and picking a pattern that won’t make you want to throw your hook across the room halfway through.
Over the years, I’ve made dozens of baby blankets for friends, family, and charity drives. I’ve learned which patterns work best for beginners, which yarns hold up to countless washes, and which techniques will save you hours of frustration. Whether you’re making your first blanket or your fifteenth, I want to share what I’ve figured out so you can skip the trial-and-error phase and go straight to creating something beautiful.
Quick Answer
The best baby blanket crochet patterns for beginners use simple stitches like single crochet or half double crochet in worsted weight yarn. A basic granny square or ripple pattern in soft, machine-washable yarn creates a beautiful, practical blanket that’s perfect for learning consistent tension and stitch counting.
Choosing the Right Yarn for Baby Blankets
Let me save you from my biggest early mistake: I once spent three weeks making a gorgeous baby blanket in 100% wool, only to realize the parents would never be able to wash it easily. When you’re choosing yarn for a baby blanket, practicality trumps everything else, even if that beautiful silk blend is calling your name.
For baby blankets, I always reach for worsted weight yarn (that’s weight 4 on the Craft Yarn Council system). It works up quickly, shows your stitches clearly, and is forgiving if your tension isn’t perfect yet. My go-to choices are Lion Brand Babysoft or Red Heart Soft Baby Steps – both are machine washable, soft against delicate skin, and come in beautiful pastels.
Yarn Fiber Considerations
Acrylic gets a bad rap in the crochet world, but for baby blankets, it’s actually your best friend. Modern acrylic yarns are incredibly soft, completely machine washable, and won’t shrink or felt. I’ve seen too many beautiful wool blankets get ruined in a hot wash cycle by exhausted new parents.
Cotton is another excellent choice, especially cotton blends. It’s naturally hypoallergenic, breathable, and gets softer with each wash. Bernat Baby Cotton is one of my favorites – it has the durability of cotton with a touch of acrylic for extra softness.
| Yarn Type | Pros | Cons | Best For |
|---|---|---|---|
| 100% Acrylic | Machine washable, affordable, durable | Can pill over time | Everyday use blankets |
| Cotton/Acrylic Blend | Soft, breathable, easy care | Slightly more expensive | Summer babies, sensitive skin |
| 100% Cotton | Natural, hypoallergenic, cool | Can shrink, takes longer to dry | Warm climates, natural fiber preference |
Pro Tip: Always buy an extra skein or two beyond what the pattern calls for. Nothing’s worse than running out of yarn when you’re 90% done and discovering your dye lot has been discontinued.

Best Beginner-Friendly Patterns
When I’m teaching someone their first baby blanket, I always start with patterns that use basic stitches in simple combinations. You want to focus on building muscle memory and consistent tension, not wrestling with complicated stitch sequences.
Single Crochet Blanket
Don’t let anyone tell you a single crochet blanket is boring. Some of the most stunning baby blankets I’ve seen use nothing but single crochet in beautiful color combinations. The key is in your color choices and border treatment.
For a basic single crochet baby blanket, you’ll chain about 120 stitches (this gives you roughly 30 inches wide), then work in single crochet rows until you reach about 36 inches long. With worsted weight yarn and a size H (5mm) hook, this typically takes about 1200-1400 yards of yarn.
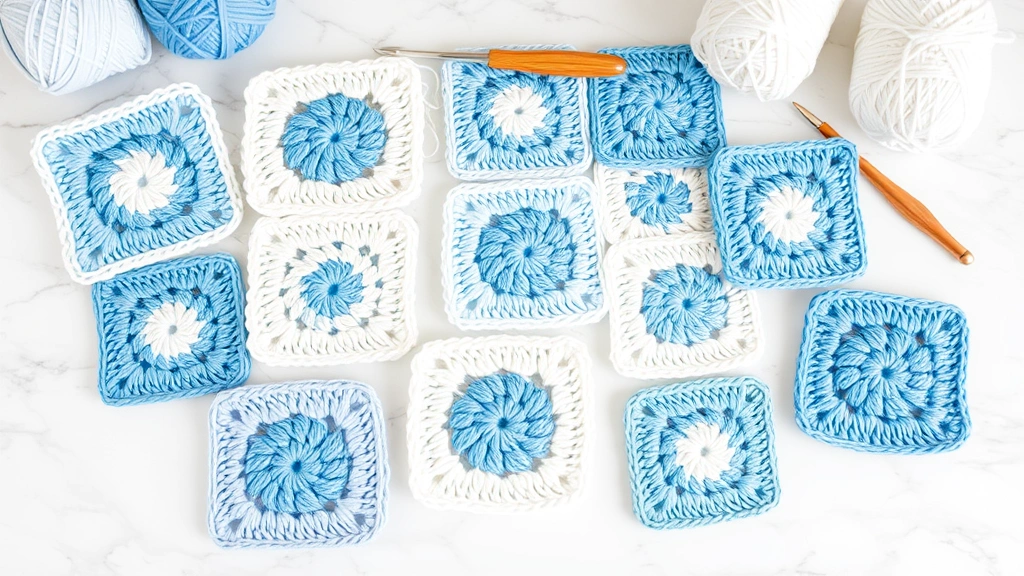
Granny Square Blanket
Granny squares are perfect for beginners because you’re working in small, manageable pieces. If you mess up a square, you’re only out 10 minutes of work, not hours. Plus, the repetitive nature helps you master basic stitches like double crochet and chain spaces.
I usually recommend making 6-inch squares for baby blankets – you’ll need about 30 squares for a good-sized blanket. This also makes it a great portable project. When I was working on my first granny square blanket, I’d make one square during my lunch break each day.
Simple Ripple Pattern
Once you’re comfortable with basic stitches, a gentle ripple pattern adds visual interest without being overwhelming. The key is choosing a pattern with a subtle wave – you want gentle hills, not dramatic peaks and valleys that will be uncomfortable for a baby to lie on.
My favorite beginner ripple uses a 14-stitch repeat: 2 single crochet, 3 half double crochet, 3 double crochet, 3 half double crochet, 2 single crochet, skip 1 stitch. It creates a lovely gentle wave that’s perfect for showcasing gradient yarns.
Essential Techniques You’ll Need
Before diving into your first baby blanket, there are a few techniques that will make your life so much easier. I wish I’d learned these before starting my first blanket instead of figuring them out halfway through.
Maintaining Consistent Tension
Tension is everything in a baby blanket. Inconsistent tension creates a fabric that’s lumpy, pulls in weird directions, and just doesn’t look professional. The good news is that tension improves naturally with practice, but there are a few tricks to speed up the process.
First, find a comfortable way to hold your yarn. I wrap mine around my pinky finger, then over my ring finger and under my middle finger. This gives me good control without creating too much tension. Some people prefer using a yarn guide or tension ring, especially if you have arthritis or hand pain.
Counting Stitches Accurately
Nothing’s more frustrating than getting to the end of a row and realizing you have 127 stitches instead of 120. I learned to place stitch markers every 20 or 25 stitches when I’m working long rows. It makes counting so much easier and helps you catch mistakes early.
For granny squares, I always count my chain spaces rather than individual stitches. It’s much more reliable and faster once you get the hang of it.
Joining Techniques
If you’re making a granny square blanket, you’ll need to join your squares together. There are several methods, but for beginners, I recommend the simple whip stitch join. It’s strong, relatively invisible, and doesn’t require any special techniques.
- Arrange Your Squares
Lay out all your squares in the pattern you want, taking a photo so you don’t forget the arrangement.
- Join in Rows First
Working with wrong sides together, whip stitch squares into horizontal rows using matching yarn.
- Join the Rows
Once you have all your rows complete, join the rows together using the same whip stitch technique.
- Weave in Ends
This is tedious but crucial – weave in all those yarn tails securely so they won’t come loose in the wash.
Baby Blanket Sizing Guide
One question I get constantly is “How big should a baby blanket be?” The answer depends on how you want it to be used, but I’ve found these sizes work well for most situations.
For a receiving blanket that’s used for swaddling and general snuggling, aim for about 30 x 30 inches. This is perfect for newborns and easy to handle during those 3 AM diaper changes.
A crib blanket should be larger – about 36 x 45 inches. This gives you enough coverage for a standard crib mattress with a little extra for tucking. Remember, current safe sleep guidelines recommend keeping blankets out of the crib until baby is at least 12 months old, so this size also works well for toddler beds.
For a keepsake blanket that will grow with the child, I like to go bigger – 45 x 60 inches. Yes, it’s more work, but it’s so worth it when that blanket becomes a beloved comfort item that travels to college.
| Blanket Type | Dimensions | Approximate Yarn Needed | Time Estimate |
|---|---|---|---|
| Receiving Blanket | 30″ x 30″ | 800-1000 yards | 15-25 hours |
| Crib Blanket | 36″ x 45″ | 1200-1500 yards | 25-40 hours |
| Keepsake Blanket | 45″ x 60″ | 2000-2500 yards | 50-70 hours |
Adding Beautiful Borders and Finishing
A good border can transform a simple blanket into something that looks professionally made. Even if your stitches aren’t perfect throughout the body of the blanket, a clean, well-executed border will make the whole project look polished.
For beginners, I always recommend a simple single crochet border. Work one round of single crochet around the entire blanket, placing 3 single crochet stitches in each corner to help the blanket lie flat. This cleans up any uneven edges and gives the blanket a finished look.
If you want something a little fancier, try a picot border. After your single crochet round, work another round doing single crochet 2, chain 3, slip stitch in first chain (that’s your picot), single crochet 1. The little picots add a sweet, delicate touch that’s perfect for baby items.
Blocking Your Blanket
Blocking isn’t always necessary for baby blankets, especially if you’ve maintained good tension throughout. But if your edges are a bit wavy or your granny squares aren’t quite square, a gentle blocking can work wonders.
For acrylic yarns, I use steam blocking. Lay the blanket flat on a blocking mat or clean towels, pin it to the correct measurements, then hold a steam iron about 6 inches above the surface and let the steam relax the fibers. Never let the iron touch the yarn directly – acrylic can melt.
Common Problems and Solutions
Every crocheter runs into issues, especially on longer projects like blankets. Here are the problems I see most often and how to fix them without starting over.
Blanket Curling at the Edges
This usually happens when your edge stitches are too tight compared to your interior stitches. The fix is to add a border with slightly looser tension, or go up one hook size for your border rounds. Sometimes switching to a foundation single crochet for your starting chain can prevent this issue entirely.
Uneven Stitch Count
If you keep gaining or losing stitches, place markers every 20-25 stitches so you can catch the problem early. When you do find an error, don’t be afraid to rip back – it’s better to fix it now than live with a wonky blanket forever.
Running Out of Yarn
This is heartbreaking, but it happens. If you can’t find the same dye lot, consider adding a coordinating color as a border or accent. Some of my most beautiful blankets happened because I had to get creative with color changes.
Emergency Yarn Strategy: Join Ravelry and search their destash forums. Other crocheters often sell leftover yarn from their stash, and you might find exactly what you need.
Washing and Care Tips
A baby blanket needs to survive countless washes, spit-ups, and general baby chaos. How you care for it from the beginning will determine how it looks years down the road.
For acrylic and cotton blend yarns, machine washing in cold water with a gentle detergent works perfectly. I always recommend washing baby blankets separately for the first few washes to make sure there’s no color bleeding. Use the delicate cycle and lay flat to dry when possible – the dryer can cause pilling over time.
If you used 100% cotton, be prepared for some shrinkage on the first wash. I actually prefer to wash cotton blankets once before giving them as gifts so the recipients don’t get any surprises.
Storing Finished Blankets
If you’re making blankets ahead of time for gifts, store them in breathable cotton bags or wrapped in tissue paper. Avoid plastic bags, which can trap moisture and lead to musty odors. I learned this the hard way when I pulled a blanket out of storage and it smelled like a basement.
Common Questions
How much yarn do I need for a baby blanket?
For a standard 36×45 inch baby blanket in worsted weight yarn, you’ll need approximately 1200-1500 yards. Receiving blankets (30×30 inches) need about 800-1000 yards, while larger keepsake blankets (45×60 inches) require 2000-2500 yards. Always buy an extra skein – it’s better to have too much than to run short near the end.
What’s the best stitch for a beginner’s first baby blanket?
Single crochet is perfect for beginners. It creates a dense, warm fabric that’s practically indestructible, and the repetitive motion helps you develop consistent tension. Half double crochet works up faster and creates a slightly more flexible fabric, making it my second choice for new crocheters.
How long does it take to crochet a baby blanket?
A receiving blanket typically takes 15-25 hours for a beginner, while a standard crib blanket takes 25-40 hours. Your speed will improve with practice – I can now finish a simple single crochet baby blanket in about 15 hours, but my first one took nearly 60 hours because I kept making mistakes and ripping out sections.
Should I use a pattern or make up my own design?
For your first baby blanket, definitely use a tested pattern. Free patterns are available on Ravelry and yarn manufacturer websites. Once you’re comfortable with basic techniques, you can start modifying patterns or creating your own designs.
What hook size should I use?
For worsted weight yarn, start with a size H (5mm) hook. This creates a nice, even fabric that’s not too tight or too loose. If your stitches are very tight, try going up to a size I (5.5mm). If they’re loose and gappy, drop down to a size G (4mm). The yarn label will give you a suggested hook size as a starting point.
Can I machine wash a handmade baby blanket?
If you use acrylic or cotton yarns, absolutely! Machine wash in cold water on the gentle cycle and tumble dry on low heat. Avoid fabric softener, which can make the yarn feel sticky over time. For wool or specialty fibers, hand washing is safer, but honestly, busy parents need machine-washable blankets.
How do I fix a mistake without starting over?
Don’t panic! Most mistakes can be fixed by carefully unraveling back to the error, then continuing from that point. Use a smaller crochet hook to pick up dropped stitches, and don’t be afraid to rip back several rows if needed. I promise the blanket will look better with the fix than with a visible mistake.
What’s the difference between a receiving blanket and a crib blanket?
Receiving blankets are smaller (around 30×30 inches) and designed for swaddling, burping, and general baby handling. Crib blankets are larger (36×45 inches) and meant for covering the baby during sleep, though current safe sleep guidelines recommend keeping blankets out of the crib until 12 months. Many people now use “crib” blankets as toddler blankets instead.
Making your first baby blanket is such a special milestone in your crochet journey. Yes, it’s a commitment – you’ll probably get tired of the pattern somewhere around the halfway point, and your hands might cramp from all those repetitive motions. But when you bind off that last stitch and spread out your finished blanket, you’ll feel this incredible sense of accomplishment.
Remember, it doesn’t have to be perfect to be beautiful and loved. Some of the most treasured baby blankets I know have little imperfections that just make them more special. The baby who receives your blanket won’t care if row 23 has one extra stitch or if your tension was a bit loose in the middle section. They’ll just know they’re wrapped in something made with love.
Take your time, enjoy the process, and don’t be afraid to put the project down for a few days if you’re feeling frustrated. The yarn will wait for you. And when you’re ready to start your next blanket – because trust me, there will be a next one – you’ll have all the skills and confidence you need to make it even better.