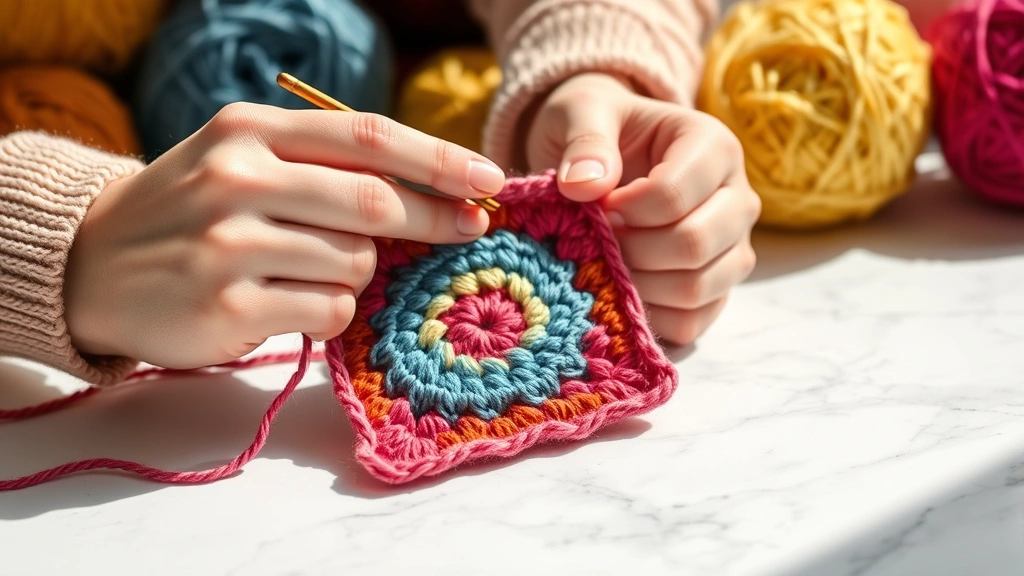
I still remember the first time I tried to make a granny square. I was so excited about this classic pattern that seemed to be everywhere – from vintage afghans to modern home decor. But when I sat down with my hook and yarn, I quickly realized that what looked simple was actually packed with techniques I hadn’t quite mastered yet.
The thing about granny squares is that they’re deceptively straightforward. Sure, the basic concept is simple: work in rounds, create clusters, and build outward. But there are so many little details that can make or break your squares. The tension needs to be just right, the corners have to lay flat, and don’t even get me started on keeping track of your stitch count when you’re working on square number 47 of your blanket project.
What I’ve learned over the years is that granny squares are actually one of the best ways to practice fundamental crochet skills. They teach you how to work in the round, how to create even tension, and how to join colors seamlessly. Plus, they’re incredibly versatile – I’ve used them for everything from coasters to full-sized afghans, and each project teaches you something new about the technique.
Quick Answer
A granny square starts with a magic ring or chain 4, then builds outward in rounds using double crochet clusters separated by chain spaces. Each round creates the characteristic square shape through strategic corner increases, and squares can be joined using various methods to create larger projects.
The Basic Granny Square Pattern
The traditional granny square is worked in rounds from the center outward. Each round consists of clusters of double crochet stitches separated by chain spaces, with special corner treatments that create the square shape. The beauty of this pattern lies in its mathematical precision – each round adds the same number of stitches in a predictable pattern.
The basic structure follows this pattern: start with a center ring, work clusters around the ring for round 1, then add corner spaces and side clusters for subsequent rounds. Most granny squares use 3-stitch double crochet clusters, though you’ll find variations that use 2-stitch or 4-stitch clusters depending on the desired look and yarn weight.
What makes granny squares so appealing is their forgiving nature. Small tension variations tend to even out over the course of the square, and the open, lacy structure means slight imperfections aren’t as noticeable as they might be in other stitch patterns. This makes them perfect for beginners who want to practice their double crochet technique while creating something beautiful.
Pro Tip: Always count your clusters, not individual stitches. Each side of your granny square should have the same number of 3-stitch clusters plus the corner clusters.
Materials and Setup
For your first granny square, I recommend starting with worsted weight yarn (weight 4) and a size H/8 (5mm) hook. This combination gives you good stitch definition without being too tight or too loose. Lion Brand Vanna’s Choice or Red Heart Super Saver are excellent choices for practice squares.
You’ll need scissors and a yarn needle for weaving in ends. If you’re planning to make multiple squares for a larger project, consider getting a measuring tape or ruler to ensure consistency. Some crocheters also like to use stitch markers to mark their corners, though this isn’t strictly necessary once you get the hang of the pattern.
| Yarn Weight | Hook Size | Finished Size (4 rounds) | Best For |
|---|---|---|---|
| Fingering (1) | E/4 (3.5mm) | 3 inches | Delicate doilies |
| Sport (2) | F/5 (3.75mm) | 3.5 inches | Baby items |
| DK (3) | G/6 (4mm) | 4 inches | Lightweight afghans |
| Worsted (4) | H/8 (5mm) | 4.5 inches | Most projects |
| Chunky (5) | J/10 (6mm) | 5.5 inches | Quick projects |
The key to successful granny squares is maintaining consistent tension throughout your work. Your stitches should be loose enough that your hook moves easily through them, but tight enough that the square holds its shape. If you tend to crochet tightly, consider going up a hook size. If your work is too loose and floppy, try a smaller hook.
Step-by-Step Instructions
Let me walk you through making a basic 4-round granny square. This size is perfect for most projects and gives you a good foundation for understanding the pattern structure.
- Create the Center Ring
Start with a magic ring or chain 4 and join with a slip stitch to form a ring. The magic ring creates a tighter center, but the chain method works well too. Chain 3 (counts as your first double crochet).
- Round 1: Foundation Clusters
Work 2 double crochet into the ring, chain 2 (this creates your first corner), then work [3 double crochet, chain 2] three more times. Join with a slip stitch to the top of your beginning chain 3. You should have 4 clusters of 3 double crochet each, separated by chain-2 spaces.
- Round 2: Adding Sides
Slip stitch into the next 2 stitches and into the chain-2 space. Chain 3, work 2 double crochet in the same space, chain 2, then 3 double crochet (corner made). Chain 1, then in the next corner space work [3 double crochet, chain 2, 3 double crochet]. Repeat around, joining with a slip stitch.
- Round 3 and Beyond: Building Outward
Each subsequent round follows the same principle: work corner clusters in corner spaces (3 dc, ch 2, 3 dc), and work regular clusters (3 dc, ch 1) in the chain-1 spaces along the sides. The number of side clusters increases by one on each side with every round.
The rhythm becomes quite meditative once you get into it. Corner, side, side, corner, side, side – the pattern repeats predictably around the square. I find it helpful to say the pattern out loud when I’m learning: “corner cluster, chain one, side cluster, chain one, side cluster.”
Remember to always join your rounds and start each new round in a corner space. This keeps your square properly aligned and prevents it from becoming lopsided.
Troubleshooting Common Issues
Even experienced crocheters run into problems with granny squares sometimes. Here are the most common issues I see and how to fix them:
Curling Edges
If your granny square is curling at the edges, you’re likely crocheting too tightly. Try going up a hook size or consciously loosening your tension. The chain spaces need room to lie flat, and tight stitches will pull the fabric inward.
Wonky Shape
Squares that aren’t quite square usually have inconsistent corner treatment. Make sure you’re working the same number of stitches in each corner space and that you’re placing your corner clusters in the actual chain-2 spaces, not in the stitches next to them.
Holes Too Big
Large, gaping holes typically mean your hook is too big for your yarn, or you’re chaining too many stitches between clusters. Most traditional patterns use chain-1 between side clusters and chain-2 for corners. Stick to these numbers unless the pattern specifically calls for something different.
Stitch Count Problems
Lost track of where you are? Count your clusters on each side – they should all be equal. If one side has more clusters than the others, you’ve likely worked an extra cluster somewhere. It’s usually easier to frog back to the beginning of that round and start over than to try to fudge the math.
Blocking Tip: Even slightly imperfect granny squares can be improved with proper blocking. Pin them to measurement on a blocking mat and lightly steam or spritz with water.
Variations and Pattern Ideas
Once you’ve mastered the basic granny square, there’s a whole world of variations to explore. The traditional pattern is just the beginning – you can change colors, stitch combinations, and even the basic structure to create completely different looks.
Color Variations
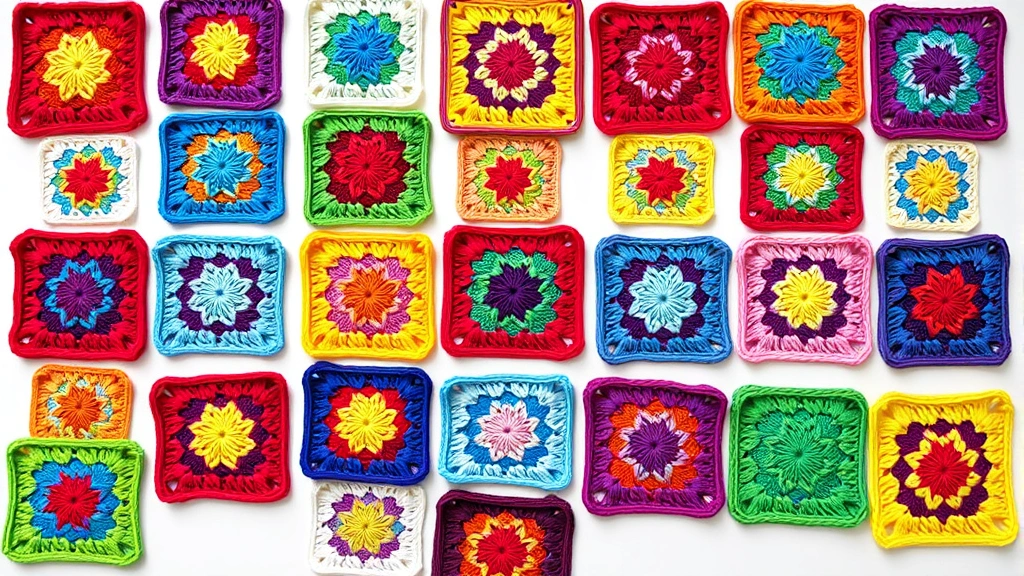
The classic approach is to change colors with each round, creating concentric squares of different hues. You can work with a planned color scheme or use up scraps randomly. I love making scrap yarn projects with granny squares because each square becomes a little work of art.
For a more subtle approach, try working the first two rounds in one color, then switching for rounds 3 and 4. Or work all squares in the same colors but in different orders – this creates unity with variety in larger projects.
Stitch Variations
Instead of traditional double crochet clusters, try using treble crochet for a more open, lacy look. Half double crochet creates a denser, more solid square. Some patterns use alternating stitch heights within the same square for interesting texture effects.
You can also play with cluster sizes. Instead of 3-stitch clusters, try 2-stitch or 4-stitch clusters. Just remember that changing the cluster size will affect the overall proportions of your square.
Solid Granny Squares
For a less lacy look, you can work solid granny squares by filling in the chain spaces with additional stitches. These work up faster and use more yarn, but they create a completely different aesthetic that’s perfect for warm winter afghans.
Joining Granny Squares
The method you choose for joining your granny squares can dramatically affect the final look of your project. Each technique has its own advantages and creates different visual effects.
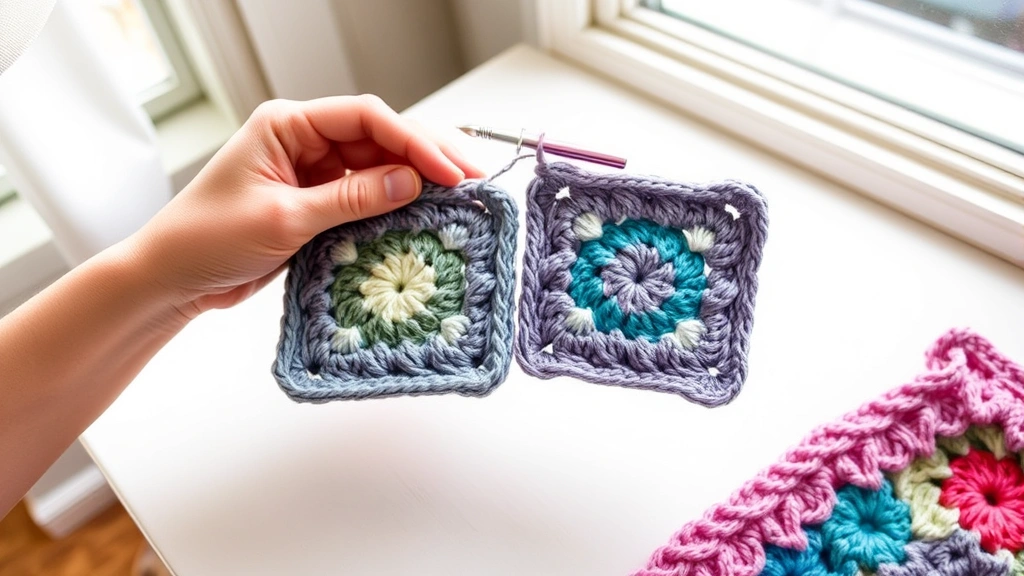
Whip Stitch Join
This is probably the most common joining method. Place squares right sides together and whip stitch through the back loops only. It creates a subtle ridge on the right side and is very secure. Use a yarn needle and the same yarn you used for your squares, or choose a contrasting color for a decorative effect.
Single Crochet Join
Work single crochet stitches through both squares to join them. This creates a slightly raised seam that can be quite attractive, especially in a contrasting color. It’s also very strong and works well for items that will get heavy use.
Join-As-You-Go
This method involves joining squares as you complete the final round of each square. It saves time since you don’t have to go back and sew everything together later, but it requires more planning since you need to work in a specific order.
The Ravelry database has hundreds of different joining tutorials if you want to explore more advanced techniques. Some create decorative motifs at the join points, while others are nearly invisible.
Whatever joining method you choose, consistency is key. Pick one method and stick with it throughout your project for the most professional-looking results.
Project Ideas and Inspiration
Granny squares are incredibly versatile. I’ve seen them used in everything from traditional afghans to modern home decor, and each application brings out different aspects of this classic pattern.
Afghan and Blanket Projects
The classic granny square afghan never goes out of style. For a throw-sized blanket, you’ll typically need 35-48 squares arranged in a 5×7 or 6×8 grid. Baby blankets work well with 20-30 smaller squares. Consider your yarn requirements carefully – a full-sized afghan can use 2000-3000 yards of yarn.
Home Decor Items
Single granny squares make excellent coasters, trivets, or decorative elements. Larger squares can become pillow covers, placemats, or wall hangings. I’ve even seen granny squares used as curtain panels for a bohemian look.
Clothing Applications
Granny square clothing has made a huge comeback in recent years. Vests, cardigans, and even dresses can be constructed from joined granny squares. The key is choosing appropriate yarn weights and planning your construction carefully for proper fit.
Bags and Accessories
Market bags, purses, and tote bags made from granny squares are both practical and stylish. The open structure of traditional granny squares makes them perfect for produce bags, while solid variations work well for everyday purses.
Planning Tip: Always make a gauge square first, especially for clothing projects. Granny squares can vary significantly in size depending on your tension and yarn choice.
Common Questions
How many granny squares do I need for a blanket?
For a throw blanket (approximately 50×60 inches), you’ll need about 35-48 squares depending on their finished size. 4-inch squares require about 48 squares in a 6×8 arrangement, while 5-inch squares need about 35 squares in a 5×7 grid. Always make a few extra squares to account for variations in size.
What’s the best yarn for granny squares?
Worsted weight acrylic yarn is ideal for beginners because it’s affordable, easy to work with, and machine washable. Red Heart Super Saver and Lion Brand Vanna’s Choice are popular choices. For special projects, cotton yarns like Lily Sugar ‘n Cream work beautifully and have excellent stitch definition.
How do I keep my granny squares the same size?
Consistent tension is key, but you can also measure each square and block them to the same dimensions. Make a cardboard template of your desired finished size and pin each completed square to match. Most crocheters find their squares naturally become more consistent with practice.
Can I make granny squares with different yarn weights?
Yes, but you’ll need to adjust your hook size accordingly and expect different finished sizes. Lighter weight yarns create more delicate, smaller squares, while heavier yarns create larger, chunkier squares. Stick to one yarn weight per project for the most consistent results.
How long does it take to make a granny square?
A basic 4-round granny square in worsted weight yarn typically takes 15-30 minutes for an experienced crocheter, or 30-60 minutes for a beginner. Larger squares with more rounds will take proportionally longer. Factor in time for weaving in ends and blocking when planning your project timeline.
What if my granny square isn’t perfectly square?
Slight imperfections are normal and often aren’t noticeable in the finished project. However, if squares are significantly off, check that you’re working the correct number of clusters on each side and that your corners are properly placed. Blocking can help even out minor shape issues.
How do I change colors in a granny square?
The cleanest method is to complete your last stitch of the round with the new color. Pull the new color through for the final yarn over of your last double crochet, then continue with the new color for the next round. This eliminates the need to weave in ends at color changes.
Can I make granny squares without a pattern?
Absolutely! Once you understand the basic structure (corners get 3dc-ch2-3dc, sides get 3dc-ch1), you can work intuitively. The pattern is very mathematical and predictable. Many experienced crocheters work granny squares from memory, adjusting the number of rounds to achieve their desired size.
Granny squares have been a cornerstone of crochet for generations, and there’s a good reason they’ve stood the test of time. They’re approachable for beginners yet offer endless possibilities for creativity and variation. Whether you’re making your first square or your hundredth, each one is an opportunity to practice fundamental skills while creating something beautiful.
The best part about granny squares is that they’re inherently forgiving. Small imperfections add character, and the repetitive nature of the pattern means you’ll naturally improve with each square you make. Don’t worry about making them perfect – focus on enjoying the process and celebrating the unique personality each square develops.
So grab your hook and some yarn, and give granny squares a try. Start with just one square to get the feel for the pattern, then let your creativity guide you toward whatever project speaks to you. Happy crocheting!