I’ll never forget the first time I tried to crochet a granny square blanket. There I was, excited to make this gorgeous heirloom piece I’d seen on Pinterest, and I couldn’t even figure out how to join my squares together without creating bulky, obvious seams. Sound familiar? The joining method you choose can make or break your entire project, turning what should be a beautiful, cohesive blanket into something that looks obviously handmade (and not in a good way).
After years of trial and error – and more frogging than I care to admit – I’ve learned that there are actually several reliable ways to join granny squares. Each method has its place, depending on your project goals, skill level, and the look you’re after. Some create invisible seams, others add decorative elements, and a few are so beginner-friendly that even your first attempt will look professional.
The truth is, most crocheters stick with whatever joining method they learned first, missing out on techniques that might work better for their specific project. Whether you’re working on your first granny square blanket pattern or you’re a seasoned crocheter looking to expand your repertoire, understanding your options will help you choose the right approach for each project.
Quick Answer
The best methods for joining granny squares include slip stitch seaming (invisible and flat), single crochet joining (decorative and sturdy), whip stitch (quick and simple), and join-as-you-go (no seaming required). Choose based on your desired look, seam visibility preference, and skill level.
Slip Stitch Seaming Method
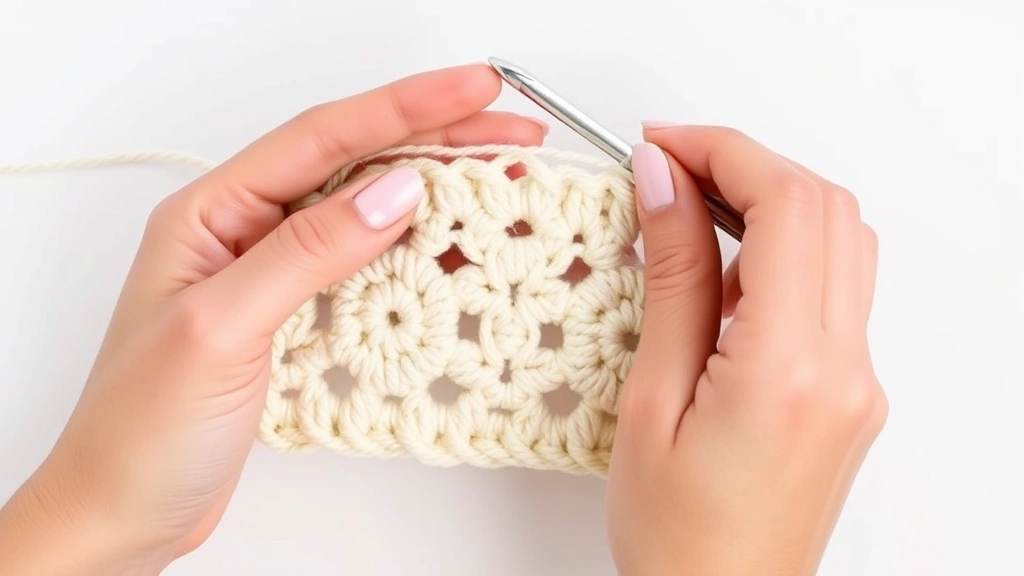
The slip stitch method is my go-to for creating nearly invisible seams that lie completely flat. This technique works by inserting your hook through both loops of corresponding stitches on adjacent squares, creating a strong join that doesn’t add bulk to your project.
To use this method, place your squares right sides together (the “pretty” sides facing each other). Using the same yarn weight as your squares – I typically use the main color or whatever color will be least noticeable – insert your hook through the back loop only of the first stitch on both squares simultaneously. Yarn over and pull through both stitches and the loop on your hook in one motion.
Continue this process along the entire edge, working through corresponding stitches. The key is maintaining consistent tension – not too tight that it puckers, not too loose that gaps appear. I’ve found that using a hook one size smaller than what I used for the squares helps achieve the right tension.
Pro tip: Count the stitches on each edge before you start. Granny squares should have the same number of stitches on each side, but if yours don’t match up perfectly, you can ease in the extra stitches by working two stitches from the longer edge into one stitch on the shorter edge.
This method works beautifully for blankets where you want the focus to be on the square pattern itself, not the joining. It’s particularly effective when working with worsted weight yarn, as the slightly thicker fiber helps disguise any minor tension inconsistencies.
The main drawback? It takes time and patience. For a large blanket, you’re looking at several hours of seaming work. But the professional-looking results are worth every minute.
Single Crochet Joining Technique
If you want your joins to become a decorative feature rather than hide in the background, single crochet joining is your friend. This method creates a raised seam that adds texture and visual interest to your finished project.
Place your squares wrong sides together (pretty sides facing out). Working from the right side of your project, insert your hook through both loops of the first stitch on both squares. Single crochet through both layers, then continue across the entire edge. The result is a visible seam that looks intentional and polished.
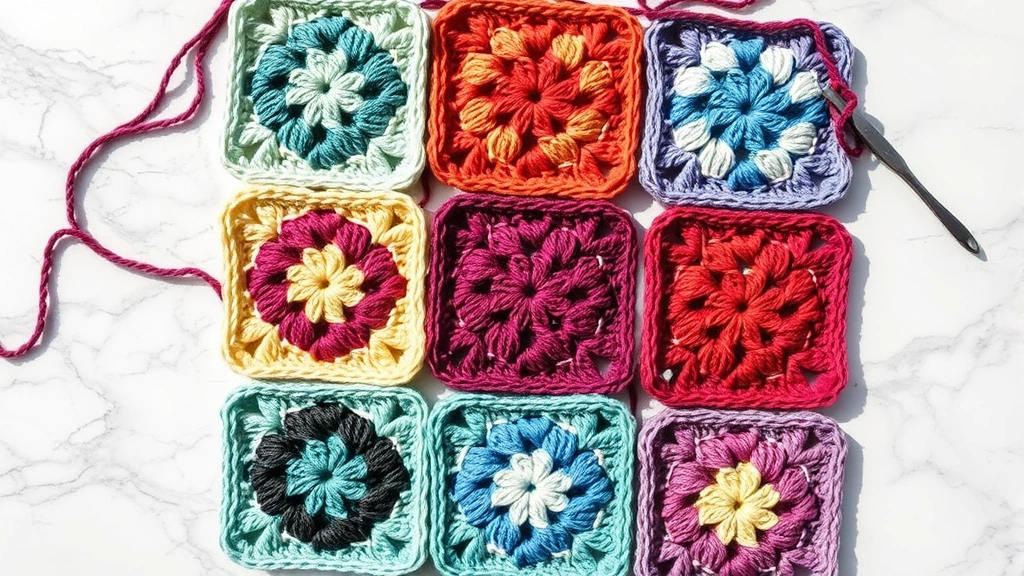
I love using a contrasting color for this technique – imagine cream granny squares joined with a deep burgundy, or pastels connected with crisp white. The Craft Yarn Council recommends using the same yarn weight for joining as you used for the squares to maintain consistent drape and structure.
Color Considerations
The color choice for your joining yarn can completely transform your project’s appearance. A matching color creates subtle texture without drawing attention to the seams. A contrasting color makes the grid pattern a prominent design element. Variegated yarns can add whimsy but might compete with busy square patterns.
This method works particularly well for baby blanket crochet patterns where you want the finished piece to have a cozy, handmade feel. The raised seams actually add warmth and thickness, making the blanket more substantial.
Whip Stitch Approach
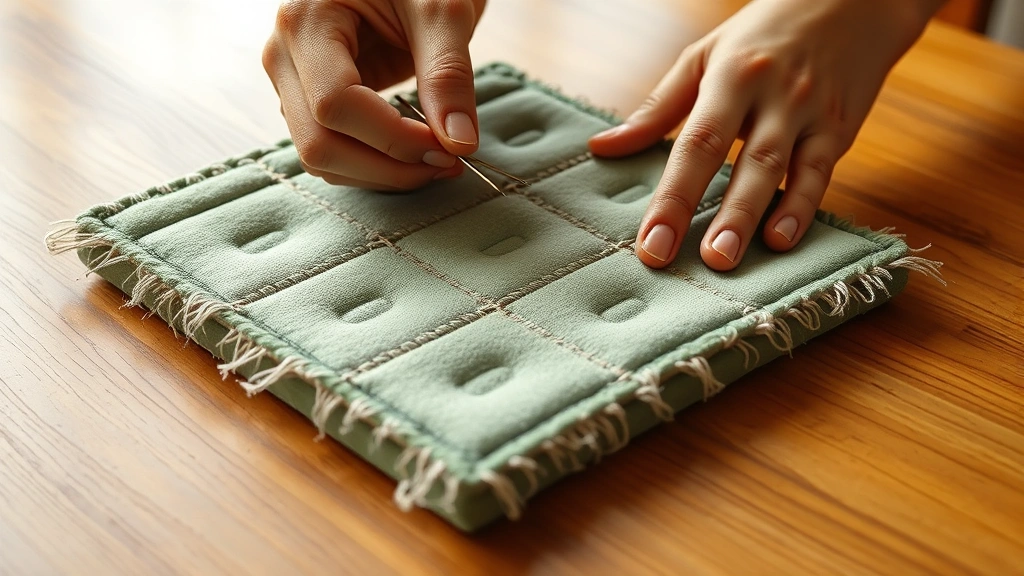
Sometimes you just want to get your squares joined quickly without fussing with crochet techniques. Enter the whip stitch – the speediest method in your joining arsenal. This sewing technique uses a tapestry needle and creates a flat, strong seam.
Place your squares right sides together and use a tapestry needle threaded with your joining yarn. Insert the needle from back to front through the back loops only of corresponding stitches on both squares. Bring the needle over the edge and insert it through the next set of back loops. Continue this diagonal stitching motion along the entire edge.
The beauty of whip stitch lies in its simplicity and speed. I can join squares much faster with this method than with any crochet technique. It’s also forgiving – if you make a mistake or don’t like how a seam looks, it’s easy to remove and redo.
However, whip stitch does have limitations. The seam, while flat, is slightly more visible than slip stitch joining. It also requires switching between tools (hook to needle and back), which some crocheters find disruptive to their workflow.
Yarn Choice for Whip Stitch
Use a yarn that’s slightly thinner than your square yarn for whip stitch joining. If you made your squares with worsted weight, try using DK or sport weight for joining. This prevents the seams from becoming bulky while maintaining adequate strength.
| Square Yarn Weight | Recommended Joining Yarn | Needle Size |
|---|---|---|
| Worsted (4) | DK (3) or Sport (2) | Size 16-18 |
| DK (3) | Sport (2) or Fingering (1) | Size 18-20 |
| Bulky (5) | Worsted (4) or DK (3) | Size 14-16 |
Join-As-You-Go Method
Here’s the method that eliminates seaming entirely: join-as-you-go (JAYG). Instead of making individual squares and joining them later, you connect each new square to previously completed ones as you work the final round. It’s like magic – you finish your last square and your entire project is complete.
The basic principle involves working your new square normally until the final round. On the final round, instead of completing corners and sides independently, you join to adjacent squares by working slip stitches or single crochets through the corresponding stitches of the completed square.
For a standard granny square, you’d work the first three rounds normally. On the fourth round, when you reach a side that will connect to an existing square, you work halfway across that side, then slip stitch into the corresponding stitch on the adjacent square, work a chain (usually ch 1), skip a stitch on the new square, and slip stitch into the next corresponding stitch on the adjacent square. Continue this pattern across the joining edge.
The JAYG method requires careful planning. You need to know your final layout before you start, and you must work in a specific order – typically starting from one corner and working outward in a logical sequence.
This technique works beautifully with different crochet hook sizes and yarn weights, but consistency is key. All your squares need to be exactly the same size for the joins to align properly.
JAYG Advantages and Challenges
The biggest advantage is obvious – no seaming! You also get perfectly aligned squares since you’re joining them while they’re still on the hook and easier to manipulate. The joins are typically very neat and consistent.
The challenges include the need for advance planning and the difficulty of making corrections. If you realize you made an error several squares back, fixing it might require unraveling multiple squares. It’s also harder to work on JAYG projects in different locations since you need to keep track of the overall layout.
Invisible Mattress Stitch
When you want joins that truly disappear, mattress stitch is your secret weapon. Borrowed from knitting, this technique creates seams so invisible that people will wonder how your squares are staying together.
Place your squares side by side with right sides facing up. Using a tapestry needle and matching yarn, pick up the horizontal bar between the first and second stitches on one square, then the corresponding bar on the adjacent square. Continue alternating between squares, picking up these horizontal bars rather than going through the stitches themselves.
After working several stitches, gently pull the joining yarn to snug the squares together. The edges will roll inward slightly, completely hiding the seam. It’s almost like a magic trick – the squares appear to be seamlessly connected.
This method requires practice to master, but it’s worth the effort for special projects. I use mattress stitch for afghan crochet patterns where I want a truly polished, professional appearance.
Choosing the Right Method
With so many joining options, how do you choose? Consider your project goals, skill level, and available time. Here’s my decision-making framework:
For invisible seams on heirloom pieces, use slip stitch or mattress stitch. These methods take more time but create the most professional appearance. They’re perfect for blankets you plan to pass down through generations.
For decorative seams that add visual interest, choose single crochet joining. This works especially well when you want the grid pattern to be a prominent design element. It’s also great for chunky yarn patterns where the raised seams add cozy texture.
For speed and simplicity, whip stitch is your best bet. It’s the fastest method and creates flat, strong seams. Perfect for everyday blankets, baby items, or when you’re working on a deadline.
For projects where you want to eliminate seaming entirely, use join-as-you-go. This requires the most planning but saves significant finishing time.
Project-Specific Recommendations
Baby blankets benefit from flat seams that won’t irritate delicate skin. Slip stitch or whip stitch work best. Decorative throws can handle raised seams from single crochet joining. Bed blankets need strong, flat seams – slip stitch or mattress stitch are ideal.
Consider your yarn choice too. Smooth, plied yarns work well with all methods. Fuzzy yarns like mohair can make mattress stitch difficult to execute cleanly. Slippery yarns benefit from the security of crochet-based joining methods.
Troubleshooting Common Issues
Even experienced crocheters run into joining problems. Here are the most common issues and how to fix them:
Puckering seams: Usually caused by too-tight tension. Try using a larger hook or loosening your grip. If the damage is done, you’ll need to remove the join and redo it with looser tension.
Gaps in seams: This happens when your tension is too loose or when you’re not catching both layers consistently. Double-check that your hook or needle is going through both squares with each stitch.
Misaligned squares: Prevention is key here. Always count stitches on each edge before joining and pin squares together if necessary. If squares don’t have the same number of stitches, you’ll need to ease the longer edge by working multiple stitches into some positions.
Bulky seams: Often caused by using yarn that’s too thick for joining or by working through too many loops. Try using a thinner yarn for joining, or switch to a method that creates flatter seams.
If you’re having trouble with any joining method, practice on swatches first. Make four small squares and practice joining them with your chosen method. It’s much easier to troubleshoot problems on a small scale than on a full-size blanket.
Remember that different yarn types behave differently during joining. Cotton yarns tend to be less forgiving of tension issues, while wool yarns have more give and can hide minor inconsistencies.
Common Questions
What’s the strongest way to join granny squares?
Single crochet joining creates the strongest seams because you’re essentially crocheting the squares together. The raised seam distributes stress across a wider area than flat seaming methods. For maximum strength, use the same yarn weight as your squares and work through both loops of each stitch.
Can I use a different yarn weight for joining than I used for the squares?
Yes, but go thinner, not thicker. Using yarn one weight class lighter (DK instead of worsted, sport instead of DK) can actually improve your seams by reducing bulk. Never use heavier yarn for joining as it will create thick, awkward seams that don’t lie flat.
How much extra yarn do I need for joining squares?
Plan on about 10-15% additional yarn for joining. For a worsted weight blanket made of 4-inch squares, you’ll need approximately 2-3 yards of yarn per seam. A throw-size blanket with 63 squares (9×7 grid) has about 48 seams, requiring roughly 100-150 yards of joining yarn.
Should I block my squares before or after joining?
Block individual squares before joining for the best results. This ensures all squares are exactly the same size and shape, making joining much easier. You can do a light blocking of the entire finished piece afterward if needed, but the heavy lifting should be done on individual squares.
What’s the best joining method for beginners?
Whip stitch is the most beginner-friendly method. It’s fast, forgiving, and doesn’t require learning new crochet techniques. The seams are flat and strong, and mistakes are easy to fix. Once you’re comfortable with basic joining, you can explore crochet-based methods.
Can I mix different joining methods in one project?
Absolutely! Some crocheters use different methods for horizontal versus vertical seams, or switch methods based on yarn colors. Just ensure the different methods create seams of similar bulk and strength so your finished project hangs evenly.
How do I join squares when they’re slightly different sizes?
First, try blocking to even out minor size differences. If that doesn’t work, you can ease the larger square to fit the smaller one by working two stitches from the larger square into one stitch on the smaller square at regular intervals. This takes practice but creates professional-looking results.
What tools do I need for joining granny squares?
For crochet methods, you’ll need a hook (same size or one size smaller than used for squares) and scissors. For sewing methods, add a tapestry needle with a blunt tip and large eye. Stitch markers can help keep track of your place on large projects, and good lighting makes a huge difference in seeing your stitches clearly.
Joining granny squares doesn’t have to be the tedious chore that many crocheters dread. With the right method for your project and a little practice, it can actually be a relaxing, meditative part of the process. I’ve learned to enjoy this final step – it’s when your collection of individual squares finally transforms into the cohesive project you envisioned.
Remember that there’s no single “best” method. The right choice depends on your specific project, skill level, and personal preferences. Don’t be afraid to experiment with different techniques on practice squares before committing to your final project. And if you’re not happy with your first attempt, that’s okay too – most joining methods can be removed and redone without damaging your squares.
The most important thing is to choose a method you’ll actually complete. A beautiful blanket joined with simple whip stitch is infinitely better than a pile of perfect squares that never get assembled. So pick your method, gather your supplies, and start connecting those squares. Your finished project is waiting, and it’s going to be absolutely worth the effort.