How to Plan Your Crochet Projects Like a Pro (Without the Stress)
Let’s be real—staring at your yarn stash wondering what to make next can feel paralyzing. You’ve got gorgeous colors, different weights, maybe some yarn you picked up on vacation three years ago that you’re still not sure about. Then there’s Pinterest, Instagram, and all those gorgeous patterns calling your name. Where do you even start? The truth is, planning your crochet projects doesn’t have to be complicated or intimidating. It’s actually kind of fun once you break it down into manageable pieces.
I’ve been crocheting for years, and I’ve learned that the difference between projects that turn into beautiful finished pieces and those that languish in a project bag comes down to one thing: thoughtful planning. Not rigid planning—we’re not building a house here. Just smart, intentional choices that set you up for success. Whether you’re a beginner working on your first simple stitch projects or an experienced maker tackling ambitious designs, having a system makes everything smoother, faster, and honestly, way more enjoyable.
Assess Your Yarn Stash Realistically
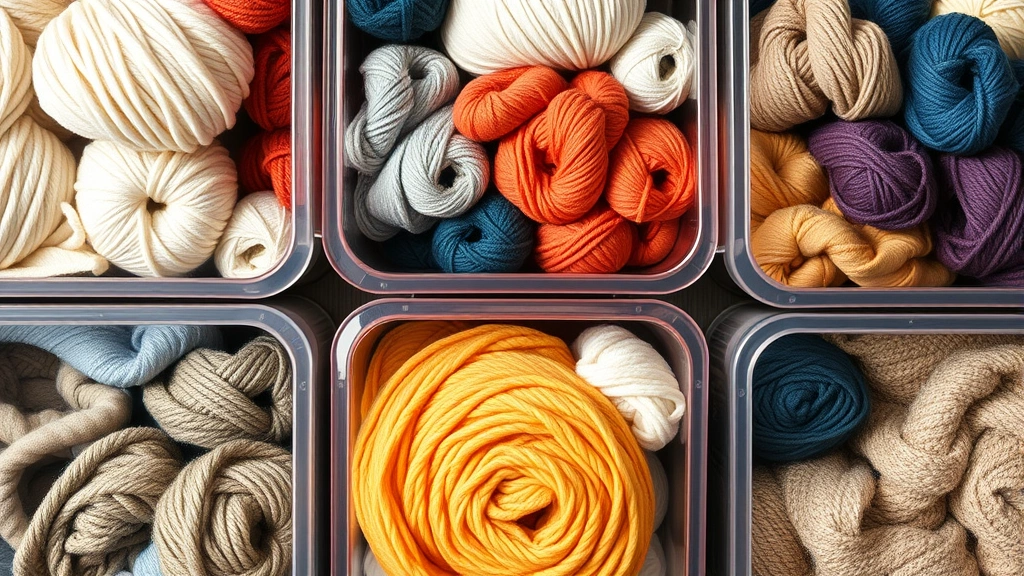
Before you even think about patterns, let’s talk about what you actually have. Your yarn stash is probably a mix of intentions, impulses, and genuine treasures. That’s totally normal. But here’s where most people get stuck: they hold onto yarn they don’t actually want to work with, or they forget what they have, so they buy duplicates.
Start by doing a real inventory. I know it sounds tedious, but it’s genuinely helpful. Pull everything out—yes, everything. Grab a notebook or use a spreadsheet (or honestly, there are some great apps for this now). For each yarn, write down:
- Fiber content: Cotton, acrylic, wool, a blend? This matters for what you’ll want to make.
- Weight: Lace, fingering, sport, worsted, bulky? Check the label or wrap it around your finger to get a sense.
- Yardage: How much do you actually have? Be honest here.
- Color: Does it spark joy, or does it feel like an obligation?
- Why you bought it: This is the real question. Was it love at first sight, or did someone on social media convince you it was essential?
Once you’ve done this, you might notice some patterns. Maybe you have tons of worsted-weight acrylic in neutrals. Great—that’s perfect for beginner-friendly blankets and afghans. Or perhaps you’ve got a collection of gorgeous fingering-weight wool. That’s your signal that you’re ready for something like a shawl or a detailed sweater.
Here’s the thing: it’s okay to acknowledge that some yarn just isn’t going to happen. If you’ve been holding onto something for five years and it doesn’t excite you, it’s fine to let it go. Donate it, gift it to a friend, or yes, even throw it away. The mental load of keeping yarn you don’t want is heavier than you’d think. Your stash should inspire you, not guilt you.
Match Projects to Your Skill Level
This is where a lot of people trip themselves up. They see a gorgeous sweater pattern and decide that’s what they’re making, even if they’ve only ever completed a scarf. Then they get frustrated, the project sits abandoned, and they convince themselves they’re just “not a sweater person.” You’re not a sweater person—you just picked a project that wasn’t the right fit yet.
Here’s a realistic breakdown of skill progression:
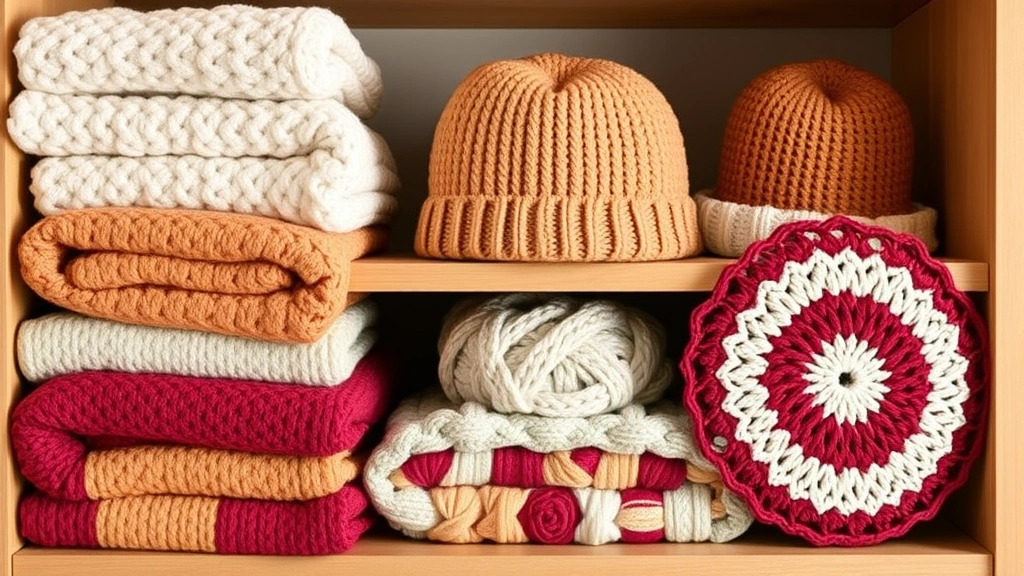
- Total beginner: Focus on basic stitches like single crochet, half-double crochet, and double crochet. Simple stitch projects like dishcloths, washcloths, and garter stitch blankets are your friends. You’re learning how your hands work, how tension feels, and how patterns read.
- Comfortable with basics: Now you can handle projects with stitch combinations, color changes, and simple shaping. Think baby blankets, scarves with texture, and simple hats. You understand how stitches affect fabric and can troubleshoot basic issues.
- Intermediate: You’re ready for fitted garments, granny squares with complex assembly, and projects requiring increases and decreases. You can read more complex patterns and understand gauge in a meaningful way.
- Advanced: Now you can tackle things like intricate lacework, complex colorwork, custom sizing, and pattern modification. You understand how fiber behaves and can problem-solve creatively.
The key is being honest about where you actually are, not where you wish you were. And here’s something really important: understanding time commitments is part of matching yourself to the right project too. A beginner shouldn’t tackle a 40-hour project because the time investment will feel endless. But a 10-hour project? That’s achievable and genuinely rewarding.
Calculate Time and Commitment
This is the practical stuff that actually makes planning work. Every project takes time, and being realistic about how much time you have—and how much you’re willing to invest—makes the difference between finishing projects and having a pile of abandoned ones.
Here’s how to estimate:
- Check the pattern: Good patterns tell you the estimated time. If it says “20 hours,” that’s usually for someone working at an average pace.
- Know your speed: Are you a fast crocheter or a thoughtful one? Do you crochet while watching TV or do you need focus time? This genuinely affects your timeline.
- Factor in learning time: If you’re trying a new stitch or technique, add 20-30% to the estimate. You’ll be slower as you learn.
- Be honest about your weekly capacity: If you can crochet 5 hours a week, a 50-hour project will take you 10 weeks. Can you stay motivated for that long? Some people can; others need quicker wins.
Here’s a practical example: Let’s say you want to make a baby blanket. A basic ripple blanket in worsted weight might take 15-20 hours. If you crochet 3 hours on weekends, that’s a project you could finish in about a month. That’s motivating and achievable. Now, if you chose a heavily textured, color-work blanket with intricate edging, you might be looking at 40-50 hours. Same yarn, same general project category, but a completely different commitment. Knowing the difference upfront saves you from frustration later.
Also consider that some projects fit better into certain life seasons. When you’re super busy with work or kids or whatever, maybe this is the year for simple pattern projects you can work on in small increments. When life settles down, that’s when you tackle the ambitious stuff.
Choose Patterns That Excite You
Okay, this is the fun part. You’ve got your yarn sorted, you know your skill level, and you understand the time involved. Now comes pattern selection—and this should genuinely excite you.
Here’s what I look for in a pattern:
- Clear instructions: Does it read like English, or does it assume you know every abbreviation and technique? Good patterns assume some knowledge but explain things clearly. Check reviews on platforms like Ravelry to see if other crafters had trouble understanding it.
- Good photos: Can you see what the finished project actually looks like from multiple angles? Blurry phone photos don’t count.
- Gauge information: Does it list gauge? This matters more as you get into fitted projects, but it’s worth checking.
- Yarn recommendations: What weight and fiber does the designer suggest? This is helpful context, especially if you’re substituting.
- A pattern that speaks to you: This is the real test. Does it make you excited to start? Do you imagine yourself wearing it, gifting it, or displaying it? That enthusiasm is what keeps you going when you hit the inevitable moment of “why am I doing this?”
Don’t feel obligated to follow a pattern exactly, by the way. Once you’re past the beginner stage, you can absolutely modify things. Change colors, adjust sizing, swap stitches. Patterns are blueprints, not commandments. That said, for your first version of something, following the pattern as written is genuinely helpful because you’re learning the designer’s logic.
Some great places to find patterns: Yarnspirations has tons of free patterns with video tutorials, which is amazing if you’re visual. Etsy has individual designers with unique work. Published books from brands like Fons and Porter (though they’re mainly quilting, they have some fiber arts resources) and independent publishers have patterns that are often really well-tested.
Organize Your Project Timeline
So you’ve picked your project. Now let’s make sure you actually finish it. Organization matters more than you might think.
I recommend having a working project, a backup project, and a planning project. Here’s what that means:
- Working project: This is what you’re actively crocheting right now. It’s the one you’re excited about, you have all the materials for, and you’re making steady progress on.
- Backup project: This is something simpler that you can pick up when you’re tired or need a mental break from your main project. Maybe it’s a simple dishcloth or a basic granny square blanket. You’re still productive, but you’re not thinking hard.
- Planning project: This is what you’re researching and gathering materials for next. You’ve picked the pattern, you’re sourcing the yarn, you’re mentally preparing. When your current project finishes, this one is ready to go.
Having this structure means you’re never stuck wondering what to work on next. You’ve got momentum built in.
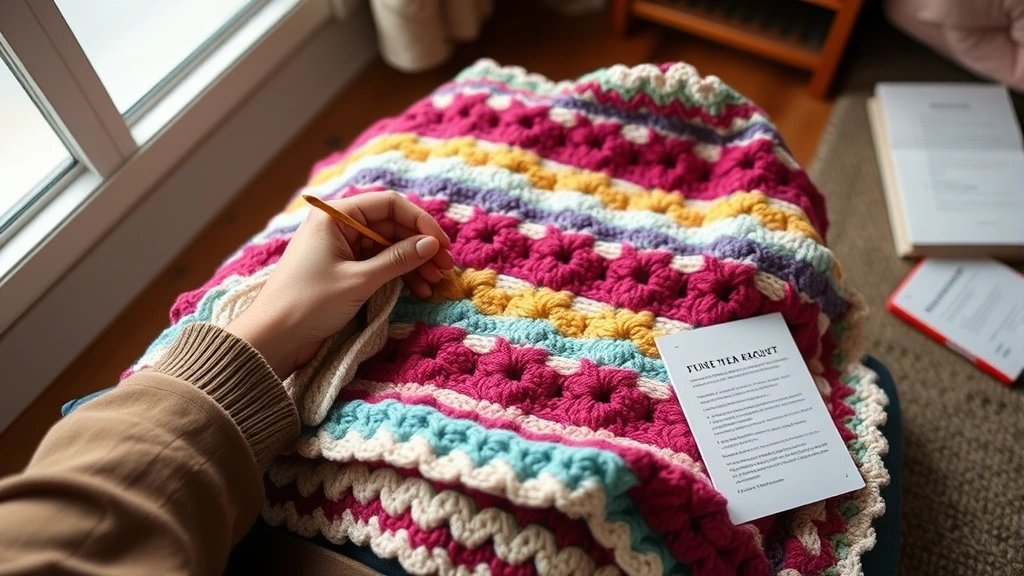
For your actual timeline, write it down. Not in some complicated project management system—just simple. “I’m starting this blanket on March 1st. I want to finish by April 15th.” Then break it into milestones. “Rows 1-50 by March 15th. Rows 51-100 by April 1st.” This isn’t rigid—life happens. But it gives you a realistic sense of whether you’re on track.
Also, keep your patterns, yarn labels, and notes together. A simple project bag with the pattern printed out, the yarn, a progress note, and the yarn label is genuinely helpful. You don’t have to hunt for information mid-project, and you’ve got all your gauge and fiber care information right there.
Track Progress and Stay Motivated
This is the part that keeps projects from becoming abandoned. Tracking progress, even informally, makes a real difference.
Some ideas:
- Take progress photos: This sounds silly, but seeing how far you’ve come is genuinely motivating. Take a photo every week or every 25% of the project. You’ll be amazed looking back.
- Keep a simple note: “Started March 5th. 40 rows done. Stitches are getting more even. Love how the color is coming together.” This doesn’t have to be fancy—just a note in your phone works.
- Share your work: Post on Instagram, tell a friend, bring it to crochet night. External accountability and encouragement help.
- Celebrate milestones: Finished half? That’s worth celebrating. Don’t wait until the very end to feel proud.
- Know when to take a break: If you’re frustrated or bored, step away for a few days. Seriously. Sometimes a project just needs breathing room. You’ll come back to it with fresh eyes.
Here’s something real: sometimes you’ll start a project and realize halfway through that it’s not working. Maybe the yarn isn’t right, or the pattern’s confusing, or you’ve just changed your mind. That’s okay. You can frog it (unravel), set it aside, or repurpose the yarn. Not every project has to be finished, and that’s genuinely fine. What matters is learning from it.
The whole point of planning your crochet projects is to make the process enjoyable, not stressful. You’re making something with your hands, creating something beautiful, and spending time on something you love. That’s the actual goal. Everything else—the planning, the organizing, the tracking—is just making sure you actually get to enjoy that process instead of getting tangled up in logistics.
FAQ
How do I know if I’m ready for a more advanced project?
You’re ready when you can complete an intermediate project without getting frustrated, when you understand basic pattern reading, and when you want to challenge yourself. A good sign is that you’re curious about new stitches and techniques. Start with just one new element—maybe try a fitted garment with your familiar stitches, or try a new stitch in a simple project. You don’t need to do everything new at once.
What if I don’t have the exact yarn a pattern calls for?
You can absolutely substitute, but do it thoughtfully. The key is matching weight and yardage. If the pattern calls for 1000 yards of worsted-weight acrylic and you have 1000 yards of worsted-weight cotton, you’re fine—the fiber is different but the weight is the same. What’s trickier is substituting weights. If you must, make a gauge swatch with your yarn and adjust your pattern accordingly. Also consider that fiber behaves differently—cotton is less stretchy than acrylic, wool is warmer, etc. Choose substitutes that make sense for the project.
How do I avoid projects sitting in my project bag forever?
Set a realistic timeline and break projects into chunks. Also, be selective about what you start. If you’re not genuinely excited about a project, don’t start it just because you have the yarn. And remember that having one or two projects in progress is healthy; having fifteen is a sign you’re over-committed. Finish more than you start.
Should I plan out my whole year of projects?
Some people love this; some find it restrictive. I’d say plan your next 2-3 projects clearly, have ideas for a few more, but leave room for spontaneity. Life changes, seasons change, and your crochet interests might shift. Rigid planning takes the fun out of it.
What’s the best way to store projects in progress?
Use a dedicated project bag for each one. Include the pattern, yarn label, any notes, and the yarn. A clear plastic bag or a small project bag works great. Keep them somewhere visible so you’re reminded to work on them. Out of sight really does mean out of mind with crochet projects.