Beginner’s Guide to Choosing the Right Yarn for Your Crochet Projects
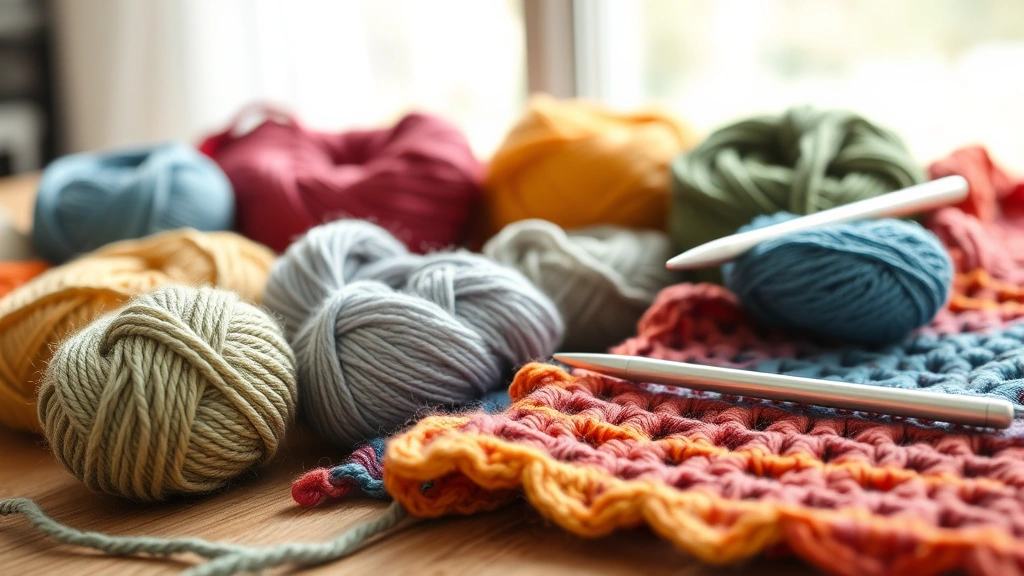
Let’s be real—walking into a yarn store or scrolling through online options can feel absolutely overwhelming. There are so many colors, textures, weights, and fiber blends that it’s easy to feel paralyzed before you even pick up a hook. I’ve been there, standing in front of what feels like a thousand skeins, wondering if I should grab the soft merino or the budget-friendly acrylic, or if that gorgeous silk-blend will actually work for the blanket I’m dreaming about.
The truth is, choosing yarn isn’t just about what looks pretty in the store—it’s about understanding what’ll actually work for your project, your skill level, your lifestyle, and yes, your wallet. The good news? Once you know what to look for, it becomes way less intimidating. You’ll start to develop an intuition about fiber, weight, and yardage that makes the whole process feel more like an adventure than a puzzle.
In this guide, we’re going to walk through everything you need to know about picking yarn that’ll make your crochet projects actually enjoyable to work on and beautiful when they’re done. Whether you’re making your first granny square or planning an ambitious temperature blanket, this breakdown will help you make confident choices every single time.
Understanding Yarn Weight and What It Means for Your Project
Yarn weight is probably the most important thing to understand first, because it literally determines whether your project will work or completely flop. Yarn weight isn’t about how heavy the yarn feels in your hand—it’s about the thickness of the strand and how many plies (individual threads) are twisted together.
The Craft Yarn Council has standardized yarn weights from 0 (lace) all the way to 7 (jumbo). Here’s the breakdown that actually matters for most crocheters:
- Lace (0): Super delicate, thin, mostly for intricate doilies and shawls. If you’re just starting out, skip this.
- Fingering (1): Thin and delicate, used for socks, lace shawls, and detailed amigurumi. Requires patience and smaller hooks.
- Sport (2): Still pretty thin, great for baby items, lightweight garments, and detailed work.
- DK/Light Worsted (3): Medium-light weight, versatile for lots of projects. This is honestly a sweet spot for beginners because it’s forgiving but still shows stitch definition.
- Worsted/Aran (4): The most common weight you’ll see. Perfect for blankets, scarves, hats, and most beginner patterns. Stitches show up nicely, and projects move along at a satisfying pace.
- Bulky (5): Thick and chunky, creates projects super fast. Great for cozy blankets and quick gifts, but can sometimes feel less refined.
- Super Bulky (6): The “I want to finish this project this weekend” yarn. Fast and satisfying, though stitches can get a bit loose.
- Jumbo (7): Basically arm knitting territory. Fun for novelty projects, but limited in versatility.
Here’s the thing that trips people up: the pattern you’re using will call for a specific weight. If you substitute a lighter weight for a heavier one, your project will be smaller and potentially flimsy. Go heavier when the pattern calls for light weight, and you’ll end up with something stiff and dense. It’s not impossible to substitute, but you need to understand how it’ll change your finished piece. We’ll talk more about calculating yardage when substituting, but for now, just know that weight matters tremendously.
When you’re shopping, look for that little symbol on the label—it’s usually a number in a ball or skein shape. That’s your yarn weight indicator. Match it to what your pattern calls for, and you’re already halfway to success.
Fiber Content: Natural vs. Synthetic and Everything In Between
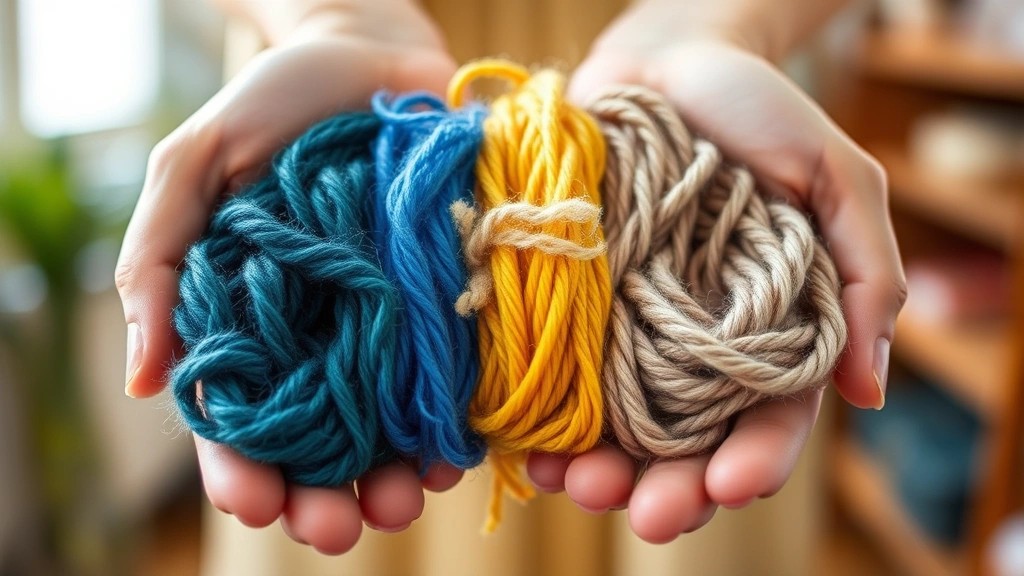
This is where things get really personal, because different fibers behave completely differently. Natural fibers, synthetics, and blends each have their own superpowers and their own quirks.
Natural Fibers
Wool is the classic for a reason. It’s elastic, forgiving, warm, and honestly just lovely to work with. Merino wool is softer than traditional wool and less itchy—if you’ve had bad experiences with wool, merino might change your mind. The downside? Wool can be pricey, and it requires gentle care (hand wash, lay flat to dry). It’s also not ideal if you’re making something for someone with wool sensitivities.
Cotton is breathable and perfect for summer garments, dishcloths, and anything that needs to be machine-washable. It doesn’t have much give, so stitches can feel tight and your hands might tire faster. Cotton also tends to be heavier than wool of the same weight, so projects can feel substantial and droopy if you’re not careful with your tension.
Bamboo and other plant-based fibers are silky, sustainable, and great for people who prefer non-animal fibers. They’re similar to cotton in some ways but often feel more luxurious. Fair warning: they can be slippery to work with, especially for beginners, and they don’t have as much bounce as wool.
Linen is sturdy and gets softer with washing, making it perfect for items you’ll use a lot. It’s also hypoallergenic and breathable. The catch? It’s expensive and can feel stiff until it’s been washed several times.
Synthetic Fibers
Acrylic is the budget-friendly workhorse. It’s machine-washable, doesn’t require special care, and comes in basically every color you can imagine. It doesn’t breathe as well as natural fibers, and it can feel plasticky to some people, but for practice projects, gifts for kids, or anything that needs to survive aggressive washing, acrylic is your friend. Brands like Lion Brand and Red Heart make solid acrylic options.
Polyester blends add durability and are often mixed with natural fibers to reduce cost and increase washability. They’re practical, though they sometimes lack the character of pure natural fibers.
Blends Are Your Secret Weapon
A lot of modern yarns are blends—maybe 70% acrylic and 30% wool, or 60% cotton and 40% acrylic. Blends let you get some of the benefits of expensive natural fibers while keeping costs reasonable and care requirements manageable. They’re honestly underrated. A good blend can give you the elasticity of wool with the easy care of acrylic, or the breathability of cotton with the durability of synthetic.
When you’re choosing fiber content, think about the end use. A baby blanket? Maybe acrylic or a soft blend. A fancy shawl you’re excited about? Splurge on merino or a luxury blend. A summer tank top? Cotton or linen. Once you start thinking about what the thing actually needs to do, fiber choice becomes way more intuitive.
Pro tip: If you’re sensitive to certain fibers or have allergies, buy a small skein first and do a test swatch. Wash it the way you’d wash the finished project. See how it feels. You might discover that you actually love a fiber you thought you’d hate, or that something you expected to be amazing isn’t right for you.
Yardage, Meterage, and How Much You Actually Need
Okay, this is where a lot of people get confused, and it’s actually pretty simple once you break it down. Yardage (or meterage if you’re working in metric) is literally how much yarn is in the skein. A 100-yard skein has 100 yards of yarn. A 400-meter skein has 400 meters.
Here’s what matters: you need enough yardage to complete your project, but the weight of that yardage depends on the fiber. This is why a 200-yard skein of worsted weight wool feels way heavier than a 200-yard skein of fingering weight lace yarn—the strands are thicker in the worsted weight, so 200 yards of it weighs more.
When you’re looking at a pattern, it’ll tell you how many yards (or meters) you need. If you’re substituting yarn, here’s the important part: match yardage, not weight alone. If a pattern calls for 800 yards of worsted weight and you want to use a different worsted weight yarn, you need 800 yards of your new yarn too. If you want to switch to a bulkier weight, you might need less yardage, but you have to do the math.
The formula is actually pretty straightforward. Look at the yardage per weight (usually printed on the label). If your original yarn is 180 yards per 100 grams and your new yarn is 120 yards per 100 grams, your new yarn is denser. You’d need proportionally more yardage to get the same finished size. It sounds complicated, but honestly, Ravelry has calculators that’ll do this for you in seconds.
A practical example: You’re making a blanket that calls for 2000 yards of worsted weight acrylic. You find a gorgeous bulky weight merino you love. The pattern was written for worsted, which is lighter weight, so you might only need 1200-1400 yards of the bulky merino to get a similar-sized blanket. But if you’re not sure, buy a little extra. Leftover yarn is never wasted—you can always make a matching pillow cover or donate it.
Here’s another thing nobody talks about enough: always buy a bit more than the pattern calls for. Dye lots matter. If you’re buying multiple skeins, they might be from different dye lots, and colors can vary slightly. Buying an extra 50-100 yards gives you a buffer for gauge adjustments, mistakes, or just making sure you don’t run short near the end of your project. There’s nothing worse than running out of yarn three rows from finishing.
Texture and Feel: Finding Yarn That Works for Your Hands
This is the part that doesn’t get talked about enough, and honestly, it’s huge. You’re going to be holding this yarn in your hands for hours. If it makes your hands hurt, feels scratchy, or drives you bonkers, you’re not going to enjoy the process, no matter how pretty the finished project will be.
Some yarns are smooth and slippery, which can feel luxurious but sometimes makes stitches looser and harder to control. Others are slightly fuzzy or textured, which grabs the hook more and can feel more substantial. Some have a twist that feels satisfying, others feel limp.
Yarn with a lot of texture—think boucles, chenilles, or novelty yarns—can be tricky for beginners because it’s harder to see your stitches. You might not realize you’ve made a mistake until several rows later. They’re also often less forgiving if you need to rip back and redo something. Save those for when you’re more confident.
If you have arthritis, carpal tunnel, or your hands just get tired easily, look for yarns that don’t require you to grip as hard. Smoother, slightly slicker yarns with good weight distribution are gentler on hands. Avoid super thin yarns that require intense focus and tension control.
The best way to figure out what you like? Go to a yarn store if you can and actually hold different yarns. Wrap them around your fingers. See how they feel. Ask the staff what they recommend. Or order sample packs online—a lot of indie dyers and yarn companies sell small skeins specifically so you can try before committing to a full project.
One more thing: yarn feel can change after you wash it. A yarn that feels a bit rough initially might soften up beautifully. This is why doing a gauge swatch and washing it the way you’d wash the finished project is actually genius. You get to experience the yarn in its final form before you’re committed.
Color Considerations and Dyeing Your Own Yarn
Color is honestly where a lot of the joy comes in. But here’s the thing—some colors are way more practical than others, and some are actually harder to work with.
Light, solid colors are beautiful for showcasing stitch detail. They’re also unforgiving if your tension is inconsistent or your stitches are a bit loose. They show everything. If you’re still learning, a medium-toned solid or a subtle variegated yarn is more forgiving because imperfections don’t stand out as much.
Variegated yarns (where the color changes throughout) are super fun and create visual interest even with simple stitches. The downside? If the color changes are too dramatic or too frequent, they can actually obscure stitch definition and make your work look messy. There’s a sweet spot with variegated yarn where the color changes complement the stitch pattern without overwhelming it.
Darker colors are generally more practical for items that’ll get a lot of use and wear. They don’t show dirt, pilling, or stains as easily. They’re also great if you’re worried about dye bleeding in the wash.
If you’re feeling adventurous, you can actually dye your own yarn. Hand-dyeing is a whole hobby in itself, but even basic tie-dye techniques can transform plain yarn into something special. Acid dyes work on protein fibers (wool, silk, angora), while fiber-reactive dyes work on plant fibers (cotton, linen). It’s not as intimidating as it sounds, and there are tons of tutorials online.
Budget-Friendly Strategies Without Sacrificing Quality
Let’s talk money, because yarn can get expensive fast, especially if you’re making multiple projects or working on something large like a blanket.
First: acrylic is your friend. Brands like Lion Brand, Red Heart, and Caron make quality acrylic that works beautifully and costs a fraction of natural fibers. There’s zero shame in using acrylic. Some of the most impressive crochet projects out there are made with acrylic.
Second: shop sales and clearance sections. Yarn stores, big box craft stores, and online retailers all have regular sales. Follow your favorite brands on social media and sign up for email newsletters. You’ll catch sales and get advance notice of new colors.
Third: consider yarn sales and destash communities. Ravelry has a destash section where people sell yarn they’re not using. You can find incredible deals, including luxury yarns at a fraction of retail price. Local Facebook groups and Buy Nothing groups are goldmines too.
Fourth: start with smaller projects. A scarf uses way less yarn than a blanket. Make three scarves before you attempt that king-size temperature blanket. You’ll get better, you’ll use less yarn overall, and you’ll have gifts for friends.
Fifth: calculate your actual project costs. A lot of people assume expensive yarn is a bad investment, but if a luxury yarn project lasts you ten years and a cheap acrylic project pills after a year, the expensive yarn might actually be more economical. Think about longevity, not just price per skein.
Finally, learn to work with what you have. Some of the most creative, beautiful projects come from people working with limited yarn stashes. Constraints breed creativity. You might end up making something way more interesting than if you’d had unlimited resources.
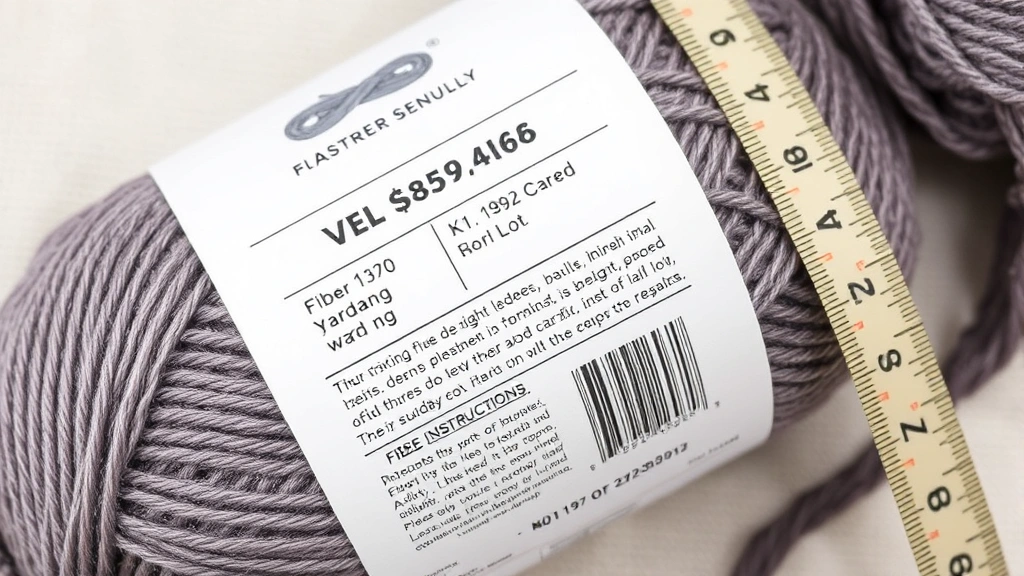
Reading Labels Like a Pro
Okay, yarn labels have a lot of information, and it can look like a foreign language at first. Here’s what you actually need to know:
Fiber Content: The percentage breakdown of what the yarn is made of. This tells you how to care for it and what it’ll feel like to work with.
Weight/Thickness: Usually shown as a number or category (worsted, DK, bulky, etc.) and sometimes as yards per gram or meters per gram. This tells you how thick each strand is.
Yardage/Meterage: How much yarn is in the skein. Essential for knowing if you have enough for your project.
Weight of Skein: Usually in grams or ounces. This is the actual weight of the yarn ball, not the thickness of the yarn.
Recommended Hook Size: A range of hook sizes that’ll work with this yarn. This is a starting point—you might need to adjust based on your personal tension.
Care Instructions: Wash temperature, whether it’s machine washable, how to dry it, etc. Read this carefully before you commit to a project. You don’t want to crochet for weeks only to discover the yarn needs hand washing in cold water.
Dye Lot: A number that indicates when the yarn was dyed. Yarn from different dye lots can have slightly different colors. When you’re buying multiple skeins, try to get them all from the same dye lot.
Pro tip: take a photo of the label before you start your project. You’ll need this information if you need to buy more yarn or if you need care instructions later.
FAQ
What’s the best yarn for beginners?
A medium-weight yarn (DK or worsted) in a smooth, solid color or subtle variegated. Something like acrylic or a wool-acrylic blend in a medium tone. You want something that shows stitches clearly enough that you can see what you’re doing, but not so light that every imperfection stands out. Acrylic is great because it’s forgiving, affordable, and doesn’t require special care.
Can I really substitute yarn in a pattern?
Yes, but you need to be strategic. Match the yardage to the pattern’s yardage requirement, and test your gauge with a swatch. Wash the swatch the way you’d wash the finished project. If your gauge is off, adjust your hook size. Keep in mind that substituting can change how the finished project looks and feels, but it’s totally doable.
Why does my yarn keep splitting?
Splitting usually means your hook is either too large or you’re inserting it in a way that’s catching the yarn strands. Try going down a hook size, or make sure you’re inserting your hook completely into the stitch before pulling through. Some yarns (especially fuzzy or delicate ones) are just more prone to splitting. It gets easier with practice.
Is expensive yarn worth it?
It depends on the project and what matters to you. A luxury yarn might make a special project feel extra special, and quality fibers often last longer and feel better. But honestly, an acrylic project made with love and attention is just as valuable as an expensive yarn project made without care. Use expensive yarn for projects you’re really excited about, and use affordable yarn for everything else.
How do I know if yarn will be itchy?
Test it. Hold it against your neck or the sensitive skin on your arm. If it feels scratchy, it probably will be itchy in a finished project. Merino and superwash wool are softer than traditional wool. Blends that mix wool with acrylic or bamboo can reduce itchiness. When in doubt, buy a small amount and make a swatch. Wash it and see how it feels.
What’s the difference between plied yarn and single-ply?
Plied yarn has multiple strands twisted together, which makes it stronger and more balanced. Single-ply is just one strand, which can sometimes feel less stable and more prone to splitting. For most projects, especially as a beginner, stick with plied yarn. You’ll have an easier time.