The Complete Guide to Choosing the Right Yarn for Your Crochet Projects
Listen, I get it. You’ve got a gorgeous crochet pattern you’re dying to make, you walk into a yarn store (or scroll through an online shop), and suddenly you’re staring at approximately 47 different options that all look kind of similar but are also wildly different. Acrylic or wool? Worsted weight or fingering? How much do you actually need, and why does that one skein cost $28 when another costs $5? It’s enough to make you want to abandon the whole thing and binge Netflix instead.
But here’s the thing—choosing the right yarn doesn’t have to be stressful. Once you understand what you’re actually looking at and what matters for your specific project, it becomes kind of fun. You’ll stop second-guessing yourself and start making choices that lead to projects you absolutely love wearing, gifting, or displaying. Let’s break this down together, because yarn selection is genuinely one of the most important parts of the whole crochet journey.
Understanding Yarn Weight and What It Really Means
Yarn weight is probably the single most important thing to nail down, and honestly, it’s not as complicated as it sounds. Yarn weight refers to the thickness of the yarn strand—basically, how chunky or thin it is. This matters because it directly affects how fast your project works up, how drape your finished piece will have, and whether your crochet hook can even work with it.
The Craft Yarn Council standardizes yarn weights on a scale from 0 (lace) to 7 (jumbo). Here’s the breakdown of the most common ones you’ll actually encounter:
- Lace (0): Super delicate, like threading silk. Makes intricate, lacy garments. Requires patience and tiny hooks.
- Fingering (1): Thin and elegant. Perfect for shawls, socks, and detailed amigurumi. Uses hooks from US 000-3.
- Sport (2): Light and versatile. Great for baby items and fitted garments. Hook sizes US 3-5.
- Worsted/Aran (4): The workhorse of crochet. Medium thickness, works up quickly, super forgiving. Hook sizes US 7-9. This is probably what you’ll use most often.
- Bulky (5): Thick and cozy. Projects finish fast. Perfect for blankets and winter accessories. Hook sizes US 9-11.
- Super Bulky (6): Chunky and dramatic. Finishes in days, not weeks. Hook sizes US 11 and up.
Here’s something crucial: the pattern you’re making should specify the yarn weight it needs. That’s your starting point. If a pattern calls for worsted weight and you grab fingering weight instead, your finished project will be completely different—probably way smaller and weirdly tight. It’s not impossible to substitute (we’ll talk about that), but it requires math and adjustments that honestly aren’t worth the headache when you’re starting out.
When you’re learning about different fiber types, you’ll notice that the same weight can feel completely different depending on what it’s made from. A worsted weight merino wool feels silky and flows differently than worsted acrylic, even though they’re technically the same weight. This is where your personal preference and project needs come into play.
Fiber Content: Natural vs. Synthetic and Everything Between
This is where yarn gets personal. Fiber content affects how your finished project looks, feels, wears, and even how much it costs. Let’s talk about the main players:
Acrylic Yarn: Let’s be real—acrylic gets a bad rap in some crochet circles, but it’s genuinely wonderful for a lot of projects. It’s affordable, durable, comes in every color imaginable, and it doesn’t require special care. Brands like Lion Brand and Red Heart make solid acrylic options. The downsides? It can feel a bit plastic-y, doesn’t breathe as well as natural fibers, and some people find it less satisfying to work with. But for amigurumi, blankets, and practice projects? Acrylic is your friend. Plus, if someone spills coffee on your acrylic baby blanket, you’re not crying into your yarn stash.
Wool: Merino, superwash, and regular wool are classics for a reason. Wool is warm, elastic, takes dye beautifully, and has this satisfying squish that makes crocheting genuinely pleasurable. The catch? It’s pricier, requires careful washing (unless you get superwash), and some people are allergic or sensitive to it. Wool is amazing for sweaters, scarves, and projects where drape and warmth matter. It also has memory—it bounces back after stretching, which is why wool sweaters hold their shape.
Cotton: If you’re making something for summer or something that needs to be washable and durable, cotton is your answer. It’s breathable, strong, and perfect for blankets, dishcloths, and lightweight garments. Fair warning: cotton has almost zero elasticity, so your stitches need to be consistent, and projects can feel a bit stiff until they’re washed. It’s also heavy, so cotton projects take longer to work up than you’d expect.
Blends: Wool-acrylic blends, cotton-acrylic blends, and other combinations try to get the best of both worlds. They’re often more affordable than pure natural fibers, easier to care for, and they take on properties of both materials. Blends are honestly where a lot of modern yarn lives, and they’re solid choices.
Specialty Fibers: Silk, bamboo, linen, alpaca, and other luxe fibers exist and they’re stunning, but they come with higher price tags and sometimes quirky care requirements. Save these for projects you’re really excited about, once you’ve got some experience under your belt.
Here’s my real advice: think about the end use. Are you making a gift for someone? Consider their lifestyle and climate. Are you making something for yourself? Pick fibers you genuinely want to touch and wear. The best yarn is the one you’ll actually enjoy working with and finishing.
Yardage and How to Calculate What You Need
This trips up so many people, and I promise it’s easier than it seems. Yardage is how much yarn is on a ball or skein, measured in yards (or meters). Every pattern tells you roughly how much yardage you need. Your job is to make sure you have enough.
Here’s the step-by-step:
- Find your pattern’s yardage requirement. It’ll usually say something like “requires 800 yards of worsted weight yarn.”
- Check the yardage on your yarn label. It’ll say “200 yards per skein” or something similar. Some labels show meters instead—just know that 1 yard ≈ 0.9 meters, so it’s close enough.
- Do the math. If you need 800 yards and your yarn has 200 yards per skein, you need 4 skeins. Always round up. If your math says 4.2 skeins, buy 5. That extra bit is your safety net for mistakes, tension variations, or just having enough to weave in ends properly.
- Account for color variations. If you’re buying multiple skeins, check the dye lot number (we’ll talk about this more in a minute). You want them all to match.
One thing that catches people off guard: yardage and weight are different. Two skeins of yarn can weigh the same but have totally different yardages if they’re different weights. That’s why patterns always specify yardage, not weight. Yardage is what actually matters.
If you’re substituting yarn (using a different yarn than the pattern calls for), you need to do a bit more work. Check out Ravelry, which is basically the social network for fiber crafts. You can search for your pattern and see what other people have successfully substituted. The community there is genuinely helpful and has usually already worked through the math for you.
When you’re planning your budget for yarn, knowing yardage helps you calculate cost per yard, which is actually a way better metric than price per skein. A $10 skein with 400 yards is cheaper per yard than a $6 skein with 150 yards, even though the second one looks like a better deal.
Color and Dye Lot Considerations
Let’s talk about something that seems small but can genuinely ruin a project: dye lot mismatches. See that number on your yarn label? That’s the dye lot, and it matters.
Here’s what happens: yarn gets dyed in batches. Even if two skeins are the exact same color name, if they’re from different dye lots, they might be subtly different. I’m talking about a difference you might not notice when you’re holding them side-by-side in the store, but once you’ve crocheted half a blanket with one dye lot and half with another, it becomes glaringly obvious. It’s like someone took a highlighter to the middle of your project.
How to avoid this disaster:
- Buy all your yarn at once, if possible, from the same store and the same dye lot.
- Check the dye lot number before you check out. Most stores will do this for you if you ask.
- If you’re buying online and the dye lot matters (and it usually does for anything bigger than a small project), contact the seller before purchasing and ask if they can guarantee the same dye lot.
- Keep your yarn labels. Seriously. Don’t throw them away. You’ll need them for washing instructions, and you might need them to reference if you’re hunting for more yarn later.
That said, some people intentionally use multiple dye lots to create a variegated or ombré effect. That’s cool, but it should be intentional, not a mistake you discover halfway through.
Color choice itself is personal, but here’s a practical tip: if you’re new to crochet, stick with solid colors while you’re learning. Variegated and multi-colored yarns are gorgeous, but they can hide your stitches and make it harder to see if you’re making tension mistakes. Once you’re comfortable with your technique, go wild with the fun colors.
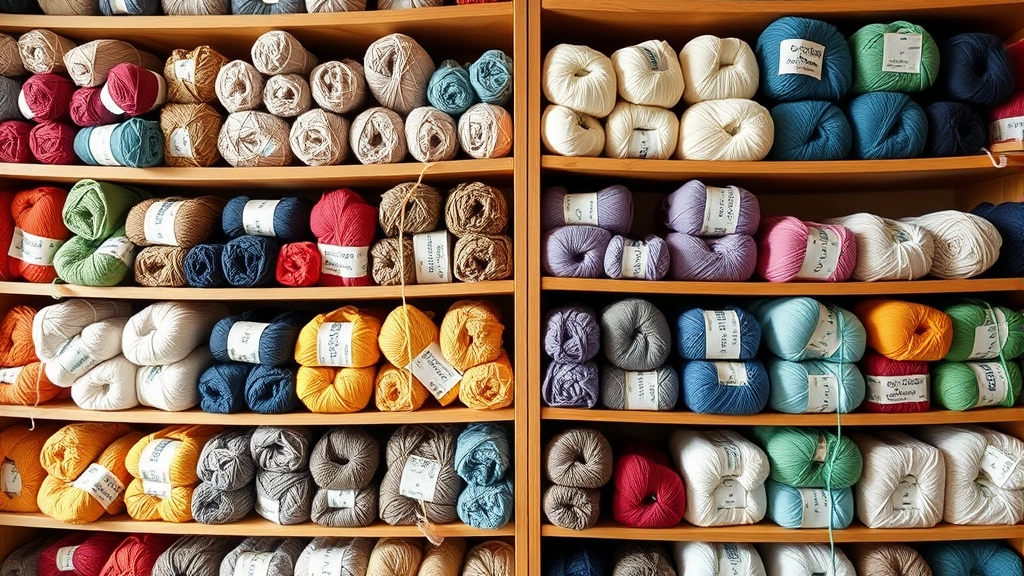
” alt=”Organized yarn collection showing multiple skeins in coordinated colors stacked neatly on wooden shelves”>
Real talk: yarn can get expensive fast, and if you’re working on a big project like a blanket or sweater, costs add up. But you don’t have to break the bank to make something beautiful. Strategy 1: Choose acrylic for big projects. A queen-size blanket in merino would cost $150+. The same blanket in quality acrylic might cost $30-50. Both will be gorgeous and functional. Pick your battles. Strategy 2: Buy yarn on sale. Craft stores run sales constantly. If you’re not in a rush, wait for a sale. Sign up for newsletters so you catch the good deals. Strategy 3: Check out budget-friendly brands that are still quality. Lion Brand, Red Heart, and Caron make solid yarn that doesn’t feel cheap. They’re not luxury, but they’re reliable. Strategy 4: Shop secondhand. Thrift stores, estate sales, and online marketplaces often have unopened yarn. You’re getting someone else’s stash at a fraction of the price. Strategy 5: Use yarn more efficiently. Learn to swatch properly so you don’t have to rip out projects. Practice your tension so you’re not wasting yarn on mistakes. The time you invest in these skills saves you money in the long run. Strategy 6: Mix fibers strategically. Use acrylic for the bulk of a project and a small amount of luxury fiber for edging or accents. You get that special fiber feeling without the special fiber price tag. Yarn labels are packed with information, and knowing how to read them is genuinely empowering. Here’s what you’re looking at: Some labels also include care symbols—little icons that show washing temperature, bleach info, and drying instructions. If you’re not familiar with them, a quick Google search will explain what each symbol means. I know swatching sounds boring, but it’s genuinely the difference between a project you love and a project that doesn’t fit right or look how you imagined. Here’s why swatches matter: Tension: Everyone crochets with slightly different tension. A swatch shows you how your tension interacts with your yarn and hook size. If your swatch comes out way looser than the pattern’s gauge, you’ll need a smaller hook. If it’s tighter, go bigger. Drape: How does the yarn actually hang? Does it feel stiff, fluid, or somewhere in between? A swatch shows you the reality before you’ve invested 20 hours in a sweater. Color in context: That yarn looked one way in the store and might look completely different when you’re actually holding a decent-sized piece of it. A swatch shows you what you’re actually getting. How to swatch properly: Swatching feels like wasted time when you’re eager to start, but it saves you from disasters. Trust me on this. Knowing where to shop makes the whole process easier. Here are solid options: Once you’ve gotten comfortable with your yarn choices, check out resources from the Craft Yarn Council for standardized information, or explore blogs and books dedicated to understanding yarn weights and fiber science. The more you know, the more confident you’ll feel making choices.Budget-Friendly Yarn Choices Without Sacrificing Quality
Reading Labels Like a Pro
Testing and Swatching Before You Commit
Where to Buy Yarn and Building Your Resources
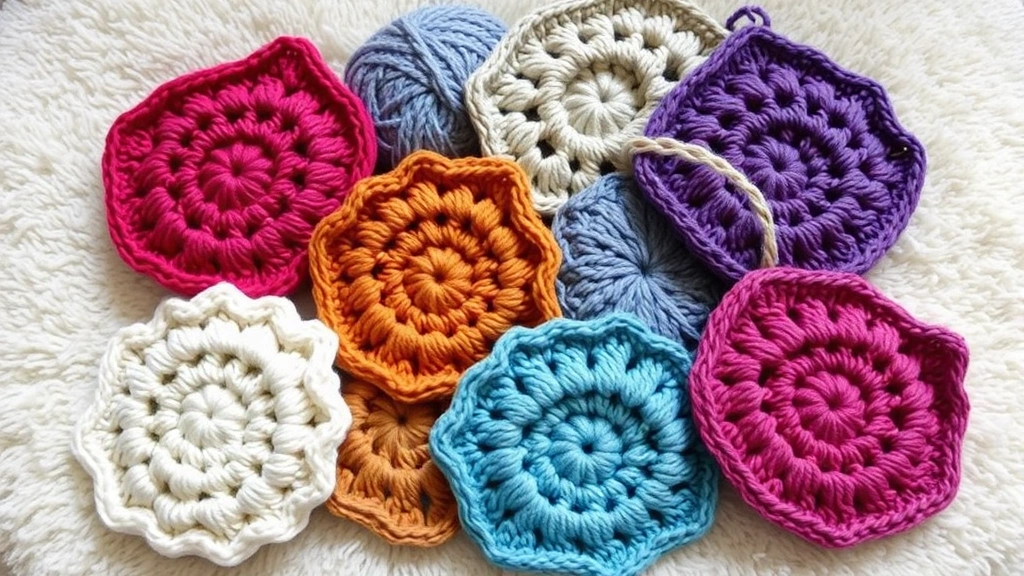
” alt=”Crocheted finished projects in various colors and textures displayed together showing different yarn types and finished results”>
Same weight doesn’t mean same results. Two worsted weight yarns—one wool, one acrylic—will behave differently. Wool has more elasticity and drape. Acrylic is stiffer. For substitutions, check Ravelry to see if someone’s already tried it. If you’re substituting, make a swatch and adjust your hook size if needed. Match yardage, not just weight. Honestly? Not much in terms of how you use it. A ball is wound in a sphere, a skein is wound in a loose loop. Some people find one easier to work from than the other. Some yarn comes in cakes, which are pre-wound into a specific shape. It’s really just about packaging—the yarn itself is the same. Good quality yarn has consistent thickness, holds its color well, doesn’t pill excessively, and feels pleasant to work with. Read reviews on Ravelry from people who’ve actually made projects with it. Check the fiber content—blends and pure natural fibers are often higher quality than cheap acrylics, but quality exists at every price point. Not necessarily. Expensive yarn is often special—luxury fibers, hand-dyed, from small producers—but that doesn’t always make it better for your specific project. A $28 skein of hand-dyed merino is beautiful, but it might be overkill for a dishcloth. Sometimes the “right” yarn is the one that fits your project and your budget. First, try Ravelry’s pattern page—other crocheters have probably already substituted and left notes. If you’re going rogue, match the weight and yardage, make a swatch with your substitute yarn and hook, and adjust your hook size based on the gauge. It takes a bit more work, but it’s totally doable. Start with patterns that use 400-800 yards. That’s enough to see real progress without an overwhelming time commitment. A simple dishcloth uses about 300 yards. A small blanket uses 1500-2000. A sweater can use 1000-2500+ depending on size. Check your pattern’s yardage and buy accordingly, always rounding up.FAQ
Can I substitute one yarn for another if they’re the same weight?
What’s the difference between a skein and a ball?
How do I know if yarn is good quality?
Is expensive yarn always better?
What should I do if I can’t find the exact yarn a pattern calls for?
How much yarn should I buy for a beginner project?