
Crochet Project Planning: Design, Budget & Timeline Guide
Let’s be honest—starting a crochet project without a plan is like showing up to a road trip without knowing where you’re going. You might end up somewhere amazing, or you might end up frustrated, broke, and staring at three half-finished afghans in your closet. I’ve been there, and I’m guessing you have too.
The difference between projects that make you proud and projects that collect dust? It’s usually not talent or fancy yarn. It’s planning. And here’s the good news: planning doesn’t have to be complicated or take all the joy out of creating. It’s actually the thing that protects your joy by keeping you grounded in what’s realistic for your life right now.
Whether you’re dreaming up your first baby blanket or tackling an intricate shawl, we’re going to walk through exactly how to plan a crochet project from spark of inspiration to that satisfying final weave-in. You’ll know your budget, your timeline, and whether that pattern is actually going to work for you—before you buy a single skein.
Assessing Your Vision and Skill Level
Before you even think about yarn or patterns, let’s get real about what you actually want to make and what you’re genuinely capable of right now. This isn’t about being humble or ambitious—it’s about being honest so you actually finish something.
Start by asking yourself: What’s the core idea? Are you picturing a chunky throw blanket for your couch, a fitted sweater, a delicate lace shawl, or a collection of amigurumi toys? Be specific. The difference between “a blanket” and “a 50×60 inch worsted-weight throw with a subtle geometric pattern” changes everything about your plan.
Next, assess your actual skill level—not the level you want to be, but where you’re at today. Can you do basic stitches like single crochet and double crochet without thinking? Great. Can you read a pattern and follow stitch abbreviations? Even better. Have you done colorwork, shaping, or worked in the round? That’s valuable information. There’s nothing wrong with being a beginner; there’s everything wrong with lying to yourself about it and then getting frustrated halfway through a pattern that requires techniques you haven’t learned yet.
Here’s a practical framework: Beginner projects use one or two stitch types, simple shaping, and straightforward patterns with minimal abbreviations. Think dishcloths, scarves, and basic hats. Intermediate projects combine multiple stitches, require reading pattern changes, and might include working in the round or color changes. Sweaters, structured blankets, and fitted items live here. Advanced projects demand complex stitch combinations, precise shaping, intricate colorwork, or unusual construction methods. Lace shawls, fitted garments with sleeves, and detailed amigurumi belong in this category.
Be honest about your timeline too. If you can only crochet three hours a week, don’t plan a massive project due in four weeks. If you’re in a creative drought or life’s chaos is high, maybe skip the ambitious piece and choose something that feels manageable and rewarding.
Choosing the Right Pattern
This is where most people go sideways. You find a pattern that looks absolutely stunning, and you fall in love before you’ve actually read it. Then three weeks in, you realize it requires techniques you don’t know, uses yarn you can’t find anymore, or is going to take twice as long as you thought.
When you’re evaluating a pattern, treat it like you’re interviewing it for a job. Start with these questions:
- Where’s the pattern from? Reputable sources like Ravelry, Yarnspirations, or published pattern collections from established designers usually have better technical accuracy than a random blog. That doesn’t mean indie designers are unreliable—many are fantastic—but established sources have editorial oversight.
- What’s the difficulty rating? Look for patterns that match your actual skill level. If it says “advanced” and you’ve only made scarves, this isn’t the one.
- How many reviews does it have, and what do people say? On Ravelry, read the actual comments. Are people saying they had to troubleshoot the pattern? Did they find errors? Did beginners complete it successfully? This is gold.
- What techniques does it require? List every stitch and technique mentioned. If you don’t know half of them, you’ve got homework to do first—and that’s a real time investment.
- How much yarn does it need? This determines your budget and whether you’re buying one skein or fifteen. Get specific yardage, not just “medium” or “lots.”
Once you’ve found a pattern that passes the test, print it out or save it somewhere you can actually reference it. Read through the entire thing—don’t skim. Note any pattern repeats, gauge requirements, and special instructions. If there’s anything you don’t understand, look it up now. This is your chance to troubleshoot before you’re committed.
Creating a Realistic Budget
Here’s where we talk about money, and I’m not going to pretend this doesn’t matter. Yarn can be expensive, and running out of budget halfway through a project is one of the fastest ways to kill your motivation.
Your budget has several components: yarn cost, tools (if you don’t already have them), and notions (buttons, stitch markers, blocking supplies, etc.).
Yarn Cost: Start with the pattern’s yardage requirement. Don’t buy exactly that amount—add 10-15% buffer for gauge adjustments, tension variations, and the fact that you might frog (rip out) and restart a section. So if a pattern calls for 1,000 yards, budget for 1,150 yards.
Now, where are you buying? That matters hugely. A luxury merino blend might cost $12-18 per 100 yards at a local yarn shop, while a worsted-weight acrylic might be $3-5 per 100 yards online. Neither is wrong—it depends on what you’re making and what you value. For that 1,150 yards, you’re looking at anywhere from $35 to $200+ depending on fiber content and where you shop.
Smart shopping: Compare prices across Webs, local shops, and specialty retailers. Sign up for newsletters—yarn shops run sales. Buy from brands like Loops & Threads, Red Heart, or Lion Brand if you’re budget-conscious. Splurge on better yarn if it’s a project you’ll wear or gift to someone special.
Tools: If you already have crochet hooks in the required size, you’re set. If not, a quality hook costs $3-15 depending on material. Bamboo and aluminum are affordable and reliable. Ergonomic hooks cost more but help if your hands hurt.
Notions: Stitch markers, yarn needles, blocking supplies, and finishing materials add another $10-30 depending on what you need. These are one-time investments if you already have basics.
Put all this together and create an actual budget. Write it down. This keeps you from impulse-buying premium yarn when you’d planned to spend $50 and staying realistic about what you can afford right now.
Yarn Selection and Fiber Choices
Okay, here’s where it gets fun—because yarn choice actually affects how your project turns out, how long it takes, and whether you’ll love wearing or using it.
Different fibers have different personalities. Acrylic yarn is affordable, comes in every color imaginable, and is easy to care for. It’s perfect for learning, for projects that’ll get heavy use, or when budget is tight. The trade-off? It can feel a bit plasticky, doesn’t breathe as well, and some people find it less satisfying to work with. Wool is bouncy, warm, and forgiving—mistakes are easier to hide in textured wool. It’s pricier and needs careful washing, but it ages beautifully. Cotton is perfect for summer items, dishcloths, and garments that need to breathe. It’s less forgiving of mistakes and doesn’t have wool’s stretch, but it’s durable and gets softer with washing. Blends try to give you the best of multiple worlds—wool-acrylic blends, cotton-acrylic blends—and often hit a sweet spot for price and performance.
For your project, think about end use. Making a baby blanket? Cotton or a soft acrylic blend. Creating an everyday sweater? Wool or a wool blend. Building amigurumi that’ll get loved and played with? Sturdy acrylic. Crafting a delicate shawl? Maybe a luxury blend or fingering-weight yarn.
Weight matters too. Yarn weight determines how many stitches you need and how long the project takes. Bulky yarn works up fast but uses a lot of yardage. Fingering weight takes forever but uses less yardage for the same finished size. Match your patience and timeline to the weight.
One insider tip: Test your yarn before committing. Buy one skein, make a gauge swatch, wash it the way you’ll wash the finished project, and see how it performs. Does it pill? Does it felt? Does it keep its shape? This takes an hour and saves you from a $100 mistake.
Building Your Project Timeline
This is the part that actually makes projects happen instead of sitting abandoned in a craft corner.
Start with honest math. How many stitches are in this project? Rough calculation: a 50×60 inch blanket with 200 stitches per row and 240 rows is about 48,000 stitches. How fast do you crochet? If you can comfortably do 40-50 stitches per minute (and that’s a reasonable pace for most people), you’re looking at 1,000-1,200 minutes of actual crochet time. That’s 16-20 hours of pure stitching.
But here’s the thing—you’re not crocheting eight hours straight. You’ve got real life. So if you can crochet three hours a week, that’s five to seven weeks of work. Add another week for finishing, weaving in ends, and blocking. You’re looking at 6-8 weeks total for a project to be truly done.
Now build a realistic timeline. When do you want this finished? Work backward. If you want it done in six weeks, can you commit to three hours per week? If not, extend your deadline or make something smaller. If you’re planning to gift it, give yourself a two-week buffer before the deadline so you’re not rushing the finish.
Here’s a template that actually works:
- Week 1: Pattern research, yarn shopping, gauge swatch, and tool gathering
- Weeks 2-5: Main project work (adjust based on your actual speed)
- Week 6: Finishing details, blocking, and final touches
- Week 7 (optional): Buffer for frogging, adjustments, or unexpected life stuff
Build in flexibility. Life happens. Someone gets sick, work gets crazy, inspiration fades. A realistic timeline acknowledges that and doesn’t set you up for failure.
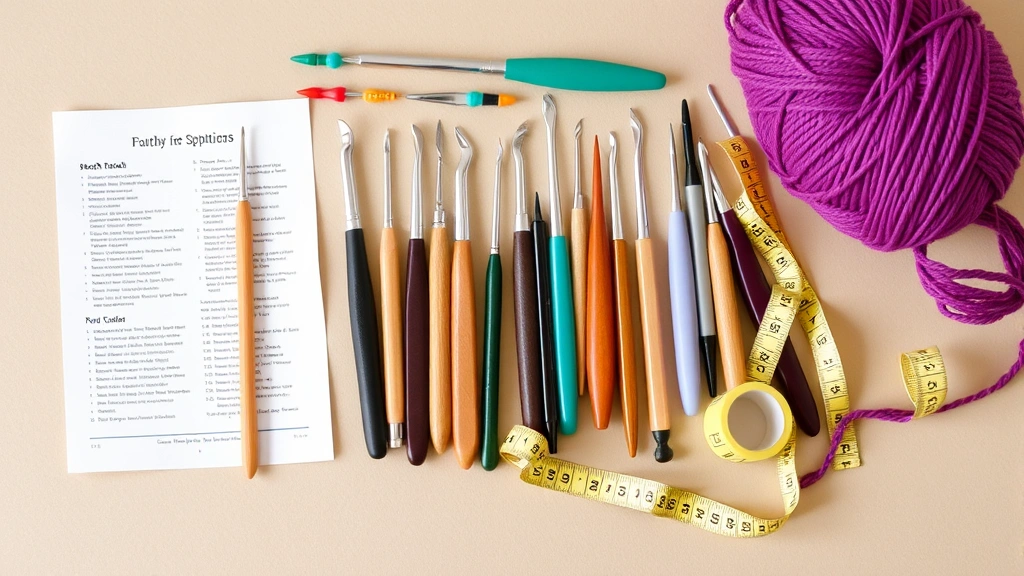
Gathering Tools and Supplies
Before you cast on that first stitch, make sure you actually have what you need. Nothing kills momentum like realizing halfway through that you don’t have the right hook size or you’re out of stitch markers.
Essential supplies:
- Crochet hook in the correct size for your yarn (the pattern will specify)
- Yarn needle for weaving in ends
- Stitch markers (or bobby pins in a pinch)
- Measuring tape for checking gauge and finished dimensions
- Pattern printed or saved where you can reference it easily
Optional but genuinely helpful:
- Row counter or notebook to track your progress
- Blocking supplies (blocking board, pins, or a towel and T-pins)
- Scissors for cutting yarn
- Yarn bowl or container to keep your working yarn from rolling around
- Light source if you crochet in the evenings
Gather everything before you start. Seriously. It takes 15 minutes and saves you from stopping mid-session to hunt for something.
Tracking Progress and Adjustments
Once you’re actually working, keep track of what’s happening. This might sound like overkill, but it’s how you learn and how you catch problems early.
Keep a simple log: date, how long you worked, how many rows or rounds you completed, any issues that came up, and adjustments you made. This doesn’t have to be fancy—a notebook or phone note works fine. Why? Because three weeks in, you’ll forget exactly when you started or how many rows you’ve done. You’ll also remember what you changed so if you make this pattern again, you know what worked better.
Common adjustments you might need to make:
- Gauge issues: If your gauge is off, your finished item will be the wrong size. If you’re getting fewer stitches per inch than the pattern calls for, try a smaller hook. If you’re getting more, try a larger hook.
- Yarn substitution: If you can’t find the exact yarn, you might need to adjust your hook size or pattern expectations. A thinner yarn might require tighter tension or a smaller hook.
- Length adjustments: If you want a longer or shorter finished item, add or subtract rows. This is totally normal and totally doable.
- Color changes: If you’re doing stripes or colorwork and the colors look different than you expected, adjust now rather than finishing something you don’t love.
The key is catching these things early. If you’re ten rows in and realize the pattern’s not working for you, frogging and restarting takes an hour. If you’re 80% done, it’s much more painful.
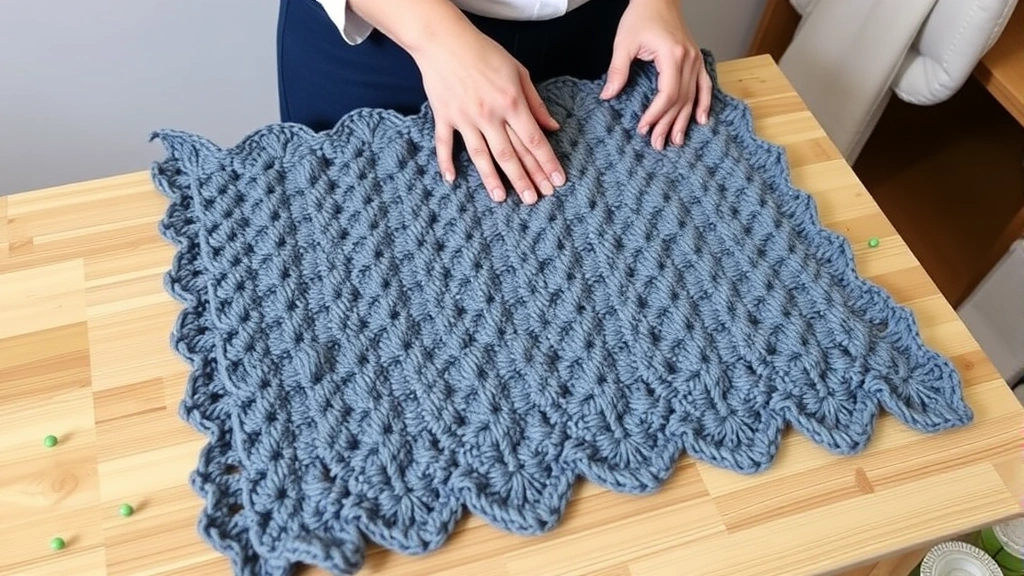
Check your work regularly. Every few rows, hold it up, measure it, and compare to the pattern’s progress photos. This is especially important for fitted items like sweaters where small errors compound.
FAQ
How do I know if a pattern is actually beginner-friendly?
Read reviews on Ravelry and look for comments from actual beginners. Check if the pattern uses only basic stitches (single crochet, double crochet, half double crochet) without complicated shaping. If you’re unsure about any technique, that’s a sign it might be above your current level—but that doesn’t mean you can’t learn. Sometimes the best projects are slightly challenging; they help you grow.
Should I buy yarn in person or online?
Both have benefits. In-person shopping lets you feel the yarn, see colors accurately, and get immediate help. Online shopping offers better prices and selection. For your first project with a new yarn type, consider buying in person so you can see what you’re getting. For subsequent purchases of familiar brands, online shopping often wins on price.
What if I run out of yarn before finishing?
This is why that 10-15% buffer matters. If you’re genuinely running short, you can sometimes adjust by changing your hook size (larger hook uses less yarn) or modifying the pattern (shorter blanket, smaller garment). Keep your receipt so you can buy more of the same dye lot if needed. Many yarn stores will hold yarn for you if you ask nicely.
How do I know if I’m crocheting fast enough to stay on schedule?
Time yourself during a normal session. Do 100 stitches and see how long it takes. Multiply that out for your total project. If it’s longer than you expected, either extend your timeline or choose a smaller project. There’s no “fast enough”—there’s just honest planning based on your actual pace.
Can I work on multiple projects at the same time?
Absolutely, if it works for you. Some people rotate projects to stay engaged. Others find it confusing and lose momentum on everything. Know yourself. If you’re the type who loves variety, go for it. If you’re someone who needs to focus on one thing, protect that focus.
What’s the best way to store a project in progress?
Use a gallon-size ziplock bag or project bag to keep everything together—yarn, pattern, hooks, stitch markers. This prevents losing pieces and keeps your project from getting dusty. Label it with the project name and date so you remember what it is if you come back to it months later.