How to Choose the Right Yarn for Your Crochet Projects
Let’s be real: standing in front of a yarn wall or scrolling through online fiber options can feel absolutely paralyzing. There are so many textures, weights, fiber contents, and colors to consider—and honestly, picking the wrong yarn can turn a project you were excited about into something that feels like a chore. But here’s the thing: choosing yarn doesn’t have to be complicated. Once you understand a few key factors, you’ll feel way more confident grabbing yarn that’ll actually work beautifully with your pattern and lifestyle.
I’ve been there, holding two skeins that look almost identical but have totally different characteristics, wondering which one would work better for the amigurumi I’m planning. Or starting a blanket with yarn that seemed perfect until I realized it was way too slippery for the stitch pattern I’d chosen. The good news? These experiences taught me exactly what to look for, and I’m going to walk you through it so you can skip some of those learning curves.
Understanding Yarn Weight and What It Really Means
Yarn weight is honestly one of the most important things to nail down, and it’s actually simpler than it sounds. When we talk about yarn weight, we’re talking about how thick the yarn is—and this directly impacts how your finished project will look and feel.
There are standardized yarn weights that go from 0 (lace) all the way up to 7 (jumbo). For most crocheters, you’re working with weights 2 through 5. Let me break down what you’re likely to encounter:
- Fingering weight (1-2): Super thin, delicate yarn. Perfect for intricate lace shawls and tiny amigurumi details, but it requires patience and smaller hooks. This is where detailed colorwork really shines.
- Sport to DK weight (2-3): Still on the lighter side, but more forgiving than fingering. Great for garments where you want drape, baby items, and detailed stitch patterns. A lot of Ravelry patterns use these weights because they hit a nice balance.
- Worsted weight (4): This is probably what you’ll use most often. It’s thick enough to work up quickly, thin enough for good stitch definition, and versatile for basically everything from blankets to scarves to sweaters.
- Bulky (5-6): These yarns work up super fast—like, finish-a-blanket-in-a-weekend fast. They’re perfect for cozy projects and chunky textures, but the finished fabric can look less refined if you’re not careful with stitch pattern choices.
Here’s what I wish someone had told me earlier: the yarn weight listed on the label is a starting point, not a guarantee. Two “worsted weight” yarns from different manufacturers can behave completely differently because of their fiber content and how they’re constructed. That’s why matching yarn to your specific pattern matters so much.
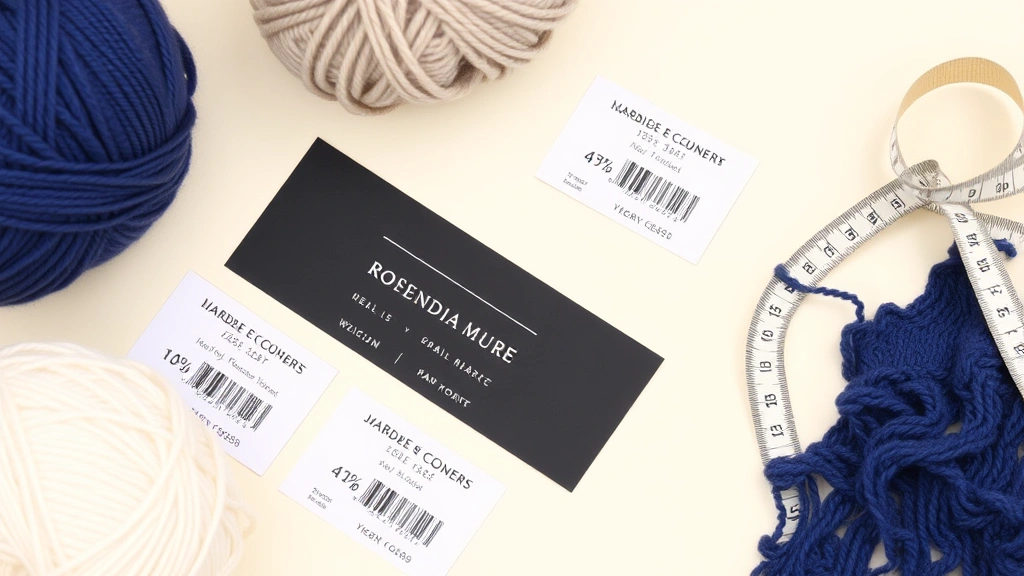
When you’re shopping, look for the yardage per weight ratio. If one yarn says “190 yards per 100g” and another says “220 yards per 100g,” that second one is slightly thinner and will behave differently in your project, even if they’re technically the same weight category. It’s a detail that makes a real difference, especially for garments where fit matters.
Fiber Content: The Foundation of Your Project
This is where your yarn choice gets personal, because fiber content determines how your finished project will actually feel and perform in real life. Let me walk you through the main options:
Acrylic: Look, acrylic gets a bad reputation from some crocheters, but it’s genuinely practical and often underrated. It’s affordable, comes in basically every color imaginable, and it’s machine-washable. For baby gifts, toys, or projects you want to be super durable and easy-care, acrylic is actually the right choice. Lion Brand and Red Heart make solid acrylic options. The trade-off is that it doesn’t have quite the same drape or softness as natural fibers, and it can feel a bit plasticky if you go with cheaper quality.
Cotton: If you’re making summer garments, dishcloths, or anything that needs to breathe, cotton is your friend. It’s cool, absorbent, and gets softer with washing. The thing is, cotton doesn’t have much give, so your tension needs to be consistent or your project can look wonky. It’s also heavier than acrylic at the same weight, so finished projects can be substantial.
Wool: Here’s where things get cozy. Wool has natural elasticity, which means your stitches stay defined and your finished project holds its shape beautifully. It’s warm, it has gorgeous stitch definition, and it feels luxurious. But wool isn’t ideal for everyone—some people are sensitive to it, it usually needs hand-washing, and it’s pricier. If you’re making something you genuinely want to keep forever, though, wool is worth it.
Blends: A lot of modern yarn is a blend—maybe 50% acrylic and 50% wool, or cotton-acrylic blends. These are often the sweet spot because they combine the best qualities of each fiber. You get the affordability and ease-of-care of acrylic with some of the softness and drape of natural fibers. Berroco makes excellent blends that feel premium without the premium price tag.
Here’s something practical: think about what you’re actually going to do with the finished project. If you’re making a blanket that’ll live on your couch and get used constantly, durability matters more than luxury. If you’re making a special sweater for yourself, investing in higher-quality fiber is worth it because you’ll love wearing it more. And if you’re making toys for toddlers, acrylic’s washability becomes a feature, not a compromise.
I always recommend reading the label’s care instructions before you buy. If it says “hand-wash, lay flat to dry,” you need to be honest with yourself about whether you’ll actually do that. There’s nothing wrong with choosing yarn that fits your real life, not some idealized version of yourself who hand-washes everything gently.
How to Match Yarn to Your Pattern
This is where it all comes together. You’ve got a pattern you’re excited about, but the yarn the designer used isn’t available, or it’s out of budget, or you just want something different. Here’s how to make smart substitutions:
Start with weight: The pattern specifies a yarn weight for a reason—it affects stitch definition, drape, and finished dimensions. If a pattern calls for DK weight and you use bulky, your finished project will be significantly smaller and thicker. Sometimes that’s fine! But you need to go in eyes-open. If you’re substituting yarn weights, understanding yarn weight becomes crucial for calculating how much you’ll need.
Check yardage, not just weight: Two skeins of “100g” can have totally different yardage. A pattern might call for 800 yards of worsted weight. If you find a different yarn that’s 100g but only has 180 yards per skein, you’d need five skeins instead of four. That changes your budget and your color consistency if you’re buying from different dye lots.
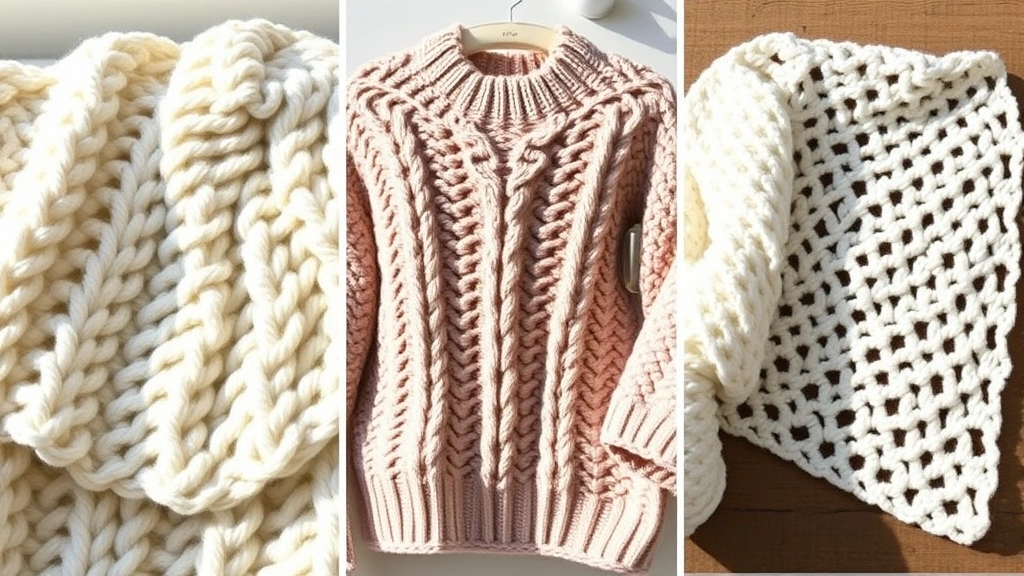
Consider the stitch pattern: Some stitches show off yarn beautifully, and others hide it. Lacy, open stitches need yarn with good stitch definition—so a fuzzy yarn or something with texture might not be ideal. Dense stitches like single crochet can handle more interesting fiber content because the stitch structure does most of the visual work. If you’re making an amigurumi or stuffed toy, you want yarn that won’t show stuffing through, so something solid and not too thin is important.
Think about fiber behavior: Slippery yarns (like some bamboo or silk blends) are gorgeous but can be frustrating with certain stitches because your stitches can slip off the hook more easily. Sticky yarns (like wool) grab your hook better and can feel more forgiving. For intricate work, stickier is often better. For garments where drape matters, slippery might be what you want.
Here’s my practical approach: I make a small swatch with the new yarn using the same stitch pattern as the project. I wash it and dry it the way I’d care for the finished project. Then I compare it to the original pattern’s photo. Does it look similar? Does it have the drape or stiffness you want? That little test saves so much frustration.
Budget, Durability, and Long-Term Satisfaction
Let’s talk about the real-world stuff: money and time. Yarn is an investment, and you want to feel good about what you’re spending.
Budget-friendly options include acrylic from mainstream brands—Red Heart, Caron, Lion Brand—and store brands from places like Michaels or Joann. These are genuinely good quality at that price point, and they’re perfect for practice projects or gifts where you’re not expecting the yarn to last for decades. There’s zero shame in this choice.
Mid-range yarn—usually blends or higher-quality acrylics—runs maybe $5-8 per skein. This is where you get better color ranges, more interesting textures, and improved durability. Crafty Yarn and similar indie dyers operate in this space and often have stunning colorways you won’t find in big-box stores.
Premium natural fiber yarn can run $10-20+ per skein, but you’re getting superior feel, longevity, and the satisfaction of working with something beautiful. Merino wool, alpaca blends, and specialty fibers fall here. If you’re making something you’ll genuinely treasure, this investment often pays off in how much you enjoy both the process and the finished project.
Here’s the thing about durability: it’s not just about the yarn. It’s about fiber content, how tightly you crochet, and how the finished project is cared for. A well-made acrylic blanket can outlast a poorly-made wool one if the acrylic was constructed better. But generally, natural fibers age better and get softer with use rather than pilling or degrading.
I think about projects in terms of cost-per-wear or cost-per-use. If I’m making a sweater I’ll wear 100 times, spending $30 on premium yarn for a $30 finished project makes sense. If I’m making a decoration that’ll sit on a shelf, maybe budget yarn is the smarter call. This isn’t being cheap—it’s being thoughtful about your resources.
Testing Before You Commit
This is the step that saves projects. Before you commit 20+ hours to a blanket or garment, do a little testing:
- Make a gauge swatch: This isn’t just about checking your tension for pattern sizing—it’s about how the yarn and stitch pattern work together. Use the same hook size the pattern recommends and work at least 20 stitches and 20 rows. Measure it, wash it (using the care method you’ll use for the finished project), and measure again. Does it shrink? Does the stitch definition hold up? This tells you everything.
- Feel it in person: If you’re buying online, this is trickier, but if you can get a small skein to test-drive before buying five skeins, do it. Your hands know things your eyes don’t—whether yarn is scratchy, slippery, or a pleasure to work with.
- Check color consistency: If you’re buying multiple skeins, verify they’re from the same dye lot (check the label). Dye lots can vary, and sometimes that variation is subtle but noticeable in a large project. Some indie dyers actually embrace dye lot variation as part of the charm, so read the description carefully.
- Consider your space: If you’re making a large blanket, is the color you’re choosing going to work with your home? This sounds silly, but I’ve definitely finished projects that didn’t match my space as well as I’d hoped. A quick photo mock-up can help.
Also, don’t underestimate the value of instructional resources like Yarnspirations where you can see how different yarns actually look in finished projects. Seeing a pattern worked up in five different yarns helps you understand how much yarn choice impacts the final result.
FAQ
What if the yarn I want isn’t available anymore?
This happens constantly with indie dyers and seasonal colors. If you love a specific yarn, buy extra when you find it. If you need to substitute, focus on matching the weight and fiber content as closely as possible, and make that test swatch. You might also check Ravelry’s forums where people often have recommendations for similar yarns.
How much yarn do I actually need?
Always trust the pattern’s yardage requirement over weight, because weight varies. If a pattern says 1000 yards and you’re substituting yarn, calculate how many skeins you need based on yardage per skein, then buy one extra skein for insurance. Dye lot differences mean you might need that backup.
Is expensive yarn always better?
Not necessarily. A $3 acrylic can be better for your specific project than a $15 wool. It depends entirely on what you’re making and what matters to you. That said, natural fibers do tend to age better and feel better long-term, so if budget allows, they’re often worth it for keepsake projects.
What’s the deal with fuzzy or textured yarn?
Fuzzy yarn hides stitch definition, so intricate stitch patterns disappear into the fuzz. But for simple stitches or when you want a cozy, soft look, fuzzy yarn is amazing. Just know that you won’t see those beautiful cable twists or lace patterns you worked hard on.
Can I use leftover yarn from other projects?
Absolutely! This is called stash-busting and it’s one of the best parts of crochet. Just make sure you have enough yardage, and consider how the colors will work together. Sometimes happy accidents happen when you mix colors intentionally—sometimes they don’t. Starting with a small project (like amigurumi) is a good way to use up scraps without committing to a big project.