How to Plan Your Crochet Projects Like a Pro (Without Losing Your Mind)
Let’s be real for a second: staring at a pile of yarn, half-finished projects, and pattern PDFs can feel absolutely overwhelming. You’ve got this gorgeous skein of merino sitting in your basket, three different blanket ideas bookmarked, and honestly? You’re not even sure where to start. I’ve been there, and I’m willing to bet you have too.
The difference between crocheters who finish projects and those who don’t usually comes down to one thing—planning. Not the boring, spreadsheet kind of planning (though hey, if that’s your jam, go for it), but the thoughtful kind where you actually match your project to your life, your skill level, and yeah, your actual free time.
In this guide, we’re walking through exactly how to plan crochet projects that you’ll actually want to finish. We’ll cover everything from assessing your skill level to managing timelines, choosing the right yarn, and avoiding the classic pitfalls that turn exciting projects into guilt-ridden WIPs sitting in a corner.

Assess Your Current Skill Level Honestly
Here’s where most people stumble right out of the gate. We see something beautiful on Instagram and immediately think, “I can totally make that,” even if we’ve only been crocheting for six months. And listen, ambition is great! But there’s a difference between challenging yourself and setting yourself up for frustration.
Start by thinking about what you’ve actually completed. Not what you’ve started—what you’ve finished. Have you made a few simple dishcloths? Congrats, you’re comfortable with basic stitches. Completed a beginner blanket? You’ve got grounding in working with larger projects. Made something with color changes or shaping? You’re ready for intermediate work.
When you’re choosing projects that match your goals, you’ll want to be specific about where you actually are right now. Think about:
- Stitch confidence: Can you do single crochet, double crochet, and basic increases/decreases smoothly? Or do you still need to count stitches carefully?
- Reading patterns: Do you understand abbreviations and can follow a written pattern, or do you need video tutorials alongside?
- Shaping and structure: Have you made anything with shaping (like a fitted hat or amigurumi), or mostly flat projects?
- Finishing skills: Can you weave in ends neatly, seam pieces together, or do you need to practice these?
The honest assessment matters because it directly impacts your project completion rate. Pick something too hard and you’ll abandon it. Pick something too easy and you’ll get bored. The sweet spot is one step up from what you’ve already mastered—that’s where the magic happens.
Choose Projects That Match Your Goals
Not all projects are created equal, and they shouldn’t be. Your goals should shape what you make, not the other way around.
Ask yourself: Why am I making this? Are you crocheting to unwind after work? To create gifts? To build a portfolio? To challenge yourself technically? To make something functional you actually use? Your answer changes everything about how you should approach planning.
If you’re crocheting for stress relief, you probably want something mindless—repetitive stitches, straightforward patterns, maybe something like a basic dishcloth or blanket where you can zone out. If you’re making gifts for the holidays, you need projects with clear timelines and realistic scopes. If you’re building skills, you want something that pushes one specific technique.
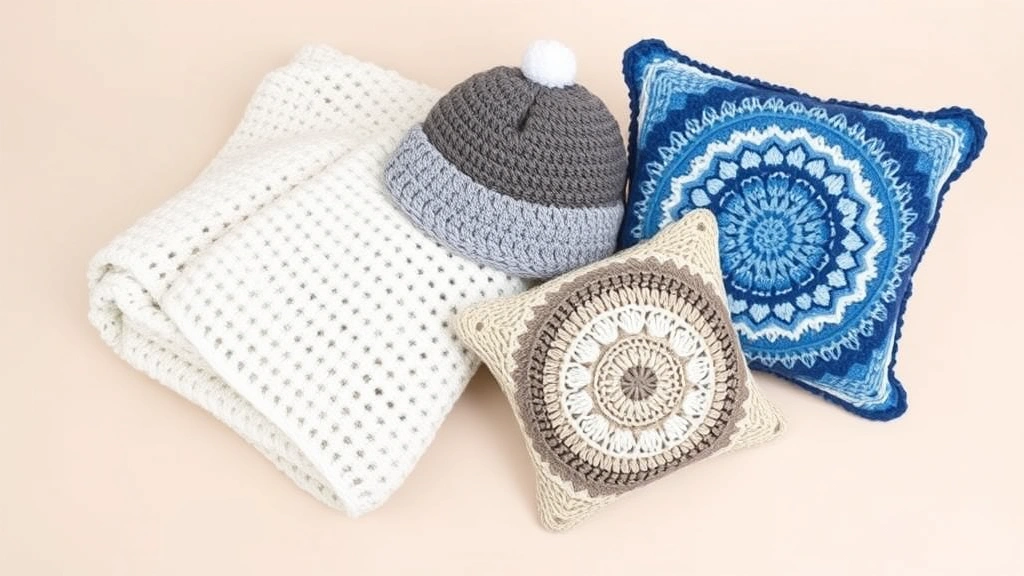
Let’s break down some common project types:
- Wearables (hats, scarves, shawls): These require fit considerations and usually some shaping. They’re rewarding because you actually wear them, but they need more planning around sizing and yarn weight.
- Blankets: Beautiful for practicing stitch patterns and using up yarn, but they’re time-intensive. A queen-size blanket isn’t a weekend project.
- Amigurumi: These cute stuffed projects teach you shaping and finishing, but they require precision and patience with small details.
- Garments: Sweaters, cardigans, and fitted pieces are totally achievable but need serious planning around measurements and gauge.
- Home décor: Pillows, wall hangings, and afghans let you experiment with color and texture without the pressure of fit.
When you’re building your project timeline, the type of project you choose becomes your foundation. A complex garment needs more time for swatching and adjustments than a simple blanket stripe pattern.
Calculate Time and Yarn Requirements
This is where planning gets really practical. You need to know two things: how much yarn you actually need and how long the project will realistically take.
For yarn requirements: Most patterns tell you exactly how much you need, but here’s the thing—that’s based on specific yarn weight and fiber content. If you’re substituting yarn (which is totally valid!), you need to do some math.
Look at the pattern’s yardage requirement, not weight. Two skeins of bulky yarn and two skeins of fingering weight are completely different amounts of yarn. Find a yarn you love, check its yardage per skein, and calculate how many skeins you need. It’s simple division.
Here’s a real example: A pattern calls for 800 yards of DK weight yarn. You found a gorgeous merino DK that comes in 250-yard skeins. You need 800 ÷ 250 = 3.2 skeins. So you’d buy 4 skeins to be safe.
For time requirements, be honest. Check the pattern’s estimated hours, then add 20-30% because most people crochet slower than the pattern assumes (and that’s fine!). If a pattern says 15 hours, plan for 18-20 actual hours of work.
Now think about your actual life. How many hours can you crochet per week? If you’ve got 5 hours on weeknights and maybe 8 on weekends, that’s roughly 13 hours weekly. A project that takes 20 hours is doable in two weeks if you’re dedicated, but if you’ve got a busy schedule, it might take four.
This is crucial for building your project timeline because it helps you set realistic expectations. Nothing kills motivation faster than thinking a project will take three weeks when it actually takes six.
Build Your Project Timeline
Let’s say you’ve picked your project and calculated the time. Now you need an actual timeline—and it should account for the real variables in your life.
Start with your deadline (if you have one). Maybe it’s a birthday gift due in six weeks, or maybe you just want to finish before summer. Work backward from that date.
Here’s a practical breakdown:
- Swatch and gauge check: Plan 2-4 hours here. Make a gauge swatch, measure it carefully, and adjust your hook size if needed. Yes, this feels tedious, but it’s the difference between a sweater that fits and one that doesn’t.
- Gather materials: 1-2 hours. Order yarn if you need it, assemble all your supplies, read through the pattern completely.
- Main project work: This is your calculated time from the previous section. Break it into chunks. A 20-hour project might be four sessions of five hours each, or ten sessions of two hours.
- Finishing: This often gets underestimated. Plan extra time for weaving in ends, blocking, seaming, or any other finishing touches. Usually 1-3 hours depending on complexity.
Be realistic about when you’ll actually crochet. If you work full-time and have kids, don’t plan a 40-hour project in two weeks. If you’re retired and love crafting, maybe you can pull off ambitious timelines. The timeline only works if it matches your actual life.
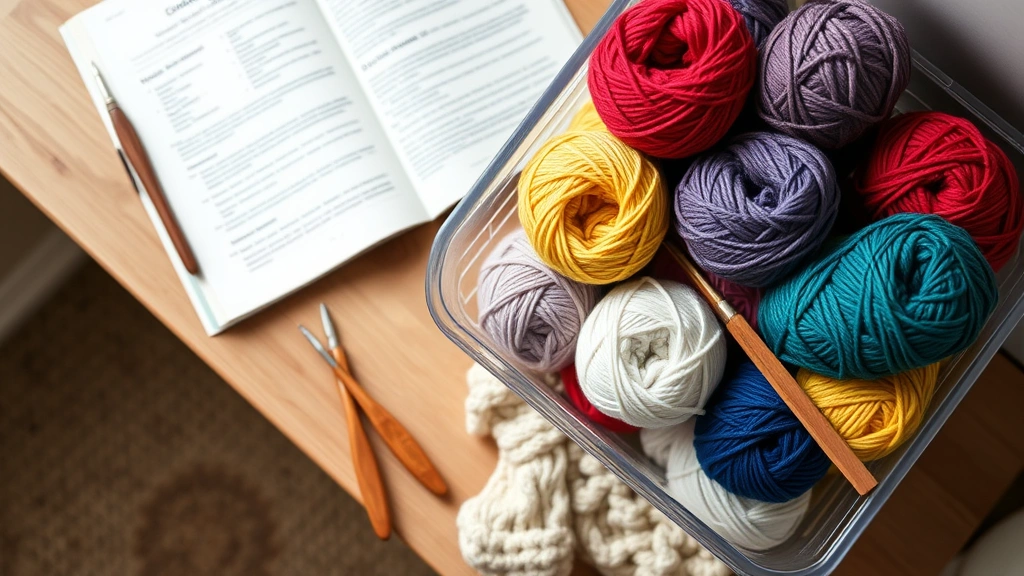
One pro tip: organizing your materials and patterns at the start saves massive time later. You’re not hunting for pattern pages or wondering which yarn you used for the first section.
Organize Materials and Patterns
Organization sounds boring, but it’s genuinely the difference between smooth, enjoyable projects and frustrating ones where you’re constantly hunting for things.
Here’s what I recommend:
For patterns: Save them somewhere you can actually find them. Use Ravelry (seriously, it’s incredible for organizing projects and patterns), or keep a dedicated folder on your computer or phone. Don’t rely on browser bookmarks—they get lost. If it’s a PDF, print it and keep it in a project folder, or annotate the digital version as you go.
For yarn: Keep all yarn for one project together. A gallon-size ziplock bag works great. Store the yarn label with the project so you remember exact fiber content, care instructions, and dye lot (important for consistency!). Include a note about yardage used if you’re partway through.
For supplies: Keep hooks, stitch markers, yarn needles, and any notions together with the project. If you’re making a garment that needs buttons, keep them in the bag too. This sounds simple, but it prevents that annoying moment mid-project when you can’t find the right hook size.
For notes: Keep a small notebook or digital file where you track:
- Row or round numbers (helps if you take a break and forget where you are)
- Any pattern modifications you’re making
- Color changes or yarn substitutions
- How long sections actually took (useful data for future projects!)
- Things you’d do differently next time
This might seem excessive, but it transforms your project experience. You’re not stressed about losing progress or forgetting details. You’re just crocheting.
Common Planning Mistakes to Avoid
Let me share some mistakes I’ve made (and seen countless others make) so you don’t have to:
Mistake #1: Underestimating finish time. People always think projects will take less time than they actually do. Build in buffer time. Seriously. If you think something takes 15 hours, plan for 20.
Mistake #2: Ignoring gauge. I know, I know—it’s tedious. But making a gauge swatch takes 30 minutes and saves you from making a sweater that’s three sizes too big. That’s a trade I’d make every time.
Mistake #3: Buying yarn without checking yardage. “This is pretty and it’s on sale!” is not a project plan. You end up with yarn that doesn’t work for your project, and now you’ve got to find something else or adjust everything. Know your yardage before you buy.
Mistake #4: Starting too many projects at once. This is the classic crochet trap. You get excited, start three things, finish nothing. Pick one project to focus on. Make it your main thing. You can have one small project going for travel or mindless time, but don’t spread yourself across five major projects.
Mistake #5: Not reading the full pattern before starting. I can’t stress this enough. Read the entire pattern. Make notes about techniques you’re unfamiliar with. Watch tutorials if you need to. Starting blind leads to frustration when you hit something unexpected halfway through.
Mistake #6: Choosing projects that are way too ambitious for your skill level. That intricate lace shawl is stunning, but if you’ve never made lace before, it’s going to be rough. Challenge yourself, yes—but assess your skill level honestly and pick something that’s one step up, not five.
Mistake #7: Not accounting for life happening. You get sick, work gets busy, you lose motivation for a bit. These things are normal. Build extra time into your timeline so you’re not panicking when real life intrudes.
FAQ
How do I know if I should use a different yarn than the pattern calls for?
You can substitute yarn as long as it’s the same weight (DK for DK, worsted for worsted, etc.) and the yardage works out. Check the pattern’s yardage requirement, then find a yarn with similar fiber content if possible—cotton works differently than acrylic, for example. Always make a gauge swatch with your new yarn to ensure the finished project will be the right size. Fiber content matters too; a wool yarn will have different drape and warmth than acrylic.
What’s the best way to track progress on a long project?
Use a row counter (they’re cheap and invaluable), take photos at major milestones, or jot down row numbers in a notebook. For projects like blankets, you might mark progress by weight or how much yarn you’ve used. Some people use stitch markers to mark where they are. Find what works for your brain—some people love detailed tracking, others just need a quick visual check.
How much yarn should I buy for a project if the pattern doesn’t specify?
Look up similar patterns or finished projects to estimate yardage. A small hat usually needs 400-600 yards, a scarf 800-1200, a baby blanket 1500-2500, an adult blanket 3000-5000+. These are rough guidelines—the size and stitch pattern matter. When in doubt, buy extra. Yarn is easier to return or use elsewhere than to hunt down a specific dye lot weeks later.
Should I make a gauge swatch for every project?
Yes, especially for anything that needs to fit (garments, hats, fitted blankets). For decorative projects like granny square blankets where size is flexible, you could skip it, but I still recommend it. A gauge swatch takes 30 minutes and prevents major mistakes. It’s also a great way to get comfortable with the yarn and stitch pattern before diving into the main project.
How do I decide between multiple project ideas?
Write down each project, then honestly assess: your current skill level match, time availability, yarn you have on hand, and whether you’re actually excited about it (not just the idea of it). Pick the one that checks the most boxes. You don’t have to choose forever—bookmark the others and revisit them in a few months when you’ve got different time or skill levels.
What’s a realistic timeline for a beginner blanket?
A simple granny square or ripple blanket (twin-size) usually takes 25-40 hours depending on yarn weight and stitch pattern. If you’re crocheting 5 hours per week, that’s 5-8 weeks. Add time for yarn shopping, pattern preparation, and finishing. So plan for 2-3 months from start to finish for a comfortable timeline.
How do I avoid WIPs (works in progress) piling up?
Commit to finishing one project before starting another (except for one small portable project). When you feel tempted to start something new, work on your current project instead. If you genuinely hate it, it’s okay to set it aside, but don’t just abandon it forever—either finish it eventually or acknowledge that you’re not going to and move on mentally. The guilt is worse than the yarn.