Picture this: you’re halfway through what was supposed to be a gorgeous granny square blanket, and suddenly you notice it. That wonky corner that’s pulling in weird directions, making your perfect squares look more like… well, definitely not squares. I’ve been there, staring at my work with that sinking feeling that something’s just off.
Here’s the thing about granny squares – they look deceptively simple, but getting those corners to behave properly is where most of us stumble. Whether you’re a complete beginner picking up your first hook or someone who’s made dozens of squares that never quite look right, mastering corner techniques will transform your crochet game completely.
The good news? Once you understand what’s actually happening in those corners and why they sometimes misbehave, you’ll never struggle with wonky squares again. I’m going to walk you through everything I wish someone had told me when I was wrestling with my first granny square project – from the basic mechanics to troubleshooting those frustrating problems that make you want to frog the whole thing.
Quick Answer
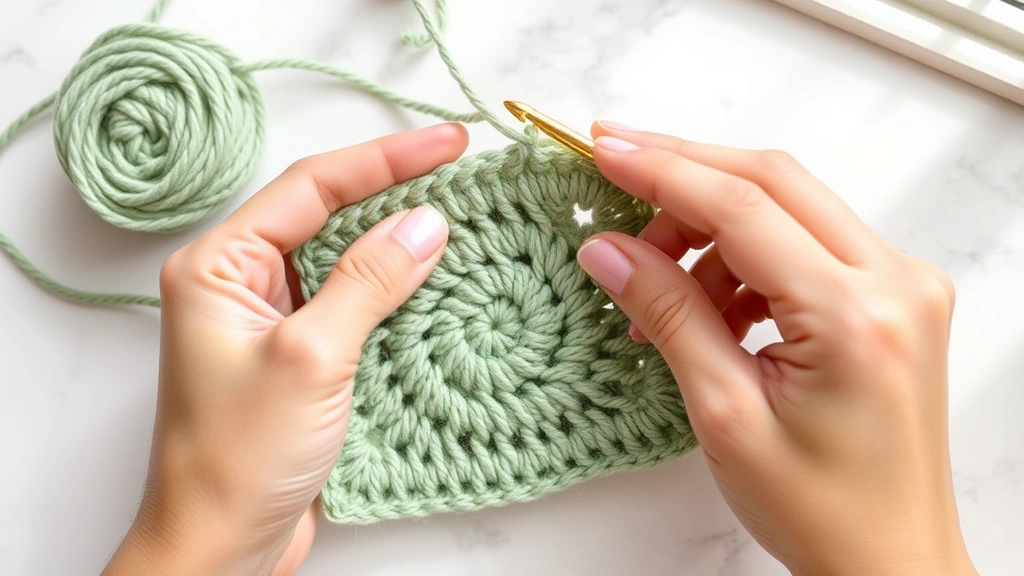
Perfect granny square corners require consistent chain-2 spaces and proper stitch placement in each corner. Work 3 double crochet, chain 2, 3 double crochet into each corner space, maintaining even tension throughout to prevent pulling or buckling.
[IMAGE_1]
Understanding Corner Construction
Before we dive into the how-to, let’s talk about what makes a granny square corner actually work. Think of each corner as a little architectural feat – you’re essentially creating a 90-degree turn using flexible yarn, and that requires some strategic engineering.
The magic happens in those chain-2 spaces. They’re not just decorative; they’re doing the heavy lifting of creating the corner angle. When you work your corner cluster (typically 3 double crochet, chain 2, 3 double crochet), you’re building a foundation that allows the square to lie flat while maintaining its shape.
Here’s what I learned after making probably a hundred wonky squares: the chain-2 space needs to be just the right size. Too tight, and your square will cup. Too loose, and it’ll ruffle. The sweet spot is usually achieved with a consistent chain-2, but this can vary depending on your tension and yarn choice.
The key insight that changed everything for me: corners aren’t just about the stitches you can see. The foundation chain-2 from your previous round is doing most of the structural work.
Each round builds on the previous one, and corners are where this relationship is most critical. When you’re working into a corner space from the previous round, you’re not just adding stitches – you’re maintaining the geometric integrity of the entire square.
The Anatomy of a Perfect Corner
A well-constructed granny square corner has three distinct parts: the approach stitches (usually the last cluster before the corner), the corner itself (3 dc, ch 2, 3 dc), and the exit stitches (first cluster after the corner). All three need to work together harmoniously.
Basic Corner Technique
Let’s start with the fundamental corner technique that works for about 90% of granny square patterns. I’ll walk you through this step-by-step, including the little details that pattern writers sometimes assume you know.
Starting with your foundation ring (I prefer the magic ring method for a cleaner center), your first round establishes your corner spaces. Work 3 double crochet, chain 2, then repeat this three more times. Join with a slip stitch to the top of your beginning chain-3.
- Setting Up Round 2
Chain 3 (counts as first dc), work 2 more dc in the same space. This creates your first cluster. Now comes the crucial part – chain 1 to reach the corner space.
- Working the Corner
Into the chain-2 space from the previous round, work: 3 dc, chain 2, 3 dc. This is your corner cluster. The chain-2 creates the corner space for the next round.
- Moving to the Next Side
Chain 1, then work 3 dc into the next chain-2 space. Continue around, working corners the same way.
The rhythm becomes: cluster, chain 1, corner (3 dc, ch 2, 3 dc), chain 1, cluster. Once you get this pattern in your muscle memory, you’ll be flying through squares.
For subsequent rounds, you’ll work clusters into the chain-1 spaces along the sides and maintain the same corner construction: 3 dc, ch 2, 3 dc into each corner chain-2 space.
Common Corner Problems
Let’s talk about the issues that drive us all crazy. I’ve made every single one of these mistakes, some of them repeatedly until I finally figured out what was going wrong.
Cupping Corners
If your squares are cupping (edges curling up like a bowl), your corners are too tight. This usually happens when your chain-2 spaces are too small or your overall tension is too tight. The fabric doesn’t have enough ease to lie flat.
The fix: Try going up a hook size, or be more conscious about making your chain-2 spaces a bit looser. I’ve found that bamboo hooks sometimes help with this because they grip the yarn differently than metal hooks.
Ruffling Corners
The opposite problem – when your squares won’t lie flat because they’re too loose and wavy around the edges. Your corners have too much ease, creating excess fabric that has nowhere to go but up.
The solution: Tighten up that tension, or try a smaller hook. Sometimes the issue is working too many stitches into the corner space – make sure you’re only doing 3 dc, not 4 or 5.
Uneven Corner Sizes
This one’s sneaky. Your squares look okay individually, but when you try to join them, nothing lines up properly. Usually, this means your corner chain-2 spaces are inconsistent sizes.
| Problem | Cause | Solution |
|---|---|---|
| Cupping | Corners too tight | Larger hook or looser chain-2 |
| Ruffling | Corners too loose | Smaller hook or tighter tension |
| Uneven sizes | Inconsistent corner spaces | Count stitches, maintain rhythm |
| Twisted corners | Working in wrong direction | Check join placement |
Advanced Corner Variations
Once you’ve mastered the basic corner, there are some beautiful variations that can add visual interest to your projects. These techniques use the same fundamental principles but create different effects.
Solid Corner Technique
Instead of the traditional 3 dc, ch 2, 3 dc, try working 5 dc into the corner space. This creates a more solid, less lacy appearance. You’ll need to adjust your side clusters accordingly – usually working 2 dc clusters instead of 3 dc clusters to maintain the square shape.
This variation works particularly well with worsted weight yarn and creates squares that block beautifully for afghans where you want less drape and more structure.
Picot Corner Variation
For a decorative touch, try replacing the chain-2 corner space with a picot: 3 dc, ch 3, sl st in first ch, 3 dc. This creates a little decorative bump at each corner that’s particularly pretty on baby blankets or doilies.
I discovered this variation by accident when I misread a pattern, but it turned out to be one of my favorite corner treatments for special projects.
Color-Change Corners
When you’re working with multiple colors, corners are natural places to change colors. The key is to complete your last double crochet of the corner cluster with the new color. Pull the new color through for the final yarn over of that last stitch, then continue with the new color.

Yarn and Hook Considerations
Not all yarn and hook combinations work the same way for granny square corners. What works perfectly with one setup might be a disaster with another, and understanding these relationships will save you a lot of frustration.
Yarn Weight Impact
Lighter weight yarns (fingering, sport, DK) tend to be more forgiving with corner construction. They have more drape and flexibility, so small inconsistencies in your corner technique won’t show as dramatically. However, they also require more precision because mistakes are harder to hide.
Heavier yarns (worsted, chunky, super chunky) are less forgiving but more predictable. Your corners need to be spot-on because the yarn has less give, but once you get the technique right, it’s easier to maintain consistency.
Hook Material and Size
The hook you choose affects how your corners behave more than you might think. Aluminum hooks tend to create slightly tighter stitches than bamboo or plastic hooks with the same yarn. This means you might need to adjust your approach based on your hook choice.
For corner work specifically, I prefer hooks that aren’t too slippery. A little grip helps maintain consistent tension as you work around the square. The Craft Yarn Council provides excellent guidelines for hook size recommendations, but don’t be afraid to deviate based on your personal tension and the specific effect you want.
Troubleshooting Wonky Corners
Sometimes despite our best efforts, corners just don’t cooperate. Here’s my systematic approach to diagnosing and fixing corner problems before they ruin an entire project.
The Corner Audit
First, lay your square flat and really look at it. Are all four corners the same size? Do they point in the same direction? Is the overall square actually square, or is it more of a rhombus?
If one corner looks different from the others, the problem is likely in your stitch count or technique for that specific corner. If all corners look wrong in the same way, it’s probably a systematic issue with your approach or materials.
Measuring and Blocking
Sometimes what looks like a corner problem is actually a blocking issue. Before you frog everything, try pinning your square to the correct dimensions and giving it a light steam or wet block.
A properly blocked granny square should measure the same from corner to corner in both directions. If it doesn’t, you’ll need to adjust your technique rather than just your blocking.
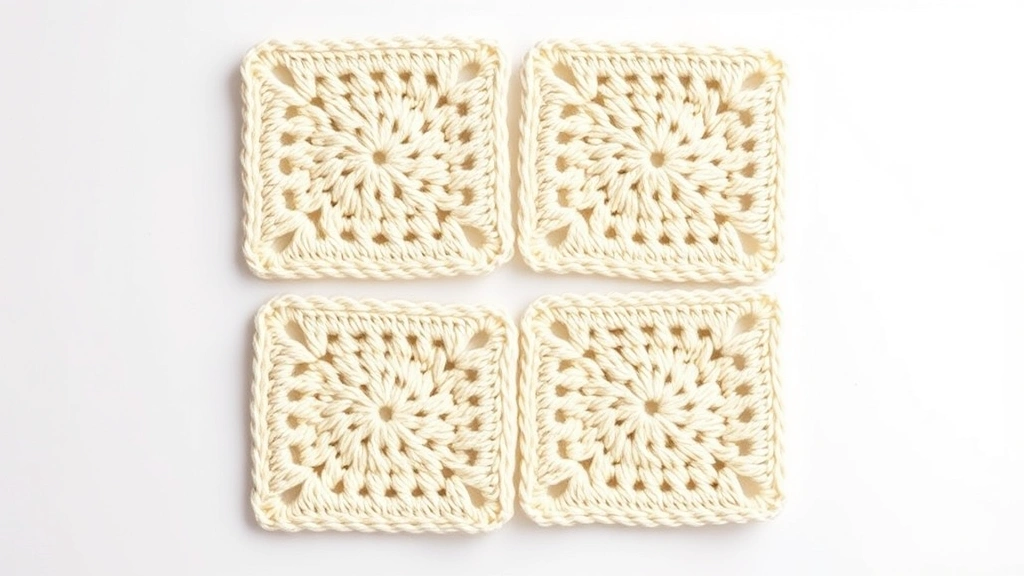
When to Start Over
Here’s the hard truth: sometimes it’s better to start fresh than to try to fix a fundamentally flawed square. If your corners are consistently off by more than about 1/4 inch, or if your square is noticeably not square, it’s probably worth starting over with the lessons learned.
I used to be stubborn about this and would spend hours trying to force a bad square to work. Now I rip back early and save myself the frustration. Your future self will thank you.
[IMAGE_4]
Finishing Techniques
Even perfect corners can look sloppy if you don’t finish them properly. The way you handle your starting and ending points, weave in ends, and prepare squares for joining all impact the final appearance of your corners.
Invisible Joins
When you’re ready to join your final round, the way you connect back to your starting point can make or break the look of your corners. Instead of a simple slip stitch join, try the invisible join technique: cut your yarn leaving a 6-inch tail, thread it through a tapestry needle, and weave it under both loops of the starting chain-3.
This creates a seamless connection that doesn’t interrupt the flow of your corner stitches. It takes an extra minute but makes a huge difference in the professional appearance of your finished squares.
End Weaving Strategy
Corners are natural places for yarn ends to hide, but they’re also where ends are most likely to work loose over time. When weaving in ends near corners, I always weave through at least two different stitch directions – never just straight across.
For corners specifically, weave your end through the corner cluster, then back through the chain-2 space, then into the next cluster. This locks the end in place securely without creating bulk that might show through the fabric.
Common Questions
Why do my granny square corners look pointy instead of square?
This usually means your chain-2 corner spaces are too small, or you’re working too tightly overall. Try using a larger hook or consciously making your chain-2 spaces a bit looser. The corner should have enough ease to create a 90-degree angle naturally.
How many stitches should be in each corner cluster?
For traditional granny squares, each corner should have exactly 6 double crochet stitches: 3 before the chain-2 space and 3 after. If you’re working a different pattern, always follow the specific instructions, but this 3-ch2-3 pattern is the standard.
Can I fix a corner without ripping out the entire square?
It depends on where the problem is. If it’s just the most recent round, you can usually rip back to that point and rework it. But if the problem is in the foundation or early rounds, you’re better off starting over. Trying to compensate for early mistakes usually makes things worse.
What’s the best yarn for practicing granny square corners?
I recommend starting with a smooth, worsted weight acrylic in a light color. Red Heart Super Saver, Lion Brand Vanna’s Choice, or Lion Brand Pound of Love are all excellent choices. Light colors show your stitch definition clearly, and smooth yarns are easier to rip out if you need to fix mistakes.
How do I know if my corners are the right size?
A properly sized corner should allow the square to lie completely flat without cupping or ruffling. When you hold the square up, all four corners should hang evenly. If you’re making multiple squares for a project, they should all measure the same from corner to corner.
Should I block individual squares or wait until the project is assembled?
Block individual squares first, especially if you’re new to granny squares. This lets you catch and fix any sizing issues before you’ve invested time in joining. Once blocked, your squares should be identical in size and shape, making joining much easier.
Why do my corners look different sizes even though I’m following the same pattern?
This is almost always a tension issue. Even small variations in how tightly you work your chain-2 spaces will show up as size differences in the corners. Try to maintain consistent tension, or consider using a stitch gauge tool to help keep your chains uniform.
Can I use the same corner technique for different granny square patterns?
The basic principle (increasing stitches at corners to create the square shape) applies to most granny square variations, but the specific stitch counts and construction may vary. Always follow the pattern you’re using, but understanding the underlying geometry will help you troubleshoot when things go wrong.
Mastering granny square corners isn’t just about following a pattern – it’s about understanding the why behind the technique. Once you get that foundation solid, you’ll find yourself confidently tackling more complex patterns and even designing your own variations.
The best part? Every wonky square you’ve made along the way has been teaching you something. Those mistakes aren’t failures; they’re your crochet education in action. Now grab your hook, pick a yarn that makes you happy, and start practicing. Your perfect corners are just a few squares away.
Happy crocheting, and remember – even experienced crocheters still make wonky squares sometimes. The difference is we’ve learned to fix them faster and worry about them less.