I’ll never forget the first time I tried to crochet with two colors at once. I was making what I thought would be a simple striped baby blanket, and somehow ended up with a tangled mess that looked like a yarn explosion. The colors were bleeding into each other, my tension was all over the place, and I had more knots than actual stitches. Sound familiar?
Multi-color crochet doesn’t have to be intimidating, though. Once you learn a few key techniques and understand how to manage your yarn properly, you can create stunning colorwork that’ll make people think you’ve been crocheting for decades. Whether you’re dreaming of intricate Fair Isle patterns, bold geometric designs, or simple color-changing projects, the foundation is the same: knowing when and how to switch colors cleanly.
The thing is, most tutorials make it seem way more complicated than it actually is. You don’t need fancy tools or years of experience to start working with multiple colors. You just need to understand a few basic principles about yarn management, color changing techniques, and how different stitch patterns affect your colorwork. I’ve spent years figuring out what works (and what definitely doesn’t), and I’m excited to share those insights with you.
Quick Answer
Multi-color crochet involves carrying yarns, changing colors at specific points, and managing tension across different colored sections. Master the basic color change technique first, then progress to stranded colorwork and intarsia methods for complex designs.
Essential Color Changing Techniques
The foundation of all multi-color crochet is knowing how to change colors cleanly. This isn’t just about switching from one ball of yarn to another – it’s about creating seamless transitions that look intentional and professional.
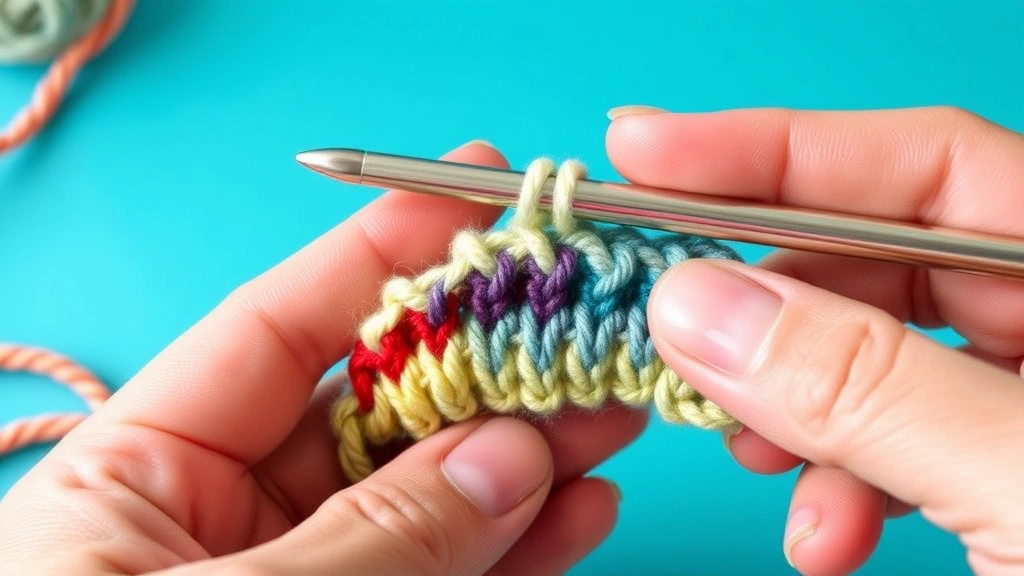
The basic color change happens on the last yarn over of your final stitch before switching colors. Here’s the key: don’t complete that last stitch with your old color. Instead, when you have two loops on your hook for that final yarn over, grab your new color and pull it through both loops. This ensures the new color starts the next stitch cleanly.
For single crochet stitches, this means you’ll insert your hook, yarn over with the old color, pull through one loop (two loops on hook), then yarn over with the new color and pull through both remaining loops. The new stitch begins with your new color, creating that clean line you’re after.
Always change colors on the last yarn over of the previous stitch, not at the beginning of the new stitch. This creates much cleaner color transitions.
When working in rows, you’ll typically change colors at the end of a row, then turn and continue with the new color. For projects worked in the round, like amigurumi projects, you’ll change colors at the end of a round or at specific points within a round depending on your pattern.
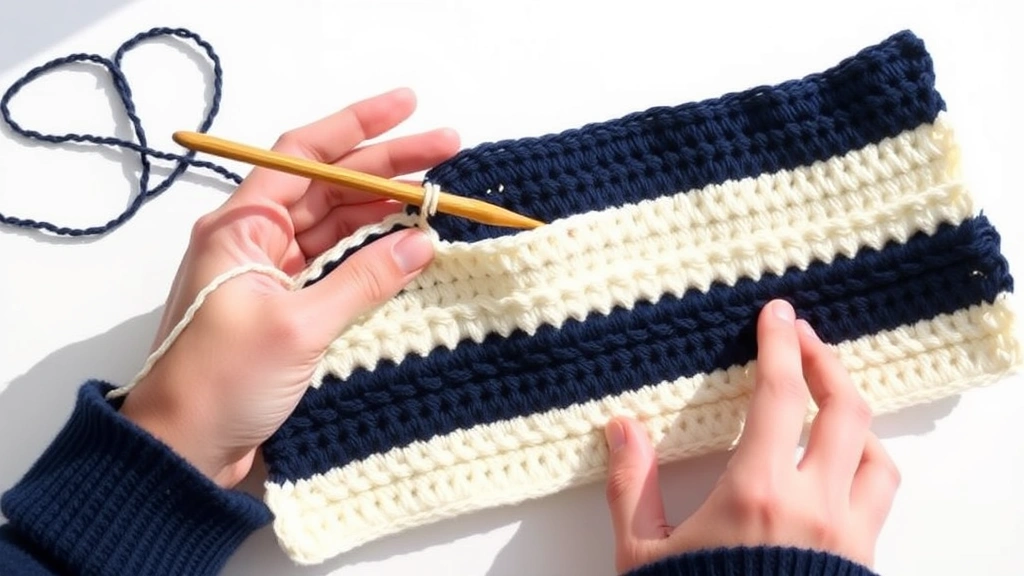
Practice this technique with two contrasting colors first – I like using white and black because any imperfections really show up. Work several rows of single crochet, changing colors every few stitches, until the motion becomes automatic. Don’t worry about carrying the unused yarn yet; just focus on making clean changes.
Securing Color Changes
One mistake I see constantly is people not securing their color changes properly. When you switch colors, you’ll have loose ends that need to be managed. Don’t just leave them hanging – weave them in as you work or at least leave long enough tails to weave in later.
For temporary color changes (where you’ll return to the first color soon), you can carry the unused yarn along the edge of your work. For permanent changes, cut the old yarn leaving a 6-inch tail, then weave it in using a tapestry needle once you’ve completed a few more stitches.
Managing Multiple Yarns
Working with multiple colors means dealing with multiple balls of yarn, and trust me, this can get messy fast if you don’t have a system. I’ve learned this the hard way after spending more time untangling yarn than actually crocheting.
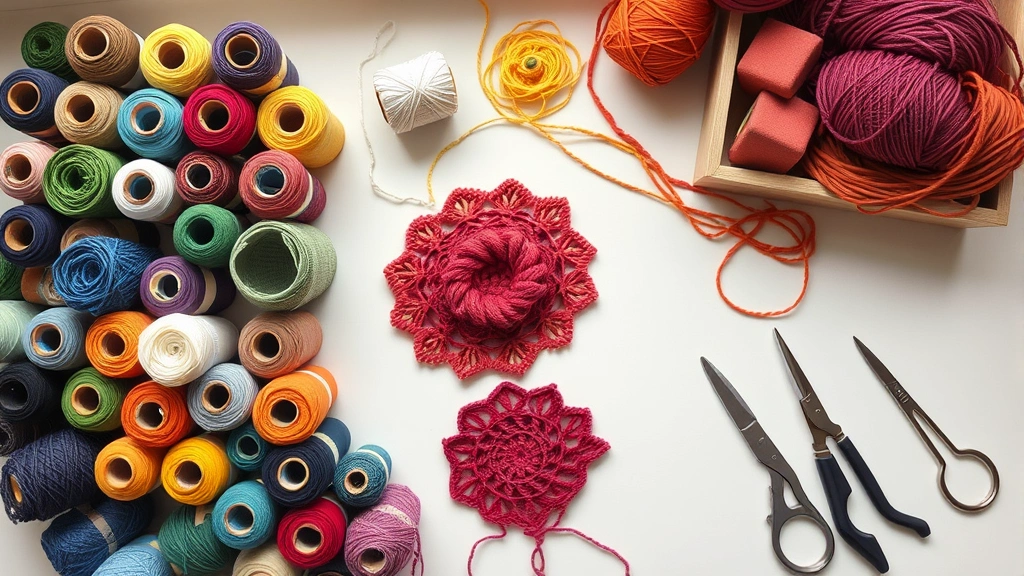
The simplest approach for beginners is using yarn bobbins or small yarn cards. Wind small amounts of each color onto separate bobbins, keeping only what you need for the immediate section you’re working on. This prevents the massive tangles that happen when you’re trying to manage full skeins of multiple colors.
For projects with frequent color changes, like tapestry crochet patterns, I use a yarn organizer box with separate compartments. Each color gets its own section, and I can pull from each without the yarns crossing over each other. You can make a simple version using a shoebox with holes cut in the lid.
| Project Type | Best Organization Method | Pros | Cons |
|---|---|---|---|
| Simple stripes | Yarn bowls | Easy setup, works with full skeins | Can tangle with more than 3 colors |
| Complex colorwork | Yarn bobbins | No tangles, portable | Need to wind bobbins frequently |
| Large projects | Organizer box | Handles many colors, stable | Less portable, initial setup time |
Tension is crucial when managing multiple yarns. Each color should have the same tension as the others, or your fabric will pucker and distort. This takes practice – different yarn textures and colors can feel different in your hands, affecting your natural tension.
Keep a consistent grip on all your yarns. I hold the working yarn the same way regardless of color, and keep non-working yarns loosely held but controlled.
When carrying yarns up the side of your work (for stripes or sections where you’ll return to a color), don’t pull them tight. Leave just enough slack so the edges don’t pucker, but not so loose that you create big loops. About a quarter-inch of ease usually works well.
Stranded Colorwork Method
Stranded colorwork, also called Fair Isle crochet, involves carrying multiple colors across each row and switching between them to create patterns. This technique works beautifully for geometric designs, traditional motifs, and any pattern where colors change frequently within a row.
The key to successful stranded work is learning to carry your non-working yarns behind your work without letting them show through or affect your tension. Unlike knitting, where you can easily strand yarns across the back, crochet stitches are taller and more open, making yarn management trickier.
Start with simple two-color patterns before attempting more complex designs. Work your stitches normally, but when changing colors, carry the unused yarn along the back of your work. Every few stitches, catch the carried yarn with your working yarn to prevent long floats that can catch on fingers or create an unstable fabric.
Managing Float Length
Floats are the strands of unused yarn carried across the back of your work. In crochet, you generally want to catch floats every 3-4 stitches to prevent them from being too long. To catch a float, simply lay the carried yarn over your hook before making your yarn over, then complete the stitch normally. The carried yarn gets trapped behind the stitch without showing on the front.
For double crochet stitches, you have more height to work with, so you might catch floats every 2-3 stitches instead. The goal is keeping the back of your work neat and preventing long loops that can snag.
When working stranded colorwork in rounds, be extra careful about your color changes. You’ll need to plan where each round begins and ends to avoid awkward color transitions. Many crocheters prefer to work stranded patterns in rows, then seam the sides, rather than working in continuous rounds.
Intarsia for Large Color Blocks
Intarsia is perfect when you want large blocks of solid color without carrying yarns across the back. Think of picture afghans, large geometric shapes, or any design where you have significant areas of single colors. Unlike stranded colorwork, you don’t carry unused yarns – instead, you use separate balls or bobbins for each color section.
The challenge with intarsia is managing the transitions between color blocks and keeping your edges neat. When you change from one color block to another, you’ll need to twist the yarns around each other to prevent holes from forming.
Here’s how the twist works: when changing colors, drop your current yarn and pick up the new color from underneath the dropped yarn. This creates a small twist that locks the colors together and prevents gaps. It’s subtle but makes a huge difference in the finished appearance.
- Set up your color blocks
Wind separate bobbins for each color section. For a simple two-color block pattern, you might have three bobbins: color A for the left section, color B for the middle, and color A again for the right section.
- Work to the color change point
Complete stitches in your first color until you reach the point where you need to switch colors. Remember to change colors on the last yarn over of the final stitch in that color.
- Twist and continue
Drop the first color, bring the new color up from underneath, and continue with the new color. The twist happens automatically when you bring the new yarn from below the old one.
- Manage your bobbins
Keep bobbins organized and untangled. I like to work from right to left, keeping completed bobbins on the right and upcoming ones on the left.
Intarsia works especially well for corner-to-corner projects where you’re naturally working in blocks anyway. The C2C structure lends itself perfectly to color blocking and geometric designs.
Reading Multi-Color Patterns
Multi-color crochet patterns can look intimidating at first glance, but they follow predictable formats once you understand the conventions. Most patterns will use charts, written instructions, or a combination of both to communicate color changes.
Charts are incredibly helpful for visualizing colorwork patterns. Each square represents one stitch, and different colors or symbols represent different yarns. You’ll typically read charts from right to left for right-handed crocheters, and from bottom to top, just like you build your crochet fabric.
Written patterns might use abbreviations like “MC” for main color and “CC” for contrasting color, or they might assign letters to each color (A, B, C, etc.). Always check the beginning of the pattern for the color key – it’ll save you confusion later.
Before starting any multi-color project, make a gauge swatch using all the colors you plan to use. Different dye lots and even different colors of the same yarn can have slightly different thicknesses.
Some patterns include both chart and written instructions. I usually prefer charts for colorwork because they give you the visual reference, but having written backup can be helpful when you’re learning a new technique.
Understanding Repeat Patterns
Many multi-color patterns work in repeats – a sequence of stitches and color changes that you repeat across the row or round. These might be marked with brackets, asterisks, or highlighted sections in charts. Understanding the repeat structure helps you catch mistakes early and makes the pattern much more manageable.
For granny square variations that incorporate multiple colors, the repeat is usually one complete square or one round of a square. Master the basic repeat, and you can create endless variations by changing your color sequences.
Common Problems and Solutions
Even experienced crocheters run into issues with multi-color work. Here are the problems I see most often and how to fix them:
Uneven Tension Between Colors
This is probably the most common issue. Different colors, even of the same yarn brand, can feel different in your hands. Some dyes make yarn slightly stiffer or more slippery, affecting your natural tension.
The solution is conscious practice. When switching colors, pay attention to how the new yarn feels and adjust your grip accordingly. Make a few practice stitches with each new color to get a feel for it before diving into your pattern.
Visible Carried Yarns
If you can see carried yarns showing through your stitches on the front of your work, you’re either carrying them too loosely or your stitches are too loose overall. Tighten up your tension slightly, and make sure carried yarns are lying flat against the back of your work.
Puckering at Color Changes
This happens when you pull carried yarns too tight or when your color change technique creates tension issues. Make sure you’re not pulling the carried yarn when you catch it, and check that your color changes aren’t tighter than your regular stitches.
Holes at Color Transitions
Gaps between color blocks usually mean you’re not twisting your yarns properly in intarsia work, or you’re not maintaining consistent tension at color change points. Make sure you’re bringing new colors up from underneath the previous color to create that locking twist.
For projects worked in rounds, holes often appear at the beginning/end of rounds where colors change. Consider using an invisible join technique or planning your color changes at less visible points in your project.
Perfect Projects for Beginners
Not all multi-color projects are created equal when you’re learning these techniques. Start with projects that let you practice without too much complexity or pressure for perfection.
Simple Striped Dishcloths: Perfect for practicing basic color changes without worrying about carrying yarns. Use cotton yarn in two or three colors, changing every 2-4 rows. Dishcloth patterns are forgiving, and you’ll use them regularly, so imperfections won’t matter.
Two-Color Granny Squares: These teach you color changes in rounds and give you practice with managing yarn ends. Start with simple two-color combinations before attempting complex multi-color schemes.
Basic Fair Isle Headband: A small project that lets you practice stranded colorwork without committing to a large item. Use worsted weight yarn and simple geometric patterns with no more than two colors per row.
Color Block Baby Blanket: Great for practicing intarsia techniques with large color sections. Baby blanket patterns often forgive minor tension issues, and the recipient will love it regardless of small imperfections.
| Project | Best Technique | Skill Level | Time Investment |
|---|---|---|---|
| Striped scarf | Basic color changes | Beginner | 2-3 weeks |
| Fair Isle hat | Stranded colorwork | Intermediate | 1-2 weeks |
| Picture afghan | Intarsia | Advanced | 2-3 months |
| Mosaic dishcloth | Slip stitch colorwork | Beginner+ | Few days |
Whatever project you choose, start with yarn you enjoy working with. Worsted weight yarn is usually the most forgiving for learning colorwork techniques, and choose colors with good contrast so you can easily see your stitches and color changes.
Common Questions
How many colors can I use in one project?
Technically, there’s no limit, but practically, more than 4-5 colors in stranded colorwork becomes very difficult to manage. For intarsia work, you can use as many colors as you want since you’re not carrying them all at once. Start with 2-3 colors and work your way up as you get comfortable.
What’s the best yarn for multi-color crochet?
Smooth, plied yarns work best because they’re easier to see and manage. Avoid fuzzy or highly textured yarns while learning. Lion Brand Vanna’s Choice or Red Heart Super Saver are excellent choices for practicing – they’re affordable, come in many colors, and have consistent texture.
Should I cut yarn when changing colors?
It depends on your project. For stripes where you’ll return to the color soon, carry it up the side. For permanent color changes or when you won’t use a color for more than 6-8 rows, cut it leaving a 6-inch tail. In stranded colorwork, never cut – always carry the unused colors.
How do I fix mistakes in multi-color work?
Small mistakes can often be fixed by weaving in yarn ends differently or using duplicate stitch to cover incorrect colors. For larger mistakes, you’ll need to frog back to the error. This is why it’s important to check your work frequently in colorwork projects.
Why does my colorwork curl or pucker?
Usually this is a tension issue. Different colors might require slightly different tension to achieve the same stitch size. Make gauge swatches with each color and adjust your grip as needed. Also check that you’re not pulling carried yarns too tight.
How much extra yarn do I need for colorwork?
Colorwork typically uses 10-20% more yarn than single-color projects due to carried strands and yarn ends. For stranded colorwork, plan on 15-20% extra. For intarsia, you’ll use about the same amount as single-color work, but buy extra of each color to account for gauge swatches and potential mistakes.
Can I use different yarn weights together?
Generally, no. Different yarn weights will create uneven fabric and tension problems. Stick to the same weight yarn throughout your project. If you want textural variety, look for yarns with different textures but the same weight classification.
How do I weave in ends with multiple colors?
Weave each color into stitches of the same color when possible. This hides the ends better than weaving light colors into dark sections or vice versa. For finishing techniques, use a sharp tapestry needle and weave ends through the back loops of stitches, changing direction at least once to secure them.
Ready to Start Your Colorwork Journey
Multi-color crochet opens up a whole world of creative possibilities. Yes, it requires more attention and planning than single-color work, but the results are absolutely worth the effort. Start with simple projects and basic techniques, then gradually work your way up to more complex colorwork as your confidence grows.
Remember, every expert was once a beginner who made plenty of mistakes. I still occasionally end up with tangled yarn or uneven tension, and that’s okay. The key is to keep practicing and not get discouraged by the learning curve. Each project teaches you something new about managing colors and yarns.
Choose a simple project that excites you, gather your supplies, and dive in. Whether it’s a basic striped scarf or a simple two-color granny square, you’re building skills that will serve you well in countless future projects. Happy crocheting, and enjoy exploring the wonderful world of color!