Last month, I was teaching my neighbor Sarah how to crochet, and she kept getting frustrated with her foundation chains. They were either too tight, too loose, or somehow both at the same time. Sound familiar? We’ve all been there – staring at what should be a simple row of chains, wondering why something so basic feels impossible to get right.
The truth is, your foundation chain sets the tone for your entire project. Get it wrong, and you’ll be fighting wonky edges and uneven tension for rows and rows. But here’s what I’ve learned after years of making every possible foundation chain mistake: once you understand the why behind the technique, everything clicks into place.
Whether you’re working on your first baby blanket pattern or tackling a complex sweater design, mastering your foundation chain will transform your crochet experience. I’m going to walk you through everything I wish someone had told me when I started – from choosing the right hook size to fixing common problems before they derail your project.
Quick Answer
A proper crochet foundation chain requires consistent tension, the right hook size (often one size larger), and understanding that your starting chain counts as the foundation for your first row. Practice the slip knot, chain stitch, and turning chains together for best results.
Foundation Chain Fundamentals
Think of your foundation chain as the foundation of a house – everything else builds on top of it. When you’re working into that first row, you’re actually crocheting into the individual chain stitches you created. This is why consistency matters so much.
The foundation chain serves three main purposes: it establishes your project width, provides a base for your first row of actual stitches, and sets the tension for your entire piece. If your chains are too tight, you’ll struggle to work into them. Too loose, and your edges will be sloppy and uneven.
Here’s something that took me way too long to figure out: your foundation chain isn’t just about the number of stitches. The height matters too. Different stitch types require different chain heights, which is where turning chains come into play. A single crochet needs one turning chain, while a double crochet needs three.
Pro tip: Always make a few extra chains when you’re learning. It’s easier to unravel a couple at the end than to realize you’re short and have to start over.
The most common mistake I see beginners make is treating the foundation chain like it’s separate from the actual crocheting. It’s not – it’s your first row, and it needs the same attention to tension and technique as every other row in your project.
Choosing Your Hook and Yarn
This might surprise you, but I often use a hook that’s one size larger for my foundation chain than what the pattern calls for. Why? Because foundation chains tend to be tighter than regular stitches, and using a larger hook helps compensate for that natural tendency.
For example, if your pattern calls for a 5mm (H/8) hook, try making your foundation chain with a 5.5mm (I/9) hook, then switch to the correct size for your first row. This technique works especially well with beginner-friendly yarns like worsted weight cotton or acrylic.
| Yarn Weight | Standard Hook | Foundation Chain Hook | Best For |
|---|---|---|---|
| DK (3) | 4.5mm (G/7) | 5mm (H/8) | Baby items, lightweight blankets |
| Worsted (4) | 5mm (H/8) | 5.5mm (I/9) | Scarves, afghans, sweaters |
| Chunky (5) | 6.5mm (K/10.5) | 8mm (L/11) | Quick projects, winter accessories |
The Craft Yarn Council provides excellent guidance on standard hook sizes, but don’t be afraid to experiment. Your personal tension, the specific yarn you’re using, and even the humidity can affect how your foundation chain turns out.
When working with slippery yarns like bamboo or silk, I actually prefer to use the same hook size throughout. These fibers naturally have more give, so the larger hook trick isn’t usually necessary.
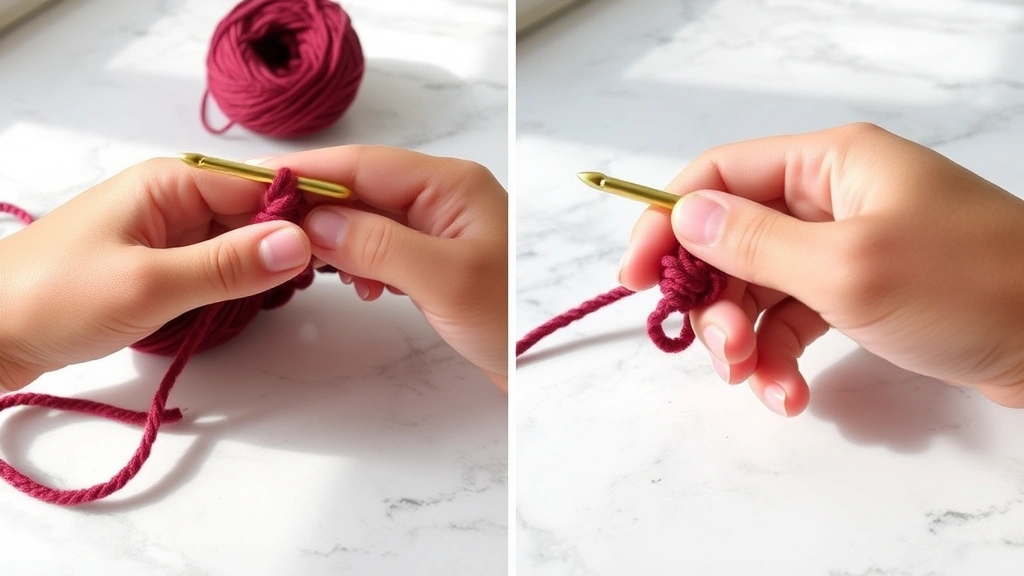
Creating the Perfect Slip Knot
Every foundation chain starts with a slip knot, and yes, there’s a right way and a wrong way to make one. The goal is to create a knot that’s snug enough to stay put but loose enough that you can adjust it as needed.
- Make the Loop
Create a loop with your yarn, leaving about a 6-inch tail. The working yarn (attached to the ball) should cross over the tail, not under it.
- Pull Through
Reach through the loop and grab the working yarn, pulling it through to create a new loop. This new loop goes on your hook.
- Tighten Gently
Pull both the working yarn and the tail to snug up the knot. Don’t make it too tight – you should be able to slide it along your hook shaft easily.
Here’s a test I use: after making the slip knot, I should be able to slide it up and down the hook shaft without it binding or falling off. If it’s too tight to move or so loose it slides off, start over.
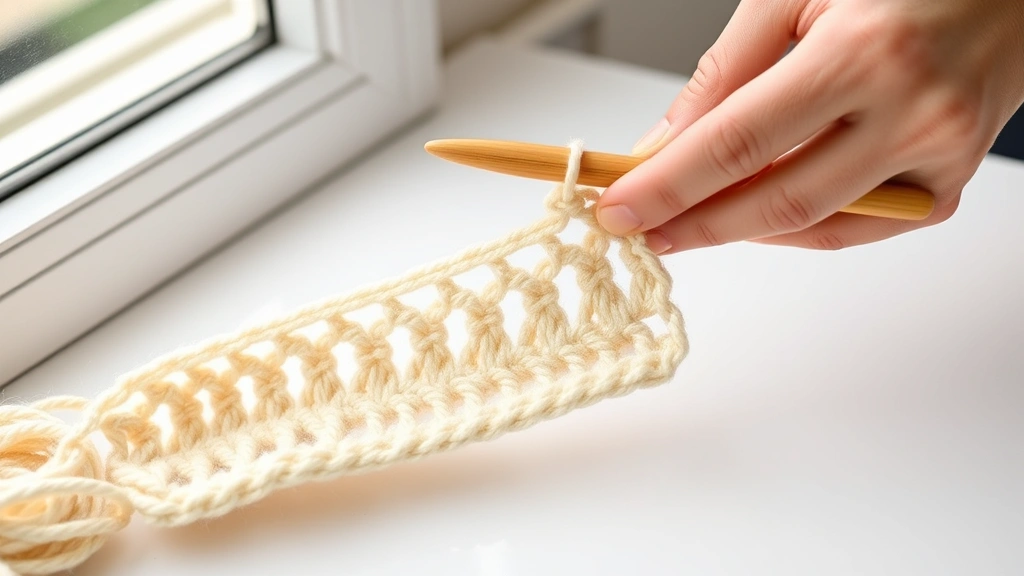
Mastering Chain Stitch Technique
The chain stitch is deceptively simple, but the devil’s in the details. Your goal is to create uniform loops that are easy to work into later. This is where most beginners struggle, and honestly, where I struggled for months when I first started.
Hold your hook like a pencil or a knife – whichever feels more natural. The yarn should flow smoothly over your index finger, with gentle tension controlled by your pinky and ring finger. Too much tension and your chains will be tight and hard to work into. Too little and they’ll be loose and sloppy.
For each chain stitch, yarn over (wrap the yarn around your hook from back to front) and pull through the loop on your hook. The motion should be smooth and consistent. I like to think of it as a gentle scooping motion rather than a sharp pull.
Practice tip: Make a foundation chain of 20 stitches, then unravel it and do it again. Repeat this five times. By the fifth time, you’ll notice your tension is much more consistent.
Pay attention to the size of your loops as you work. They should all be roughly the same size – about the diameter of your hook shaft. If you notice some chains are bigger or smaller than others, slow down and focus on consistency rather than speed.
When you’re working on larger projects like afghan patterns, maintaining consistent tension becomes even more critical. A wonky foundation chain will throw off your entire blanket.
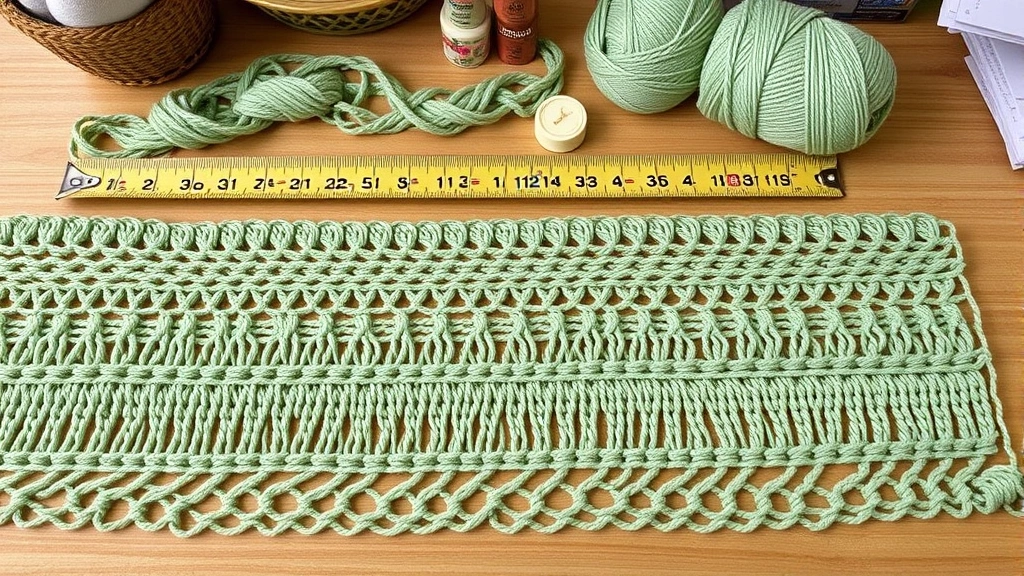
Counting and Measuring Chains
Counting chains accurately is crucial, but it’s trickier than it looks. Each chain stitch has a front and a back, and you want to count the V-shaped stitches on the front. Don’t count the slip knot, and don’t count the loop currently on your hook.
Here’s my foolproof counting method: lay your chain flat on a table with the front facing up. Starting from the slip knot end, count each V-shaped stitch. Use a stitch marker every 10 or 20 chains for longer foundations – trust me, it saves so much frustration.
For projects that need specific measurements rather than stitch counts, measure your chain as you go. A general rule of thumb: 4 chains equal about 1 inch in worsted weight yarn with a size H hook, but this varies significantly based on your tension and yarn choice.
When working with patterns that specify both stitch count and measurements, prioritize the measurement. Stitch counts can vary based on your personal tension, but measurements are more reliable for achieving the right fit.
Understanding Turning Chains
Turning chains are where a lot of crocheters get confused, but they’re actually pretty logical once you understand the concept. Different stitches have different heights, and your turning chain needs to match that height to keep your edges even.
| Stitch Type | Turning Chains | Counts as First Stitch? |
|---|---|---|
| Single Crochet | 1 chain | No |
| Half Double Crochet | 2 chains | Usually yes |
| Double Crochet | 3 chains | Yes |
| Treble Crochet | 4 chains | Yes |
The tricky part is knowing whether your turning chain counts as the first stitch of the next row. For single crochet, it almost never does. For double crochet and taller stitches, it usually does. When in doubt, check your pattern – it should specify.
Here’s something that confused me for years: when your turning chain counts as the first stitch, you skip the first actual stitch of the row and work into the second one. Then, at the end of the row, you work into the top of the turning chain from the previous row.
This is especially important when working on structured pieces like cardigan patterns where even edges are crucial for proper fit and appearance.
Troubleshooting Common Issues
Let’s talk about the problems that make you want to throw your hook across the room. I’ve been there, and I’ve found solutions for the most frustrating foundation chain issues.
Chains Too Tight
This is the number one complaint I hear. Your chains are so tight you can barely get your hook through them for the first row. The fix: use a larger hook for your foundation chain, consciously loosen your grip on the yarn, and practice making chains without pulling each one tight against the hook.
Chains Too Loose
Less common but equally frustrating. Your chains look sloppy and uneven. Solution: increase your yarn tension slightly by wrapping it around your pinky one more time, or switch to a smaller hook for the foundation only.
Twisted Chains
Sometimes your foundation chain gets twisted, especially on longer pieces. Prevention is key: lay your work flat frequently as you chain, and use stitch markers every 20-30 chains to help you keep track of orientation.
Wrong Count
You get to the end of your first row and realize you’re short or have too many chains. For a few chains off, you can often adjust by skipping a chain or working two stitches into one chain. For major miscounts, it’s better to start over.
When working with complex stitch patterns or lace patterns, even being off by one chain can throw off the entire design repeat.
Foundation Chains for Different Projects
Different types of projects have different foundation chain requirements, and understanding these differences will save you time and frustration.
Blankets and Afghans
For large projects like blankets, accuracy in your foundation chain is crucial. A chain that’s even slightly off can result in a blanket that doesn’t lay flat. I always recommend making a gauge swatch first, then measuring how many chains you need per inch.
Consider using a foundation single crochet or foundation double crochet technique for blankets. These create a more flexible edge that’s easier to work into and less likely to cup or ruffle.
Garments
Sweaters and cardigans need precise measurements, not just stitch counts. Always measure your foundation chain against the pattern’s specified width, and remember that most garment patterns include ease (extra room for comfort).
For garments, I often use the larger hook trick for the foundation chain, then switch to the pattern-specified hook. This prevents the bottom edge from being too tight and pulling in.
Accessories
Scarves, hats, and bags are more forgiving, but you still want consistency. For scarf patterns, pay special attention to your foundation chain tension – it will be visible at one end of your finished scarf.
For circular projects like hats, you’ll join your foundation chain into a ring. Make sure your chain isn’t twisted before joining, and use a slip stitch to connect the last chain to the first.
When working with variegated or self-striping yarns, try to start your foundation chain at a color change point. This gives you more control over how the colors work up in your finished piece.
Common Questions
How do I know if my foundation chain is the right tension?
Your foundation chain should be snug enough to maintain its shape but loose enough that you can easily insert your hook through each chain for the next row. If you’re struggling to get your hook through, it’s too tight. If the chains look loose and uneven, tighten up slightly.
Should I use a different hook size for my foundation chain?
Many crocheters find success using a hook one size larger for the foundation chain, then switching to the pattern-specified size for the rest of the project. This compensates for the natural tendency to make foundation chains tighter than regular stitches. Try both methods and see what works for your tension.
What’s the difference between a foundation chain and foundation stitches?
A traditional foundation chain is just chains that you work into later. Foundation stitches (like foundation single crochet or foundation double crochet) combine the chain and the first row of stitches into one step. Foundation stitches create a more flexible edge and eliminate the need to work into chains.
How many chains do I need for a baby blanket?
This depends on your yarn weight and desired finished size. For a typical 36-inch wide baby blanket in worsted weight yarn, you’ll need approximately 144-150 chains. Always make a gauge swatch first to determine your personal chain-to-inch ratio.
Why does my foundation chain keep twisting?
Chain twisting usually happens when you’re not maintaining consistent orientation as you work. Keep your work flat on a table or your lap, and check every 20-30 chains to make sure all the chains are facing the same direction. Using stitch markers can help you keep track.
Can I fix a foundation chain that’s too tight without starting over?
Sometimes yes, sometimes no. For slightly tight chains, try using a smaller hook for your first row to make it easier to work into the chains. You can also gently stretch the foundation chain before beginning your first row. If it’s severely tight, starting over is usually faster and gives better results.
How do I count chains in a long foundation chain without losing track?
Use stitch markers every 10 or 20 chains, depending on the total length. Place a marker, count your next set of chains, place another marker, and so on. This way, if you lose count, you only need to recount the section since your last marker.
What’s the best yarn for practicing foundation chains?
Medium-weight yarns like worsted weight cotton or acrylic are ideal for practice. They’re easy to see, have good stitch definition, and aren’t too slippery or too sticky. Avoid fuzzy yarns like mohair or very dark colors when you’re learning – they make it harder to see your stitches clearly.
Wrapping Up Your Foundation Chain Journey
Mastering the foundation chain isn’t just about getting the technique right – it’s about building confidence in your crochet skills. Every beautiful blanket, cozy sweater, or intricate doily starts with those first few chains, and now you have the knowledge to make them count.
Remember, consistency comes with practice. Don’t expect perfection on your first try, or even your tenth. I still occasionally have to restart a foundation chain when I’m working with a new yarn or trying a different technique. That’s normal, and it’s part of the process.
The most important thing is to keep practicing and stay patient with yourself. Every chain you make is teaching your hands the muscle memory they need. Before you know it, you’ll be chaining away without even thinking about tension or technique – it’ll just flow naturally.
Now grab your hook and yarn, and start practicing. Your future crochet projects are waiting for that perfect foundation chain, and you’ve got all the tools you need to give it to them. Happy crocheting!