You know that moment when you’re halfway through a gorgeous granny square blanket and realize one of your squares is noticeably smaller than the others? Yeah, I’ve been there. It’s frustrating when you’ve put hours into a project only to discover your blocking game needs work, or worse – your tension was off from the start.
Getting consistent square sizes isn’t just about looking professional (though that’s nice too). It’s about saving yourself from the heartbreak of having to frog perfectly good work or trying to force mismatched pieces together. Trust me, I learned this the hard way after spending a weekend trying to join squares that were anywhere from 4 to 6 inches when they were supposed to be a uniform 5 inches.
The good news? Once you understand why crochet squares end up different sizes and learn a few key techniques, you can avoid this headache entirely. Whether you’re working on your first granny square project or you’re a seasoned crocheter looking to perfect your technique, getting consistent sizing is totally achievable.
Quick Answer
Crochet squares vary in size due to tension differences, yarn weight variations, and blocking techniques. Maintain consistent tension, use the same yarn throughout, measure frequently, and block properly to achieve uniform square sizes every time.
Why Crochet Squares End Up Different Sizes
Let’s start with the elephant in the room – why does this happen in the first place? After making hundreds of squares over the years, I’ve identified the main culprits that cause size variations.
Tension inconsistency is the biggest factor. Your hands naturally relax as you get into a rhythm, or you might grip your hook differently when you’re tired versus when you’re fresh. I’ve noticed my squares made in the evening tend to be slightly looser than my morning ones because I’m more relaxed.
Yarn weight variations within the same skein can also throw you off. Even premium yarns aren’t perfectly consistent throughout the entire skein. You might not notice it when working in rows, but in squares where every stitch counts toward the final dimensions, these small variations add up.
Hook size changes, whether intentional or accidental, obviously affect size. But here’s what caught me off guard – even the same hook size from different manufacturers can vary slightly. My 5mm aluminum hook gives me different results than my 5mm bamboo hook with the same yarn.
Pro tip: Keep a project notebook where you record your hook brand, yarn dye lot, and the time of day you’re crocheting. You’ll start to see patterns in your work that help you stay consistent.
Environmental factors play a role too. Humidity affects both your yarn and your hands. On particularly dry days, I find my stitches tend to be tighter because the yarn has less give. Room temperature can affect how relaxed your hands are, which directly impacts your tension.
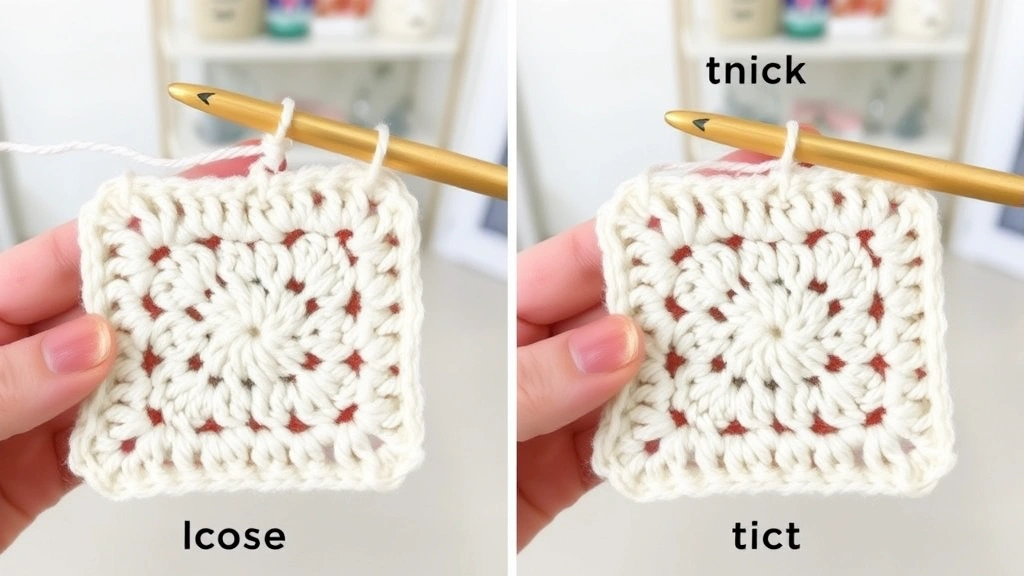
Mastering Consistent Tension
Consistent tension is your secret weapon for uniform squares. It took me years to realize that tension isn’t just about how tightly you pull your yarn – it’s about developing muscle memory for consistent hand positioning.
Start by finding your natural tension sweet spot. Make a small swatch with your chosen yarn and hook, paying attention to how your hands feel. Your stitches should slide easily on the hook without being loose, and the fabric should have a nice drape without being stiff. This is your baseline.
Hand positioning matters more than you’d think. I keep my yarn hand about 2-3 inches from my hook, with my pinky and ring finger controlling the yarn tension. My middle finger guides the yarn, and my thumb and index finger hold the work. Once you find a position that works, stick with it religiously.
| Tension Issue | Signs | Solution |
|---|---|---|
| Too tight | Hard to insert hook, stitches don’t slide | Relax grip, take breaks |
| Too loose | Stitches look uneven, fabric is floppy | Increase yarn control with pinky |
| Inconsistent | Some stitches tight, others loose | Practice same motion repeatedly |
Practice the same stitch repeatedly until it becomes automatic. I spent a whole evening just making single crochet stitches in a long chain, focusing on keeping every single one identical. Boring? Yes. Effective? Absolutely.
Take regular breaks, especially during long crochet sessions. Fatigue leads to tension changes, and you won’t even notice it happening. I set a timer for every 30 minutes to stretch my hands and check my work.
Yarn Weight and Fiber Impact
Not all yarns are created equal, and understanding how different yarn weights and fibers behave will save you from size surprises down the road.
Yarn weight consistency within a project is crucial. Even switching between dye lots of the same yarn can cause subtle size differences. I always buy enough yarn from the same dye lot to complete my entire project, plus a little extra for mistakes.
Fiber content affects how your squares behave both during crocheting and after blocking. Cotton tends to grow when blocked, while acrylic holds its shape pretty consistently. Wool can be manipulated quite a bit during blocking, which can be either helpful or problematic depending on your goals.
Yarn twist also impacts your final size. Tightly twisted yarns tend to produce smaller, more defined stitches, while loosely twisted yarns create larger, softer stitches. This is why switching yarn brands mid-project, even in the same weight category, can cause size variations.
Smart shopping tip: When buying yarn for a square project, get all your skeins at once and check that they’re all from the same dye lot. Store them together in a project bag to avoid accidentally mixing in yarn from a different batch.
Yarn age and storage conditions matter too. Yarn that’s been stored in a humid basement will behave differently than yarn stored in a dry closet. If you’re using yarn from your stash that’s been sitting around for a while, make a test square first to see how it works up.
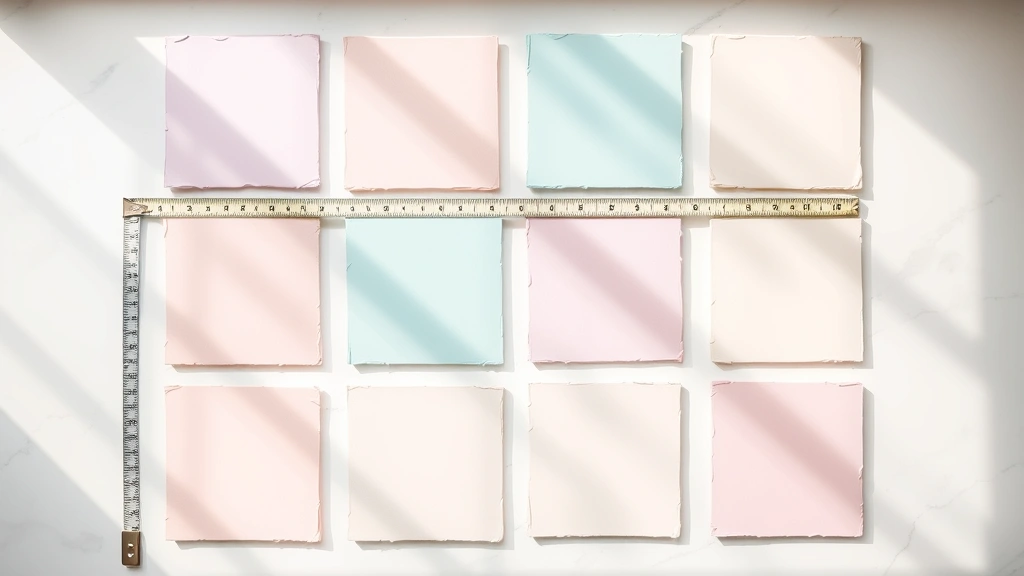
Proper Measuring Techniques
Measuring seems straightforward, but there’s definitely a right and wrong way to do it when you’re aiming for consistent square sizes.
Always measure your squares the same way every time. I measure from the center of the first stitch to the center of the last stitch, not from the very edges where yarn tails might add bulk. This gives me the most accurate measurement of the actual crocheted fabric.
Measure on a flat surface with the square lying naturally – don’t stretch it or compress it. I use a cutting mat with a grid, which helps me ensure the square is lying straight and not skewed. A slightly askew square will give you inaccurate measurements.
Take measurements at the same point in each square’s construction. For granny squares, I measure after completing each round, not just at the end. This helps me catch size issues early when they’re easier to fix.
Here’s something I learned the hard way: measure in the same lighting conditions each time. Shadows and poor lighting can make it hard to see exactly where your stitches begin and end, leading to inconsistent measurements.
Use the same measuring tool consistently. Different rulers and tape measures can have slight variations. I keep a dedicated 6-inch metal ruler in my crochet bag that’s only used for measuring my work.
Record your measurements as you go. I keep a simple chart where I note the size after each round or section. This helps me spot trends – like if my squares are gradually getting larger as I work, indicating my tension is loosening up.
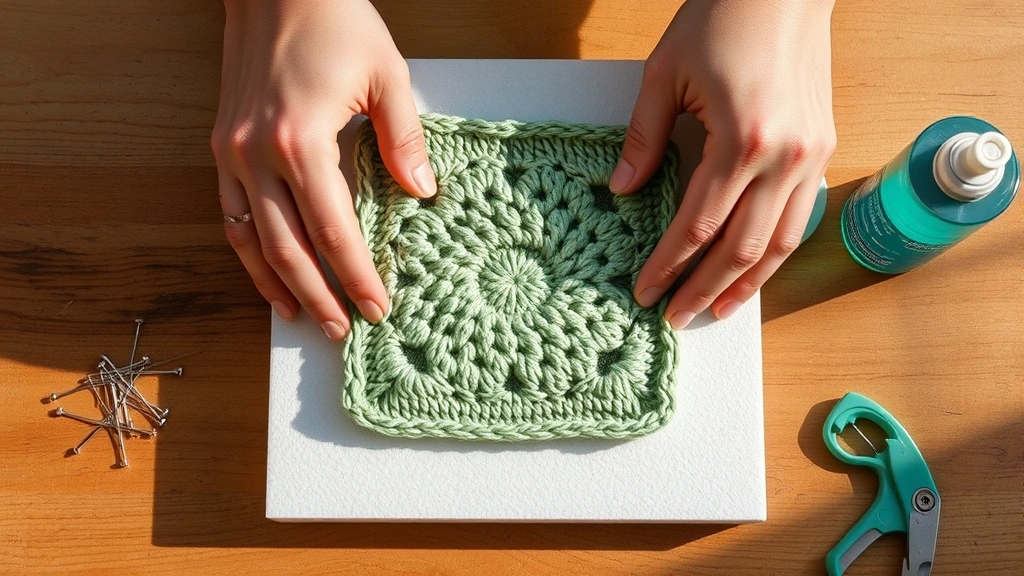
Blocking for Perfect Squares
Blocking is where the magic happens. It’s your chance to coax slightly different squares into uniform perfection. But there’s more to it than just getting things wet and stretching them out.
For most blocking projects, I use the spray bottle method rather than soaking. It gives me more control over how much moisture each square gets. Some squares might need more aggressive blocking than others, and this method lets me customize the treatment.
Pin your squares to exact measurements using a blocking board with a grid. I made my own using foam core board and a permanent marker to draw 1-inch squares. Commercial blocking mats work great too, but they can get expensive if you’re doing large projects.
Pin from the center outward, working your way around the square systematically. Don’t just pin the corners – use enough pins to keep the edges smooth and straight. For a 5-inch square, I typically use 12-16 pins around the perimeter.
- Prepare your blocking surface
Set up your blocking board on a flat surface where it can stay undisturbed for 24 hours. Make sure your pins are rust-proof stainless steel.
- Lightly dampen the square
Use a spray bottle to mist the square evenly. Don’t soak it – you want it damp, not dripping wet.
- Pin to measurements
Start with the corners, then add pins every inch or so around the perimeter. Check measurements as you go.
- Let it dry completely
Leave the square pinned until it’s completely dry, usually 12-24 hours depending on humidity and yarn type.
Different yarns respond differently to blocking. Cotton can usually handle more aggressive stretching, while acrylic might not change much at all. Wool is the most forgiving – you can usually coax it into the size you need with gentle stretching and steam.
Fixing Size Problems
So you’ve already made a bunch of squares and they’re all different sizes. Don’t panic – there are ways to fix this without starting over completely.
For squares that are too small, blocking with steam can often gain you up to half an inch in each direction, depending on the yarn. Use a steam iron held about 2 inches above the pinned square, letting the steam penetrate the fibers without actually touching the iron to your work.
Squares that are too large are trickier but not impossible to fix. Sometimes you can shrink them slightly by washing in warm water and drying flat, but this only works with certain fibers. Cotton and wool respond better to this treatment than acrylic.
Adding borders is often the easiest solution for size discrepancies. A simple single crochet border can add about 1/4 inch all around, while a more decorative border might add 1/2 inch or more. The key is to add the same border to all squares, even the ones that were already the right size.
Border strategy: If your squares vary by more than 1/2 inch, consider adding different border widths to bring them all to the same final size. Smaller squares get wider borders, larger squares get narrower ones.
Sometimes the best solution is to embrace the variation and design around it. I once made a beautiful temperature blanket where slight size variations actually added to the organic, handmade look.
For future squares in the same project, adjust your technique based on what you’ve learned. If your squares are consistently running small, try going up a hook size or loosening your tension slightly.
Prevention Strategies
The best way to deal with size variations is to prevent them from happening in the first place. Here are the strategies that have worked best for me over the years.
Make a gauge square before starting any project, even if the pattern doesn’t specifically call for one. This isn’t just about checking your gauge – it’s about establishing your baseline for that particular yarn and hook combination.
Work on squares in the same order each session. I like to complete one full square before starting another, rather than working on multiple squares simultaneously. This helps maintain consistency in my tension and technique.
Keep your workspace consistent. I always crochet in the same chair with the same lighting and the same way of holding my project. It might seem obsessive, but these small environmental factors really do affect your work.
Use stitch markers to mark key points in your pattern. For granny squares, I place a marker in the corner chain space of each round. This helps me keep track of where I am and ensures I’m making the same number of stitches in each round.
Temperature and humidity matter more than you’d think. I keep a small hygrometer in my craft room and I’ve noticed my tension tends to be tighter on low-humidity days. Knowing this helps me adjust accordingly.
Take photos of your work in progress. Sometimes size differences that aren’t obvious when you’re working become clear when you see them in a photo. I take a quick snap after every few squares to check for consistency.
Consider using stitch markers to mark your starting point in each round. This helps ensure you’re working the same number of stitches consistently and can help you spot where things might be going wrong.
Common Questions
How much size variation is acceptable in crochet squares?
For most projects, squares within 1/4 inch of each other will look fine when joined together. Anything more than 1/2 inch difference becomes noticeable and should be addressed through blocking or borders. Professional-looking projects typically have squares within 1/8 inch of each other.
Can I mix different yarn weights in the same square project?
It’s possible but challenging to get consistent sizes when mixing yarn weights. If you must use different weights, adjust your hook size accordingly – typically going down one size for heavier yarns and up one size for lighter yarns. Always make test squares first.
Why are my granny squares getting larger with each round?
This usually indicates your tension is loosening as you work, or you’re adding too many stitches in each round. Count your stitches carefully and try to maintain the same hand position throughout. Taking breaks can help maintain consistent tension.
How do I fix squares that curl at the edges?
Edge curling often indicates tension issues or insufficient corner increases. For granny squares, make sure you’re working 2 chain stitches between each group in the corners. Blocking can also help flatten curled edges.
What’s the best way to measure a square that’s not perfectly square?
Measure both the width and height, then use the average as your target size for blocking. If one dimension is significantly different from the other, you may need to adjust your corner increases or check your stitch count.
Should I block each square individually or wait until the project is complete?
Block individual squares before joining them together. This ensures each piece is the correct size and shape before assembly. Trying to fix size issues after joining is much more difficult and often less successful.
How long should I let blocked squares dry?
Allow at least 12-24 hours for complete drying, depending on your climate and yarn type. Cotton and wool typically need longer than acrylic. The squares should be completely dry to the touch before unpinning to maintain their blocked shape.
Can I use a clothes iron instead of a steamer for blocking?
You can use a regular iron on the steam setting, but never let the iron touch your crochet work directly. Hold it 2-3 inches above the surface and let the steam do the work. Direct contact can melt synthetic fibers or flatten natural fiber textures.
Getting consistent crochet square sizes isn’t about being perfect – it’s about being intentional with your technique and knowing how to fix things when they go wrong. The strategies I’ve shared here have saved me countless hours of frustration and helped me create projects I’m genuinely proud of.
Remember, even experienced crocheters deal with size variations sometimes. The difference is knowing how to prevent them and having the tools to fix them when they happen. Start with good habits like consistent tension and proper measuring, and don’t be afraid to block your squares into submission when needed.
Your next square project is going to be your best one yet. Take your time, measure as you go, and trust the process. Happy crocheting!