You know that feeling when you’re scrolling through Pinterest at midnight, and suddenly you stumble across the most gorgeous crochet blanket you’ve ever seen? Your heart skips a beat, your fingers start itching for yarn, and before you know it, you’re mentally calculating how many skeins you’ll need and which corner of your house would look best draped with this masterpiece.
I’ve been there more times than I care to admit. There’s something absolutely magical about blankets – they’re not just functional pieces that keep us warm. They’re comfort wrapped in stitches, memories woven into rows, and often the projects that teach us the most about ourselves as crocheters. Whether you’re a complete beginner who’s never held a hook or someone who’s been crocheting for years but feels intimidated by larger projects, blankets offer something special that smaller projects just can’t match.
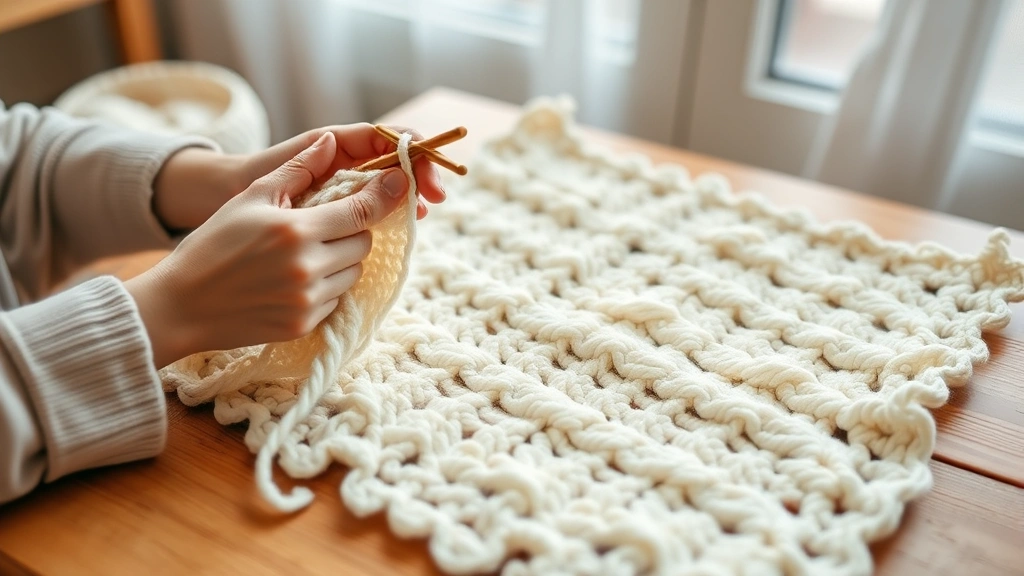
The beauty of crochet blankets lies in their versatility. You can work on them while binge-watching your favorite series, carry them in your project bag for those unexpected waiting moments, or use them as meditation in motion after a stressful day. Plus, there’s no better feeling than seeing those rows grow day by day, knowing you’re creating something that will bring warmth and joy for years to come.
Quick Answer
Crochet blankets range from simple single crochet rectangles perfect for beginners to intricate colorwork masterpieces for advanced crocheters. Most blankets use worsted weight yarn with a 5.5mm hook and require 1,500-3,000 yards depending on size, taking anywhere from 40-200+ hours to complete.
Choosing Your First Blanket Project
Let’s be honest – your first blanket choice can make or break your entire crochet blanket journey. I’ve seen too many enthusiastic beginners dive headfirst into a complex granny square pattern with twelve different colors, only to abandon it three weeks later when the squares start piling up and the joining seems impossible.
The key to success is starting with something that builds your confidence rather than crushing it. For your very first blanket, I always recommend a simple rectangle worked in rows. Think single crochet or half double crochet – stitches you probably already know if you’ve made a few dishcloths or scarves.
Size matters too, and bigger isn’t always better when you’re starting out. A baby blanket (around 30″ x 36″) is perfect for beginners because it’s manageable but still gives you that satisfying “real blanket” feeling. You’ll finish it in a reasonable timeframe, which keeps motivation high, and if you make mistakes, they’re easier to fix when you’re not dealing with a king-size project.
Consider your lifestyle when choosing patterns. If you travel frequently or crochet in different locations, avoid patterns that require constant chart reading or multiple yarn changes. Stick with repetitive patterns that you can memorize after a few rows. Trust me, there’s something incredibly soothing about working a simple pattern while your hands move almost automatically.
Pro tip: Choose a light-colored yarn for your first blanket. It’s much easier to see your stitches and catch mistakes early. I learned this the hard way after spending hours trying to count stitches in navy blue yarn under lamplight.

Essential Supplies and Materials
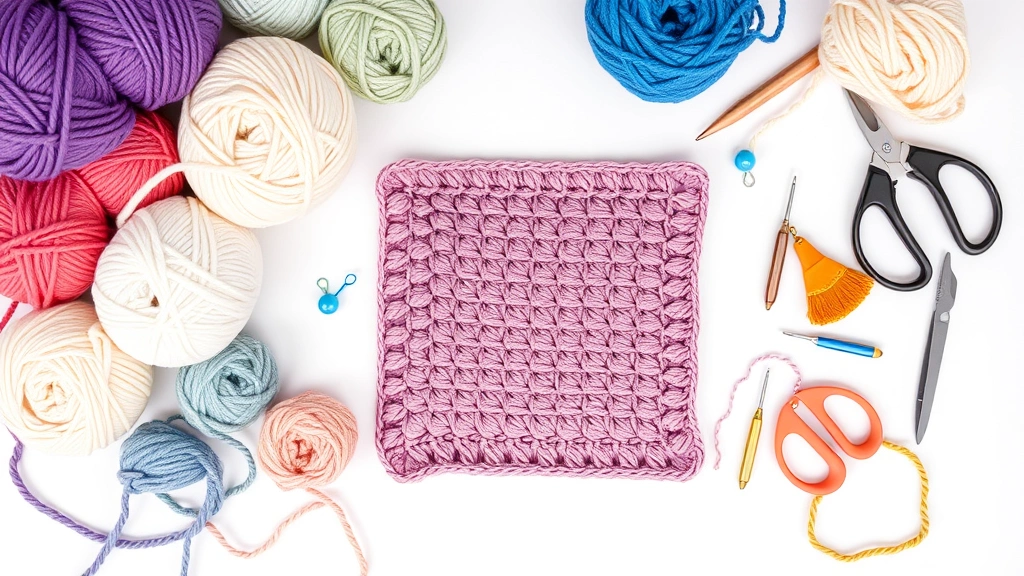
Before you dive into your blanket project, let’s talk about the tools that’ll make your life easier. You don’t need to break the bank, but having the right supplies makes a world of difference in both your experience and your final result.
For hooks, I’m a firm believer in investing in at least one really good ergonomic hook in your most-used size. Most blanket patterns call for a 5.5mm (I/9) or 6mm (J/10) hook when using worsted weight yarn. The Craft Yarn Council provides excellent guidance on hook size recommendations for different yarn weights.
Yarn choice can make or break your project. For beginners, I always recommend starting with worsted weight (Category 4) acrylic yarn. It’s forgiving, affordable, and machine washable – crucial for blankets that’ll actually get used. Red Heart Super Saver, Lion Brand Vanna’s Choice, and Caron Simply Soft are all excellent choices that won’t break the budget.
| Yarn Weight | Hook Size | Best For | Approximate Cost |
|---|---|---|---|
| DK (3) | 4.5-5.5mm | Baby blankets, detailed work | $15-25 for baby blanket |
| Worsted (4) | 5.5-6.5mm | Most adult blankets | $25-40 for throw size |
| Chunky (5) | 8-10mm | Quick projects, thick blankets | $40-60 for throw size |
Don’t forget the small tools that make big differences. A good pair of scissors, stitch markers (even safety pins work), a yarn needle for weaving in ends, and a measuring tape are essential. I also keep a small notebook dedicated to each blanket project where I track my progress, note any modifications, and jot down which episode of my current Netflix series I was watching when I started each section.
Organizing Your Yarn
Organization becomes crucial when you’re working with larger quantities of yarn. I use clear plastic bins to store each project’s yarn, keeping the pattern, hooks, and notions all together. This prevents that dreaded moment when you can’t find the right dye lot of yarn and have to make an emergency craft store run.
Beginner-Friendly Blanket Patterns
Now for the fun part – choosing patterns that’ll set you up for success. The beauty of beginner blanket patterns lies in their simplicity and repetition. You want something that builds muscle memory and confidence without overwhelming you with complex stitch combinations.
The classic granny square blanket deserves its reputation as a beginner favorite, but I’d actually recommend starting with something even simpler. A basic single crochet rectangle might sound boring, but hear me out – it’s incredibly meditative, you’ll master tension control, and the end result is surprisingly elegant.
For your first blanket, try working in rows of half double crochet. It works up faster than single crochet but isn’t as tall as double crochet, making it easier to keep your edges straight. Start with about 120 chains (this should measure roughly 36 inches with worsted weight yarn and a 5.5mm hook), then work in rows until you reach your desired length.
If you’re ready for a bit more visual interest, consider a simple stripe pattern. Work 4-6 rows in one color, then switch to another. This breaks up the monotony and helps you practice joining new yarn – a skill you’ll use in countless future projects.
Another excellent beginner option is the corner-to-corner (C2C) technique. While it looks complex, it’s actually just clusters of double crochet worked diagonally. The Ravelry database has thousands of free C2C patterns ranging from simple solid colors to pixel-art designs.
Intermediate Techniques and Stitches
Once you’ve completed a basic blanket and caught the blanket-making bug (and trust me, you will), you’ll probably start eyeing more complex patterns. This is where crochet gets really exciting – you’re ready to expand your stitch vocabulary and tackle techniques that create stunning texture and visual interest.
The shell stitch is a fantastic next step. It creates beautiful scalloped edges and interesting texture while still being relatively straightforward. Most shell patterns work up quickly and use less yarn than solid fabric stitches, making them budget-friendly too.
Bobble stitches and popcorn stitches add incredible dimension to blankets. They take a bit more time and yarn, but the textural interest they create is worth it. I love using these stitches for baby blankets – little ones seem fascinated by the raised bumps, and parents appreciate that the texture helps with sensory development.
Color changes become much more interesting at the intermediate level. Instead of simple stripes, you can explore planned pooling with variegated yarns, or try your hand at intarsia colorwork. The key is understanding how different yarn weights behave differently with color changes.
Mastering Tension with Complex Stitches
Here’s something pattern designers don’t always mention: complex stitches can really mess with your tension. When I first started making blankets with shell stitches, my gauge would change dramatically between the shell rows and the plain rows. The solution? Practice swatches. I know, I know – nobody wants to make swatches for a blanket. But spending an hour making a 6-inch square can save you from frogging 20 hours of work later.
Temperature blankets deserve a special mention here. These year-long projects involve choosing colors to represent daily temperatures and working one or two rows each day. They’re perfect intermediate projects because they combine simple stitches with complex planning and color management.
Advanced Colorwork and Complex Patterns
Ready to dive into the deep end? Advanced blanket projects are where crochet becomes true artistry. We’re talking intricate tapestry crochet, complex cable patterns, and designs that make people stop and ask “You made that?”
Tapestry crochet opens up a world of possibilities. You can create geometric patterns, reproduce photographs, or design your own pixel art. The technique involves carrying multiple colors and working over unused strands, creating a thick, sturdy fabric perfect for blankets. Fair warning though – these projects require significant planning and attention to detail.
Cable crochet brings the elegance of knitted cables to crochet projects. Post stitches create raised and recessed areas that mimic traditional cable patterns. The Aran-style blankets you can create with these techniques are absolutely stunning, though they do require patience and careful attention to pattern repeats.
Mosaic crochet is another advanced technique that creates stunning geometric patterns using only two colors per row. The magic happens through strategic placement of double crochet and chain spaces, creating the illusion of complex colorwork while actually being quite manageable once you understand the concept.
For those ready for the ultimate challenge, consider designing your own blanket. Start with graph paper and colored pencils to plan your design, then work out the math for your chosen stitch pattern. Lion Brand Yarn offers excellent resources for calculating yardage and planning custom projects.
Sizing, Planning, and Yarn Calculations
Nothing’s more frustrating than running out of yarn when you’re three-quarters done with a blanket, especially if you can’t find the same dye lot. Let’s talk about planning your projects properly so you can avoid that particular heartache.
Standard blanket sizes vary more than you might think. A baby blanket typically measures 30″ x 36″, while a throw blanket ranges from 50″ x 60″ to 60″ x 80″. Twin bed blankets should be about 70″ x 90″, and queen size runs around 90″ x 100″. But here’s the thing – these are just guidelines. The best blanket size is whatever works for your intended use and recipient.
Yarn calculations can be tricky because they depend on so many factors: your tension, the specific stitch pattern, the yarn weight, and even the fiber content. As a general rule, I calculate for about 20% more yarn than the pattern calls for. This accounts for tension differences and gives me enough extra for a border if I decide to add one.
| Blanket Size | Approximate Dimensions | Worsted Weight Yarn Needed | Estimated Time |
|---|---|---|---|
| Baby | 30″ x 36″ | 1,200-1,500 yards | 40-60 hours |
| Throw | 50″ x 60″ | 2,000-2,500 yards | 80-120 hours |
| Twin | 70″ x 90″ | 3,500-4,000 yards | 150-200 hours |
| Queen | 90″ x 100″ | 4,500-5,500 yards | 200+ hours |
Here’s my foolproof method for yarn calculation: Make a gauge swatch that’s exactly 4″ x 4″, then weigh it on a kitchen scale. Multiply that weight by the total square inches of your planned blanket, then divide by the weight per skein of your chosen yarn. Round up to the nearest whole number, then add one more skein for safety.
Managing Long-Term Projects
Large blankets are marathon projects, not sprints. I’ve learned to set realistic expectations – a queen-size blanket might take me six months to a year of regular crafting time. Breaking the project into smaller milestones helps maintain motivation. I celebrate every 12 inches of progress, and I’m not ashamed to admit I sometimes reward myself with new yarn or a fancy coffee.
Finishing Techniques and Borders
The difference between a homemade-looking blanket and a professional-quality piece often comes down to the finishing. This is where attention to detail really pays off, and honestly, it’s where many crocheters get lazy after spending months on the main body of the blanket.
Weaving in ends properly is crucial for blankets that will see regular use and washing. I use the Russian join method whenever possible to minimize ends, but when I do have tails to weave in, I make sure to weave them through at least six stitches in multiple directions. A loose end that works free after a few washes can unravel significant sections of your work.
Borders can transform a simple blanket into something spectacular. A basic single crochet border worked evenly around the entire perimeter instantly makes any blanket look more finished. For something fancier, consider a shell border or a picot edge. The key to professional-looking borders is working the same number of stitches on opposite sides and maintaining consistent tension.
Blocking is often overlooked for blankets, but it can make a huge difference in the final appearance. For acrylic yarns, steam blocking works well – lay the blanket flat, hold a steam iron about 6 inches above the surface, and let the steam relax the fibers. For natural fibers, wet blocking gives better results but requires more space and drying time.
Finishing Reality: I used to rush through the finishing process because I was so excited to use my new blanket. But I learned that spending an extra few hours on proper finishing techniques makes the difference between a blanket that looks handmade and one that looks professionally crafted.
Photography might seem unrelated to finishing, but documenting your completed projects helps you remember techniques that worked well and motivates you to maintain high standards. Plus, you’ll want to show off your beautiful work on social media or Ravelry.
Troubleshooting Common Problems
Let’s address the elephant in the room – blanket projects come with unique challenges that smaller projects don’t have. The good news is that most problems have straightforward solutions once you know what to look for.
Curling edges plague many blanket makers, especially when working in rows of single crochet or half double crochet. This usually happens because your foundation chain is too tight or your turning chains aren’t the right height. The fix? Try going up one hook size for your foundation chain only, or adjust your turning chain height. For single crochet, chain 1 and turn. For half double crochet, chain 2 and turn.
Wonky sizing is another common issue. You start with the right measurements, but somehow your blanket ends up shaped like a trapezoid. This typically results from inconsistent stitch counts or tension changes over time. The solution is counting – I know it’s tedious, but count your stitches every few rows, especially when you’re tired or distracted.
Color bleeding can ruin months of work in a single wash cycle. Always test your yarns for colorfastness before starting a multicolor project. Soak a small piece of each color in hot water for 30 minutes, then blot with white paper towels. If any color transfers, either choose different yarns or plan to hand wash the finished blanket.
Yarn substitution problems crop up frequently with blanket projects because of the large quantities involved. When substituting yarns, pay attention to more than just weight – consider fiber content, care instructions, and how the yarn behaves over time. A yarn that seems perfect in a small swatch might pill, stretch, or fade differently than your original choice.
When to Frog and When to Forge Ahead
Deciding whether to rip out problematic sections is one of the hardest decisions in blanket making. My rule of thumb: if the mistake affects the structure or usability of the blanket, fix it. If it’s just a cosmetic issue that you’ll probably forget about in six months, leave it and call it character. I’ve learned to embrace the small imperfections that prove my blankets are handmade with love, not churned out by a machine.
Common Questions
How long does it take to crochet a blanket?
This depends on size, complexity, and how much time you dedicate to crocheting. A baby blanket in simple stitches might take 40-60 hours of actual crafting time, spread over 4-8 weeks. A queen-size blanket with complex patterns could easily take 200+ hours over 6-12 months. I typically crochet 1-2 hours per day, so a throw-size blanket takes me about 2-3 months to complete.
What’s the best yarn for a beginner’s first blanket?
Worsted weight acrylic yarn is ideal for beginners. Red Heart Super Saver, Lion Brand Vanna’s Choice, or Caron Simply Soft are excellent choices. They’re affordable (usually $3-4 per skein), machine washable, available in many colors, and forgiving of tension inconsistencies. Avoid cotton or wool for your first blanket – they’re less forgiving and more expensive if you make mistakes.
How much yarn do I need for a throw blanket?
For a standard throw blanket (approximately 50″ x 60″) using worsted weight yarn, you’ll need 2,000-2,500 yards. This translates to about 8-10 skeins of most major brand yarns. I always buy an extra skein or two because running out of yarn in the same dye lot can be problematic. It’s better to have leftover yarn than to struggle with color matching later.
Should I use a pattern or make up my own design?
For your first few blankets, definitely use established patterns. They’ve been tested by other crocheters and include helpful details about yarn amounts, sizing, and techniques. Free patterns are available on Ravelry, yarn manufacturer websites like Yarnspirations, and crochet blogs. Once you’re comfortable with basic techniques, you can start modifying existing patterns or creating your own designs.
What hook size should I use for blanket projects?
Most blanket patterns using worsted weight yarn call for a 5.5mm (I/9) or 6mm (J/10) hook. However, your individual tension matters more than the suggested size. Make a gauge swatch first – if your stitches are too tight, go up a hook size. If they’re too loose, go down a size. The goal is creating a fabric that’s neither too stiff nor too floppy.
How do I keep my blanket clean while working on it?
Long-term projects need protection from daily life. I use a large project bag or pillowcase to store my work-in-progress. When crocheting, I lay a clean sheet or towel across my lap to protect the completed sections. Some crocheters wash their blankets in sections as they complete them, especially for baby blankets that need to stay pristine.
Can I crochet a blanket if I only know basic stitches?
Absolutely! Some of the most beautiful blankets use only single crochet, half double crochet, or double crochet. The magic comes from color choices, stripe patterns, and proper finishing techniques. Don’t feel pressured to learn complex stitches before starting your first blanket – master the basics first, then expand your skills with subsequent projects.
What’s the difference between a throw and an afghan?
The terms are often used interchangeably, but traditionally, a throw is smaller (around 50″ x 60″) and designed for decorative purposes or light coverage. An afghan is typically larger and intended as a functional bedcover. In modern usage, most people use “throw” for any blanket that’s not specifically sized for a bed. The important thing is choosing dimensions that work for your intended use.
Wrapping Up Your Blanket Journey
Creating your first crochet blanket is more than just making something to keep warm – it’s embarking on a journey that teaches patience, builds skills, and creates lasting memories. Every stitch represents time invested in yourself and your craft, and the final product becomes a tangible reminder of what you can accomplish with dedication and practice.
Remember that every experienced crocheter started exactly where you are now. We’ve all made wonky edges, dropped stitches, and questioned whether we’d ever finish that seemingly endless project. But we kept going because there’s something magical about watching a blanket grow row by row, knowing that each stitch brings us closer to creating something beautiful and functional.
Don’t rush the process. Enjoy the meditative rhythm of your hook moving through the yarn, the satisfaction of completing each row, and the anticipation of seeing your color choices come together. Some of my favorite memories involve working on blankets while chatting with family, binge-watching favorite shows, or simply enjoying quiet moments of creativity.
Your first blanket might not be perfect, and that’s perfectly okay. It will be uniquely yours, made with your hands and filled with your time and attention. That makes it more valuable than any store-bought blanket could ever be. So choose your yarn, pick up your hook, and start creating something wonderful. Happy crocheting!