Last month, I was teaching my neighbor how to crochet a simple dishcloth when she got completely tangled up in her yarn. Not literally tangled – though that happened too – but confused about which stitch to use, what hook size to grab, and whether she was even holding everything correctly. Sound familiar? If you’ve ever stared at a crochet pattern feeling like it’s written in ancient hieroglyphics, you’re definitely not alone.
The thing is, crochet really isn’t that complicated once you understand the basics. But those first few projects can feel overwhelming when you’re trying to decode abbreviations, figure out tension, and keep your stitches even. I’ve been crocheting for over fifteen years, and I still remember the frustration of my early attempts – dropped stitches, wonky edges, and projects that looked nothing like the picture.
Here’s what I wish someone had told me when I started: you don’t need to master every technique at once. Focus on getting comfortable with the fundamental stitches, understanding your materials, and building confidence with simple projects. The fancy stuff can wait until you’ve got muscle memory working for you.
Quick Answer
Start with worsted weight yarn and a size H/8 (5mm) hook to learn basic stitches like single crochet and double crochet. Practice tension control and reading patterns with simple projects like dishcloths or scarves before moving to complex techniques.
Essential Supplies for Beginners
Let’s start with the good news: you don’t need to spend a fortune to begin crocheting. I see too many beginners get overwhelmed by fancy hook sets and premium yarns when they’re still figuring out how to hold everything properly.
For your first hook, grab an aluminum size H/8 (5mm). It’s the perfect middle ground – not too big that your stitches get sloppy, not too small that you’re fighting with the yarn. I recommend aluminum over plastic because it has just enough grip to help control your yarn without being too sticky.
Yarn choice matters more than you might think. Skip the bargain bin scratchy stuff and the super expensive merino for now. Lion Brand Vanna’s Choice or Red Heart Super Saver in worsted weight are perfect starter yarns. They’re forgiving, affordable, and come in tons of colors. Worsted weight (category 4) is your sweet spot – thick enough to see your stitches clearly, but not so chunky that you lose dexterity.
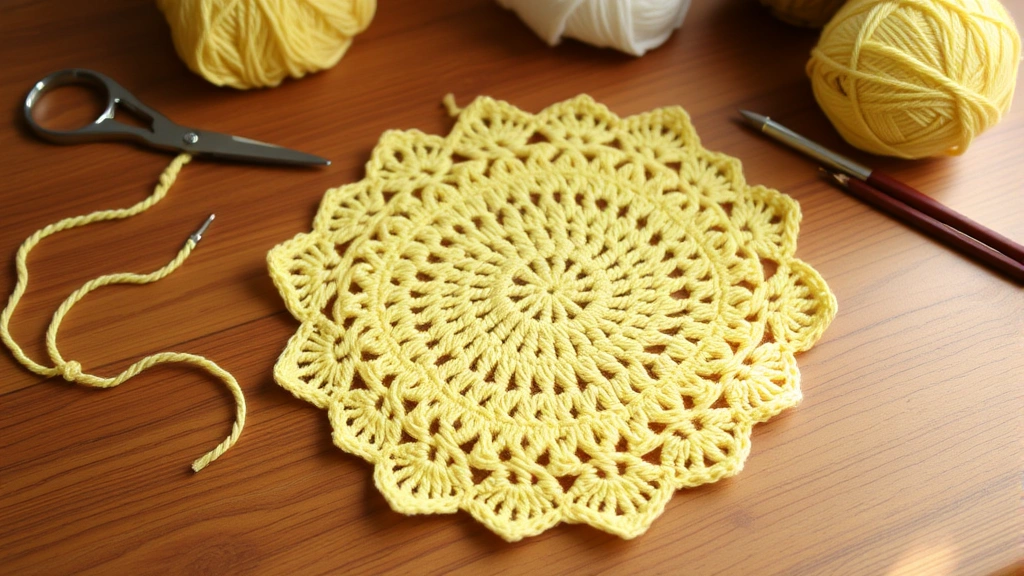
You’ll also want sharp scissors for cutting yarn, a tapestry needle for weaving in ends, and stitch markers. Don’t buy a huge set of markers – just grab a pack of safety pins from the dollar store. They work perfectly and won’t break your budget.
Pro tip: Start with light-colored yarn in cream, white, or pale yellow. Dark colors make it nearly impossible to see your stitches when you’re learning, which leads to frustration and mistakes.
Hook Sizes and Yarn Weight Matching
| Yarn Weight | Hook Size (US) | Hook Size (mm) | Best For Beginners |
|---|---|---|---|
| DK (3) | G/6 | 4.25mm | Baby items |
| Worsted (4) | H/8 | 5mm | First projects |
| Chunky (5) | J/10 | 6mm | Quick scarves |
Mastering Fundamental Stitches
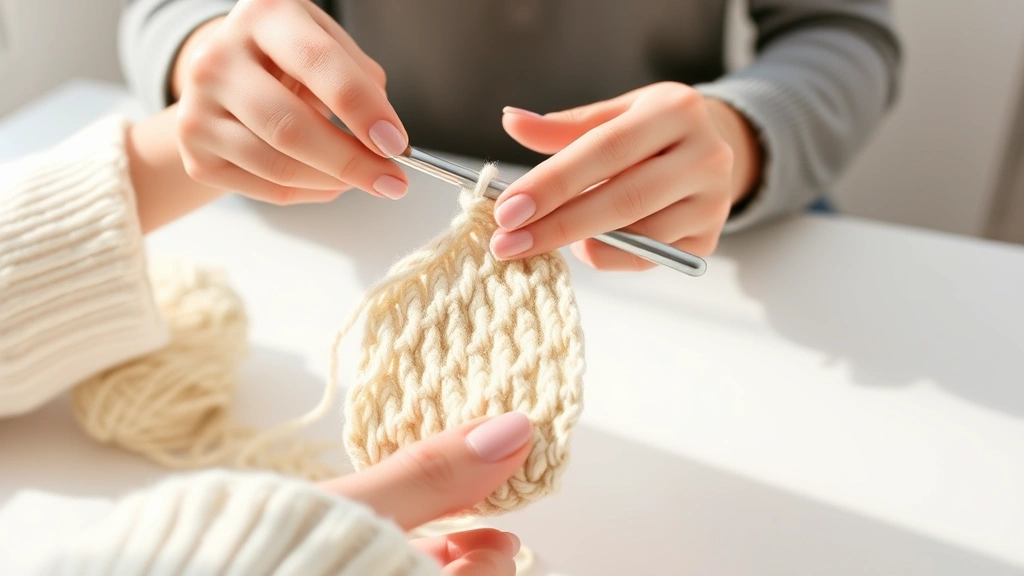
Every crochet project starts with a foundation chain, so let’s nail that first. Make a slip knot about 6 inches from your yarn end, then practice chaining until it feels natural. Your chains should be loose enough to fit your hook through easily, but not so loose they look like spaghetti.
The single crochet stitch is your bread and butter. It creates a dense, sturdy fabric that’s perfect for dishcloths, pot holders, and the foundation of many projects. Insert your hook, yarn over, pull through (two loops on hook), yarn over, pull through both loops. That’s it. The key is keeping your tension consistent – not death-gripping the yarn, but not letting it flop around either.
Double crochet works up faster and creates a more open fabric. Yarn over first, then insert your hook, yarn over and pull through (three loops on hook), yarn over and pull through two loops (two loops left), yarn over and pull through the last two loops. It sounds complicated, but once you get the rhythm, it’s actually easier than single crochet.
Practice Makes Progress
Don’t expect perfection on your first attempt. I still have my very first practice square – it looks like a wonky trapezoid because my tension was all over the place. But that’s normal! Your hands need time to learn the motions.
Practice each stitch for at least 30 minutes before moving to the next one. Make little sample squares, then unravel them and start again. This isn’t wasted yarn – it’s building the foundation for everything you’ll create later.
Understanding Crochet Patterns
Crochet patterns look intimidating at first glance, but they’re just a shorthand way of writing instructions. Once you crack the code, they become incredibly helpful roadmaps.
Every pattern starts with basic information: the yarn weight, hook size, gauge, and skill level. Pay attention to gauge – it tells you how many stitches and rows you should get in a 4-inch square. If your gauge is off, your finished project will be the wrong size.
Common abbreviations include ch (chain), sc (single crochet), dc (double crochet), st (stitch), and rep (repeat). Most patterns include an abbreviation list, so don’t try to memorize everything at once. The Craft Yarn Council has a comprehensive list you can reference.
When working with granny square patterns, you’ll encounter terms like “join with slip stitch” and “fasten off.” These become second nature with practice, but don’t be afraid to look them up every single time until they stick.
Always read through the entire pattern before starting. I can’t tell you how many times I’ve gotten halfway through a project only to discover I needed a different color yarn or special technique I wasn’t prepared for.
Decoding Pattern Language
Patterns use asterisks (*) and parentheses to indicate repeats. For example: “*sc in next 3 sts, 2 sc in next st; rep from * across” means you’ll repeat that sequence until you reach the end of the row.
Parentheses group stitches that go in the same space: “(2 dc, ch 2, 2 dc) in corner space” means all those stitches work into one corner space. This notation saves space and reduces confusion once you understand it.
Developing Proper Tension
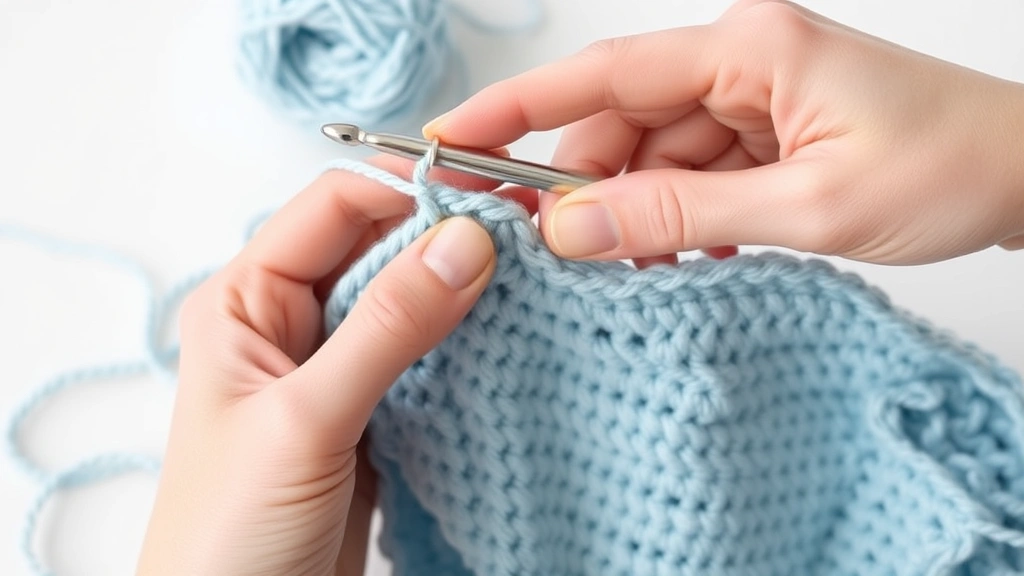
Tension control is probably the most challenging aspect for beginners, and honestly, it takes time to develop. Your hands need to find their natural rhythm, and that doesn’t happen overnight.
Hold your hook like a pencil or a knife – whichever feels more comfortable. There’s no “right” way, despite what some people might tell you. I hold mine like a pencil, but my sister holds hers like a knife, and we both crochet beautifully.
The working yarn should flow smoothly through your fingers. I wrap mine around my pinky, under my ring finger, over my middle finger, and control it with my index finger. This gives me good tension control without cramping my hand. Some people prefer different methods – experiment until you find what works for you.
Recognizing Good Tension
Good tension means your stitches are even and your fabric lies flat. You should be able to insert your hook easily into each stitch, but the fabric shouldn’t have holes or gaps. When working on dishcloth patterns, consistent tension is especially important because uneven stitches will create a wonky shape.
If one section of your work looks different from another, it’s usually a tension issue. Don’t rip everything out – just make note of it and focus on consistency moving forward. Your tension will naturally improve with practice.
Perfect First Projects
Your first project should be simple, useful, and forgiving. Dishcloths tick all these boxes perfectly. They work up quickly, use basic stitches, and if you make mistakes, they still function perfectly well for cleaning.
Start with a simple single crochet square. Chain 31 (for a roughly 8-inch square with worsted yarn and an H hook), then work single crochet in the second chain from hook and across. Chain 1, turn, and single crochet across each row until you have a square. This project teaches you foundation chains, basic stitches, turning, and finishing techniques.
Once you’re comfortable with squares, try a simple scarf. It’s just a long rectangle, but it introduces you to working longer rows and maintaining consistent edges. Choose a chunky weight yarn for faster progress and more visible stitches.
| Project | Skill Level | Time Required | Skills Practiced |
|---|---|---|---|
| Dishcloth | Beginner | 2-3 hours | Basic stitches, turning |
| Simple scarf | Beginner | 8-12 hours | Consistent tension, long rows |
| Baby blanket squares | Beginner+ | 15-20 hours | Joining, color changes |
Building Confidence
Don’t jump to complex projects too quickly. I see beginners attempt intricate amigurumi patterns before they’ve mastered basic stitches, then get frustrated and quit. Build your skills gradually – each successful project boosts your confidence for the next challenge.
Consider making several dishcloths in different colors or trying simple stitch variations. This repetition builds muscle memory while creating useful items for your home or gifts for friends.
Avoiding Common Beginner Mistakes
Every beginner makes similar mistakes – it’s part of the learning process. The key is recognizing them early and knowing how to fix them.
The most common mistake is accidentally increasing or decreasing stitches. This happens when you skip the first stitch of a row or work into the turning chain when you shouldn’t. Count your stitches at the end of each row until it becomes habit.
Tight stitches are another biggie. If you can barely get your hook through your stitches, you’re working too tightly. This makes everything harder and can cause hand cramps. Consciously try to relax your grip and let the yarn flow more freely.
Working into the wrong part of the stitch creates wonky-looking fabric. For most stitches, you work under both loops of the stitch from the previous row. Some patterns specify “front loop only” or “back loop only,” but unless noted, always work under both loops.
Keep a notebook of your projects with notes about what worked and what didn’t. I still refer to my old notes when trying new techniques or returning to patterns after a break.
Fixing Mistakes Without Starting Over
Learn to “unknit” or carefully unravel stitches back to your mistake. It’s faster than starting completely over and helps you understand stitch construction better. For small mistakes a few stitches back, just unravel to the error and continue from there.
For bigger mistakes, consider whether it’s actually worth fixing. If it doesn’t affect the function or overall appearance significantly, leave it. These “design features” remind you of your learning journey and often aren’t as noticeable as you think.
Building Your Skill Set
Once you’ve mastered basic stitches and completed a few simple projects, you can start expanding your skills. But don’t rush – solid fundamentals make everything else easier.
Color changes and stripes are great next steps. They’re not technically difficult, but they add visual interest to your projects. Practice changing colors at the end of rows first, then work up to mid-row color changes for more complex patterns.
Learning to work in the round opens up a whole world of possibilities. Magic ring tutorials are essential for starting projects like hats, bags, and amigurumi. The concept seems tricky at first, but once you get it, you’ll wonder why you waited so long to learn.
Joining techniques become important when you start making afghan patterns from individual squares or motifs. There are several methods – whip stitch, single crochet join, slip stitch join – each with different looks and purposes.
Setting Realistic Goals
Plan your skill development thoughtfully. If you want to make a complex cable stitch pattern sweater, break it down into smaller learning goals. Practice cable stitches on a small swatch first, then maybe make a cable scarf before attempting the full sweater.
Keep a running list of techniques you want to learn and projects you want to make. This gives you direction for your practice time and helps you choose appropriate learning projects.
Common Questions
How long does it take to learn basic crochet?
Most people can learn basic stitches and complete their first simple project within a week of regular practice. Expect to spend 2-3 hours learning your first stitches, then another 3-4 hours on your first dishcloth. Building consistent tension and reading patterns comfortably takes about a month of regular practice.
What’s the best yarn for absolute beginners?
Worsted weight acrylic yarn in light colors works best for beginners. Red Heart Super Saver, Lion Brand Vanna’s Choice, or Caron Simply Soft are excellent choices. They’re affordable, forgiving, machine washable, and the stitches show up clearly. Avoid dark colors, fuzzy textures, or expensive fibers until you’re more confident.
Should I start with a kit or buy supplies separately?
Buy supplies separately unless you find a kit for a specific project you really want to make. Most beginner kits include hooks you won’t use and patterns that might be too advanced. Start with one hook (size H/8), 2-3 skeins of worsted yarn in different light colors, scissors, and a tapestry needle.
How do I know if my tension is correct?
Your tension is good if you can easily insert your hook into each stitch, your fabric lies flat without curling, and your stitches look even in size. If you’re struggling to get your hook through stitches, you’re too tight. If your fabric has holes or looks loose and floppy, you’re too loose. Most beginners start too tight.
What if I can’t follow written patterns?
Start with video tutorials to see the techniques in action, then use the written pattern as backup. Many beginners are visual learners and find videos much easier to follow initially. YouTube has thousands of free crochet tutorials. As you practice, written patterns become easier to understand.
How much yarn do I need for my first project?
For a basic dishcloth, one skein of worsted weight yarn is plenty. A simple scarf needs 2-3 skeins depending on length and width. Always buy an extra skein when starting – running out of yarn mid-project is frustrating, and dye lots can vary between purchases.
Is it normal for my hands to hurt when learning?
Some hand fatigue is normal when learning, but sharp pain isn’t. Take frequent breaks, stretch your hands, and make sure you’re not gripping too tightly. If pain persists, consider ergonomic hooks or different grip techniques. Most discomfort resolves as your hands adapt to the motions.
Can I learn crochet if I’m left-handed?
Absolutely! Many patterns and tutorials now include left-handed instructions. You can also mirror right-handed instructions or flip your work to make it easier to follow along. Some left-handed crocheters learn right-handed techniques without problems, but do whatever feels most natural to you.
Learning to crochet is like learning any new skill – it takes patience, practice, and a willingness to make mistakes. Don’t expect perfection right away, and don’t compare your beginner projects to the gorgeous creations you see online. Every expert crocheter started exactly where you are now, with tangled yarn and wonky stitches.
The most important thing is to enjoy the process. Crochet should be relaxing and rewarding, not stressful. If you’re getting frustrated, put it down and come back later with fresh eyes. Your hands and brain need time to develop the muscle memory and pattern recognition that make crochet feel effortless.
Start with simple projects, use forgiving materials, and celebrate small victories along the way. Before you know it, you’ll be confidently tackling more complex patterns and creating beautiful handmade items. The journey from beginner to confident crocheter is one of my favorite things about this craft – every stitch brings you closer to mastery.