You’ve been crocheting for a while now, and you keep hearing about this magical thing called “gauge” that apparently makes or breaks your projects. Maybe you’ve ignored it completely (been there!), or maybe you’ve tried to measure it but ended up more confused than when you started. Trust me, I get it. For the longest time, I thought gauge was just some fancy suggestion that only perfectionist crocheters worried about.
Then I made a sweater that could have fit my teenage nephew instead of me. That’s when I realized gauge isn’t optional – it’s the difference between a project that fits beautifully and one that becomes an expensive lesson in frustration. The good news? Once you understand what gauge actually means and how to work with it, your crochet projects will transform from “close enough” to “exactly right.”
Here’s what I wish someone had told me from the beginning: gauge isn’t about being perfect. It’s about being consistent and making informed decisions about your yarn and hook choices. Some projects are more forgiving than others, and knowing when gauge matters most will save you time, yarn, and heartache.
Quick Answer
Gauge in crochet refers to the number of stitches and rows per inch in your work, typically measured over a 4-inch square. It determines the final size of your project and ensures proper fit for garments and accurate dimensions for all projects.
What Is Gauge in Crochet
Gauge is simply how many stitches and rows you create per inch with a specific yarn and hook combination. Most patterns list gauge as something like “16 stitches and 18 rows = 4 inches in single crochet.” This means that when you crochet a 4-inch by 4-inch square using the recommended yarn and hook, you should have exactly 16 stitches across and 18 rows down.
Think of gauge as your crochet fingerprint. Even if two people use the exact same yarn and hook, their gauge might be different because of how tightly or loosely they work their stitches. Some crocheters naturally have a tight tension, creating smaller stitches, while others work more loosely, creating larger stitches.
The pattern designer’s gauge becomes your roadmap. When they designed that sweater or blanket, they used their specific gauge to calculate all the measurements. If your gauge matches theirs, your finished project will match their size specifications. If your gauge is different, your project will be proportionally larger or smaller.
Understanding Gauge Measurements
Gauge is typically measured over a 4-inch square, but you might also see it listed as stitches per inch. For example, if a pattern says “4 stitches per inch,” that’s the same as saying “16 stitches = 4 inches.” Both measurements tell you the same thing – how dense your stitches should be.
Row gauge (vertical measurement) is just as important as stitch gauge (horizontal measurement), especially for projects where length matters. A cardigan pattern might depend on both measurements to ensure proper fit through the body and sleeves.
Why Gauge Matters More Than You Think
Let me paint you a picture of why gauge matters so much. Imagine you’re making a baby blanket that should measure 36 inches square. The pattern calls for 16 stitches per 4 inches, but your tension gives you 14 stitches per 4 inches. Instead of a 36-inch blanket, you’ll end up with a 41-inch blanket. That might not sound like much, but it means you’ll need about 25% more yarn than the pattern specifies.
For garments, the stakes are even higher. A sweater that’s supposed to fit a 38-inch bust could easily become a 44-inch bust if your gauge is off by just 2 stitches per 4 inches. That’s the difference between a fitted sweater and one that hangs like a sack.
But it’s not just about size – gauge affects the fabric quality too. Work too tightly, and your fabric becomes stiff and dense. Work too loosely, and it becomes floppy with visible gaps between stitches. This is especially important for projects like amigurumi toys where you need tight stitches to prevent stuffing from showing through.
The Yarn Factor
Different yarns behave differently, even within the same weight category. A cotton DK yarn will have different drape and stitch definition than an acrylic DK yarn, even if you use the same hook size. This is why experienced crocheters always make a gauge swatch when switching yarns, even if they’ve made the pattern before.
When working with chunky yarn projects, small gauge differences become magnified quickly. Being off by even half a stitch per inch can dramatically change your finished measurements.
How to Measure Your Gauge Correctly
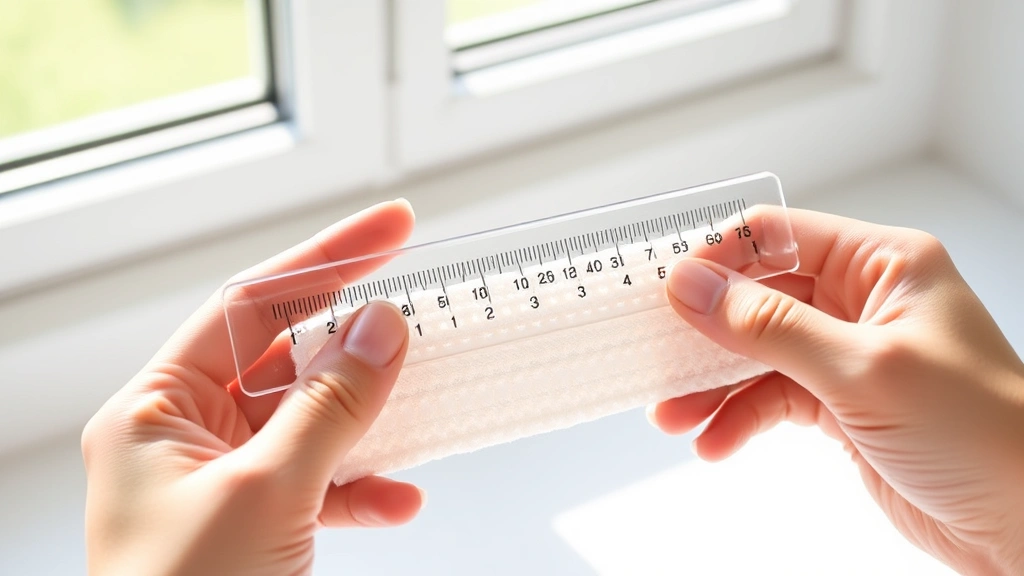
Measuring gauge correctly is crucial, and there’s a right way to do it. First, you need the right tools: a ruler or gauge measuring tool, good lighting, and a flat surface. I prefer a clear ruler because I can see the stitches underneath, but any accurate measuring tool will work.
Start by laying your gauge swatch on a flat surface without stretching it. Let it relax into its natural shape – don’t pull or compress it. Place your ruler horizontally across the swatch and count the stitches within a 4-inch span. Don’t start measuring from the very edge of your swatch; move in about half an inch to avoid edge distortion.
For stitch count, look at the top of your stitches (the “V” shapes in single crochet, the posts in double crochet). Count each complete stitch, and if you have a partial stitch at the end of your 4-inch measurement, estimate whether it’s closer to a half stitch or a quarter stitch.
Measuring Row Gauge
Row gauge can be trickier to measure accurately. Place your ruler vertically and count the rows within 4 inches. In single crochet, each row is relatively easy to distinguish. In taller stitches like double crochet, you’re counting the number of times the pattern repeats vertically.
Here’s a pro tip: take multiple measurements across your swatch. Measure the stitch count in three different places and average them. Do the same for row count. This gives you a more accurate gauge reading because your tension might vary slightly across the swatch.
Pro Tip: Take a photo of your swatch with the ruler in place. This gives you a record to reference later, especially helpful when working on long-term projects where you might need to check your gauge again.
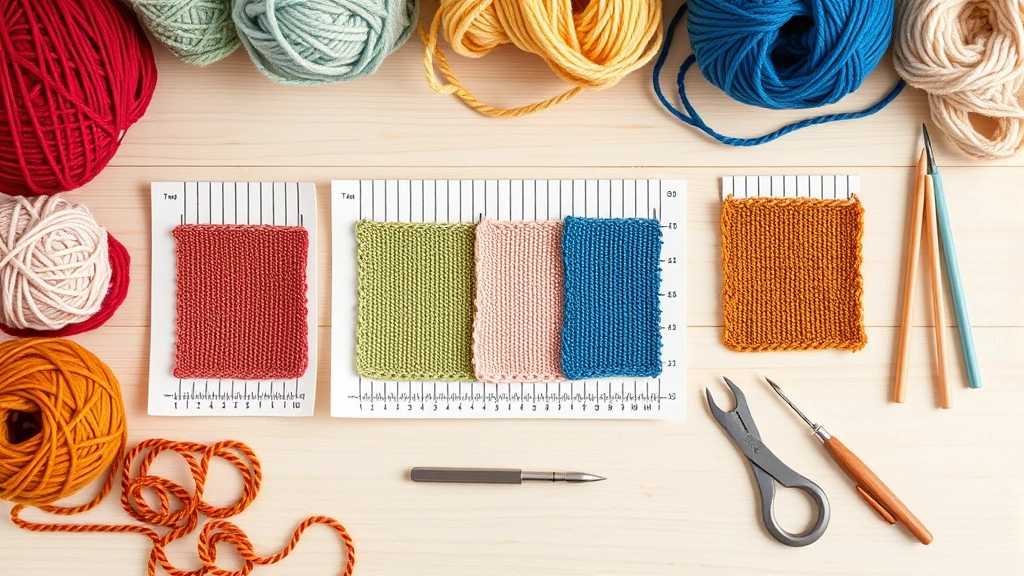
Creating the Perfect Gauge Swatch
A proper gauge swatch is bigger than you might think. Many crocheters make the mistake of creating a tiny 4-inch square, but this doesn’t give you enough fabric to measure accurately. I recommend making a swatch that’s at least 6 inches square, which gives you plenty of room to measure in multiple spots.
Use the exact yarn and hook specified in the pattern, and work in the stitch pattern called for in the gauge note. If the pattern says “gauge in single crochet,” don’t measure your gauge in double crochet, even if that’s the main stitch used in the pattern. The designer chose that specific stitch for gauge measurement for a reason.
Work your swatch in the same manner you’ll work the actual project. If you’re a loose crocheter in the morning but tighter in the evening, be consistent about when you make your swatch versus when you’ll work on the main project. Your mood, stress level, and even the time of day can affect your tension.
Blocking Your Swatch
This step is often overlooked but incredibly important, especially for natural fibers. Block your swatch the same way you plan to block the finished project. Cotton yarn can grow significantly when blocked, while wool might shrink or felt slightly. Acrylic yarns are more stable but can still change slightly with washing.
For a basic block, pin your swatch to the measurements and lightly steam or spritz with water, then let it dry completely. This shows you how the yarn will behave in the finished project and gives you a more accurate gauge reading.
| Yarn Type | Blocking Method | Expected Change |
|---|---|---|
| Cotton | Wet blocking | May grow 10-15% |
| Wool | Steam or wet block | Usually relaxes, may shrink slightly |
| Acrylic | Light steam | Minimal change |
| Alpaca | Careful wet blocking | Can stretch significantly |
What to Do When Your Gauge Is Off
Don’t panic if your gauge doesn’t match the pattern exactly – this is totally normal and fixable. The most straightforward solution is to change your hook size. If your stitches are too small (more stitches per inch than the pattern calls for), go up a hook size. If your stitches are too large (fewer stitches per inch), go down a hook size.
Here’s the general rule: each hook size change typically affects your gauge by about 0.5 to 1 stitch per 4 inches. So if you’re getting 18 stitches per 4 inches instead of 16, try going up one hook size. If that overcorrects and you get 15 stitches, you might need to go up half a hook size or adjust your tension slightly.
Sometimes the issue isn’t your hook size but your technique. Are you working into the back loop only when you should be working under both loops? Are you pulling your yarn too tight after each stitch? Small technique adjustments can make a big difference in gauge.
When Hook Size Changes Don’t Work
Occasionally, you’ll find that no hook size gives you the right gauge. This usually happens when you’re substituting yarns. The pattern might call for a cotton yarn, but you’re using wool, which has different stretch and recovery properties. In these cases, you have a few options.
You can recalculate the pattern based on your gauge. This requires some math, but it’s doable for simple projects. Alternatively, you might need to choose a different yarn that behaves more like the original. When working on beginner-friendly projects, it’s often easier to stick with the recommended yarn until you’re more comfortable with gauge adjustments.
When Gauge Matters Most (And When It Doesn’t)
Not all projects require perfect gauge, and understanding when to be flexible can save you a lot of stress. Gauge is absolutely critical for fitted garments like sweaters, cardigans, and hats. A hat that’s too small won’t fit, and one that’s too large will slide down over your eyes.
For home decor items like blankets and afghans, gauge is important for size and yarn requirements, but a few inches difference might not be a deal-breaker. A throw that ends up 48 inches instead of 45 inches could actually be better for your couch.
Gauge is less critical for items like dishcloths, scarves (unless they need to be a specific width), and some decorative accessories. These projects are more forgiving, and small size variations won’t affect their function.
Special Considerations for Different Project Types
Amigurumi and stuffed toys need consistent, tight gauge to prevent stuffing from showing through. For these projects, you might intentionally work tighter than the pattern suggests to create a denser fabric.
Lace projects require precise gauge for the pattern to drape correctly and for the lace motifs to be properly proportioned. A gauge that’s off by even a quarter stitch can throw off the entire design.
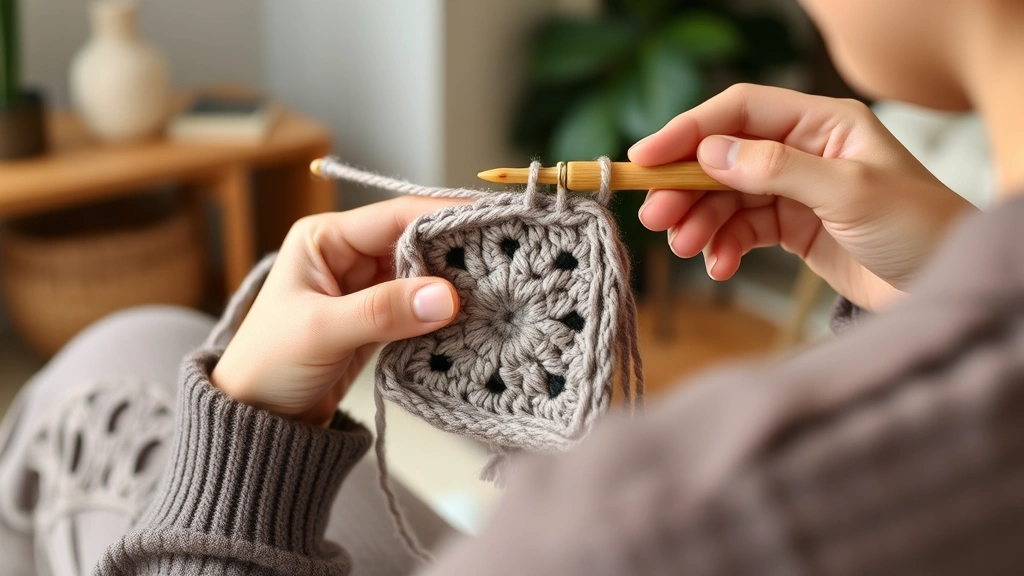
Granny square projects present unique gauge challenges because you’re measuring individual motifs rather than overall fabric. Each square should measure the same size, or your finished project will be wonky.
Common Gauge Mistakes and How to Avoid Them
The biggest mistake I see crocheters make is skipping the gauge swatch entirely. I know it seems like a waste of time and yarn, but trust me – it’s much better to spend an hour making a swatch than 20 hours on a sweater that doesn’t fit. Think of your gauge swatch as insurance.
Another common mistake is making the swatch too small. A 2-inch square isn’t enough to get an accurate reading because edge stitches behave differently than interior stitches. Your tension might also vary as you settle into the rhythm of the stitch pattern.
Many crocheters also make the mistake of measuring their swatch immediately after finishing it, while it’s still stretched from working. Let your swatch rest for at least a few hours, or better yet, overnight, before measuring. The yarn needs time to relax into its natural state.
Tension Inconsistency
Inconsistent tension is another gauge killer. Maybe you start your swatch while watching TV and finish it while having a focused conversation. These different mental states can affect how tightly you work your stitches. Try to maintain the same environment and mindset when making your swatch as you’ll have when working the main project.
Some crocheters have different tension for different types of stitches. Your single crochet gauge might be perfect, but your double crochet stitches might be looser or tighter. This is why it’s important to make your gauge swatch in the same stitch pattern specified in the pattern.
Remember: Gauge swatches aren’t wasted yarn. You can unravel them and reuse the yarn, or keep them as reference samples for future projects with the same yarn.
Common Questions
How big should my gauge swatch be?
Make your gauge swatch at least 6 inches square, preferably larger. This gives you enough fabric to take multiple measurements and get an accurate average. The 4-inch measurement area should be in the center of your swatch, away from the edges where tension might be different.
Do I need to make a new gauge swatch for every project?
Yes, if you’re using a different yarn, hook size, or stitch pattern than your previous project. Even the same yarn in a different color can have slightly different gauge due to dye variations. However, if you’re making multiple items with identical materials and stitches, one swatch should suffice.
What if my stitch gauge is right but my row gauge is off?
This is common and usually less problematic than stitch gauge being wrong. For many projects, you can adjust by working more or fewer rows to achieve the correct length. However, for fitted garments with shaped sleeves or intricate colorwork, row gauge matters more and might require hook size adjustment or technique modification.
Can I substitute yarn weights and still maintain gauge?
Generally, no. A DK weight yarn won’t give you the same gauge as worsted weight, even with hook size adjustments. The yarn’s thickness, fiber content, and construction all affect gauge. Stick within the same yarn weight category and similar fiber content for best results.
How much yarn do I need for a gauge swatch?
For most yarn weights, you’ll need about 25-50 yards for a proper 6-inch gauge swatch. Chunky yarns might need more, while lace weight needs less. It’s a small investment compared to buying enough yarn for a whole project that might not fit.
Should I wash my gauge swatch before measuring?
If you plan to wash the finished project, yes! Many yarns change significantly after their first wash. Cotton can shrink, wool can felt, and some acrylics can relax. Wash and dry your swatch the same way you’ll care for the finished item, then measure the gauge.
What’s the difference between gauge and tension?
Tension refers to how tightly or loosely you work your stitches, while gauge is the measurable result of that tension combined with your yarn and hook choice. You can have consistent tension but different gauge if you change yarns or hooks. Gauge is what ultimately matters for pattern success.
Why does my gauge change as I work on a project?
This happens more often than you’d think! As you get comfortable with a stitch pattern, your tension might relax. Stress, fatigue, or even changes in weather can affect how you hold your yarn. Check your gauge periodically during long projects, especially after breaks or when you notice your fabric looking different.
Understanding gauge transforms you from someone who hopes their projects will fit to someone who knows they will. Yes, it adds a step to your process, but it’s a step that pays dividends in perfectly fitting garments and properly sized projects. The confidence that comes from mastering gauge is worth every minute spent on those swatches.
Remember, gauge isn’t about perfection – it’s about consistency and making informed choices. Some of my favorite projects came from embracing a slightly different gauge and adjusting the pattern accordingly. The key is knowing what you’re working with so you can make those adjustments confidently.
Now grab that yarn you’ve been wanting to try, make a proper gauge swatch, and start your next project with the confidence that it’s going to turn out exactly as you envision it. Happy crocheting!