Picture this: you’re scrolling through Pinterest at 10 PM (again), and you stumble across the most gorgeous granny square blanket. The colors are perfect, the pattern looks doable, and you can already imagine it draped over your couch. But then reality hits – you’ve never made a granny square in your life, and the thought of starting feels overwhelming.
Here’s the thing about granny squares: they’re like the gateway drug of crochet. Once you master that first square, you’ll find yourself making them in every color combination imaginable. I’ve been there – my yarn stash exploded after I learned granny squares because suddenly every skein looked like it belonged in a new project.
The beauty of granny squares isn’t just in their versatility (though you can literally make anything from coasters to king-size blankets). It’s in their forgiving nature. Tension a little wonky? No problem. Colors not perfectly coordinated? That’s called character. Made a mistake three rounds back? Most of the time, you can work around it without anyone being the wiser.
What makes granny squares so addictive is the instant gratification. Unlike a sweater that takes weeks to see progress, you can complete a granny square in 15-30 minutes and feel that satisfying sense of accomplishment. Plus, they’re portable – perfect for waiting rooms, car rides, or those Netflix binges where your hands need something to do.
Quick Answer
Granny squares are beginner-friendly crochet motifs worked in rounds from the center out, typically using double crochet stitches and chain spaces. Start with a magic ring, work clusters of 3 double crochets separated by chain-2 spaces, and increase the pattern each round to create the characteristic square shape.
What Makes a Granny Square Special
A granny square is essentially a small crochet motif worked in the round, starting from the center and expanding outward. The traditional pattern creates a square shape through strategic increases at the corners, using clusters of double crochet stitches separated by chain spaces. This creates the characteristic “holes” that give granny squares their distinctive look and make them perfect for blanket patterns where you want airflow and texture.
The magic of granny squares lies in their mathematical precision disguised as casual crafting. Each round follows a specific formula: you’re essentially creating four sides of a square by placing corner increases at 90-degree intervals. The chain spaces between stitch clusters allow the work to lie flat while creating the decorative openwork pattern that makes granny squares so recognizable.
What sets granny squares apart from other crochet motifs is their incredible versatility. You can make them tiny (2-inch squares using fingering weight yarn) or massive (12-inch squares with bulky yarn). They work beautifully in solid colors for a modern look, or you can go wild with color changes every round for that classic hippie vibe.
The construction method also makes them incredibly forgiving for beginners. Since you’re working in rounds rather than rows, you don’t have to worry about maintaining consistent edge tension. The natural structure of the pattern helps keep your work even, and small imperfections tend to blend into the overall texture.
Essential Supplies and Materials
Let’s talk about what you actually need to get started. The beauty of granny squares is that you don’t need a huge investment – just basic supplies and some yarn scraps can get you going.
For your first granny square, I recommend starting with worsted weight yarn (size 4) and a size H/8 (5mm) hook. This combination gives you good stitch definition so you can see what you’re doing, and the yarn is thick enough that your squares work up quickly. Lion Brand Vanna’s Choice or Red Heart Super Saver are excellent budget-friendly options that come in tons of colors.
| Yarn Weight | Hook Size | Square Size | Best For |
|---|---|---|---|
| DK (3) | G/6 (4mm) | 3-4 inches | Baby items, lightweight throws |
| Worsted (4) | H/8 (5mm) | 4-5 inches | Afghans, pillows, bags |
| Chunky (5) | J/10 (6mm) | 6-7 inches | Quick blankets, rugs |
You’ll also want a yarn needle for weaving in ends (and trust me, there will be ends), scissors, and stitch markers if you’re the type who loses track of where rounds begin. A good set of stitch markers can save you from having to count stitches constantly.
For joining squares later, consider picking up some safety pins or clips. They’re invaluable for holding squares in position while you figure out your layout, especially when you’re working with multiple colors and want to see how they look together.
Basic Granny Square Technique
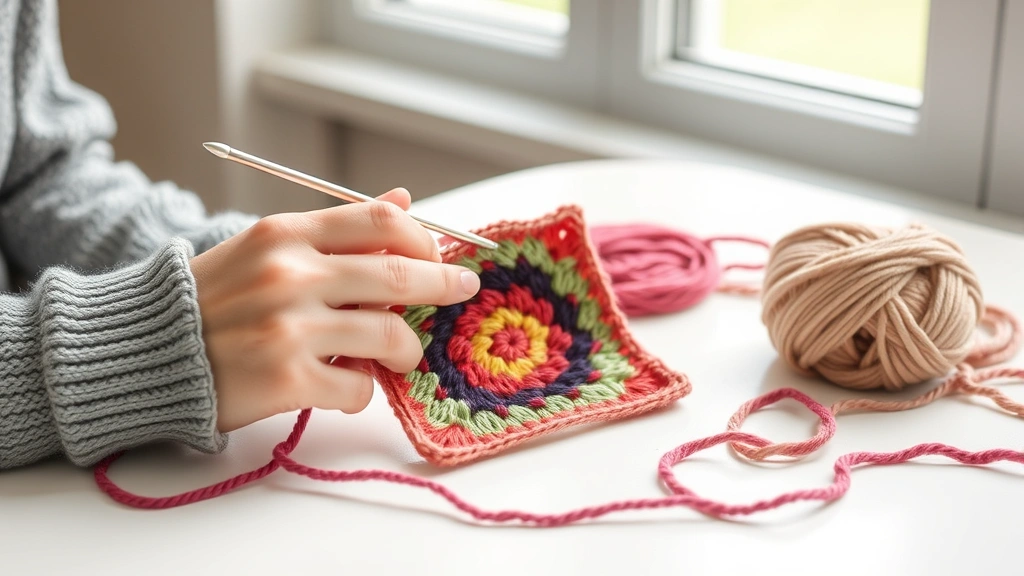
Alright, let’s dive into the actual construction. I’m going to walk you through the traditional granny square step by step, and I promise it’s not as complicated as it might seem at first glance.
- Start with a Magic Ring
Create a magic ring (also called an adjustable ring). If you’re not comfortable with the magic ring yet, you can chain 4 and join with a slip stitch to form a ring, but the magic ring gives you a much neater center. The magic ring technique is worth mastering because you’ll use it in so many projects.
- Round 1: Foundation
Chain 3 (counts as first double crochet), work 2 more double crochets into the ring, chain 2, *work 3 double crochets into ring, chain 2*, repeat from * two more times. Join with slip stitch to top of beginning chain 3. Pull the magic ring tight to close the center hole.
- Round 2: Creating Corners
Slip stitch to the first chain-2 space. Chain 3, work 2 double crochets in same space, chain 2, work 3 double crochets in same space (this creates your first corner). Chain 1, *in next chain-2 space work (3 dc, chain 2, 3 dc), chain 1*, repeat around. Join with slip stitch.
- Round 3 and Beyond
Each subsequent round follows the same pattern: work corner clusters (3 dc, ch 2, 3 dc) in corner spaces, and side clusters (3 dc) in chain-1 spaces from the previous round. Chain 1 between all clusters.
Pro tip: Count your corner spaces after each round. You should always have exactly 4 corners, and if you don’t, you’ve either missed one or accidentally created an extra. It’s much easier to fix mistakes immediately than to discover them three rounds later.
The key to consistent granny squares is maintaining the same tension throughout. Your chain-2 corner spaces should be loose enough to accommodate the corner clusters in the next round, but not so loose that they create huge gaps. This takes practice, so don’t get discouraged if your first few squares look a bit wonky.
Color Changes
One of the most fun aspects of granny squares is playing with color changes. You can change colors at the end of any round by completing the last join with your new color. Cut the old color leaving a 6-inch tail, and start the new color by pulling it through the last two loops of your final stitch.
For smooth color transitions, I like to plan my changes so I’m not dealing with too many ends in one area. If you’re working with multiple colors per round, consider carrying the unused color along the back of your work rather than cutting it each time.
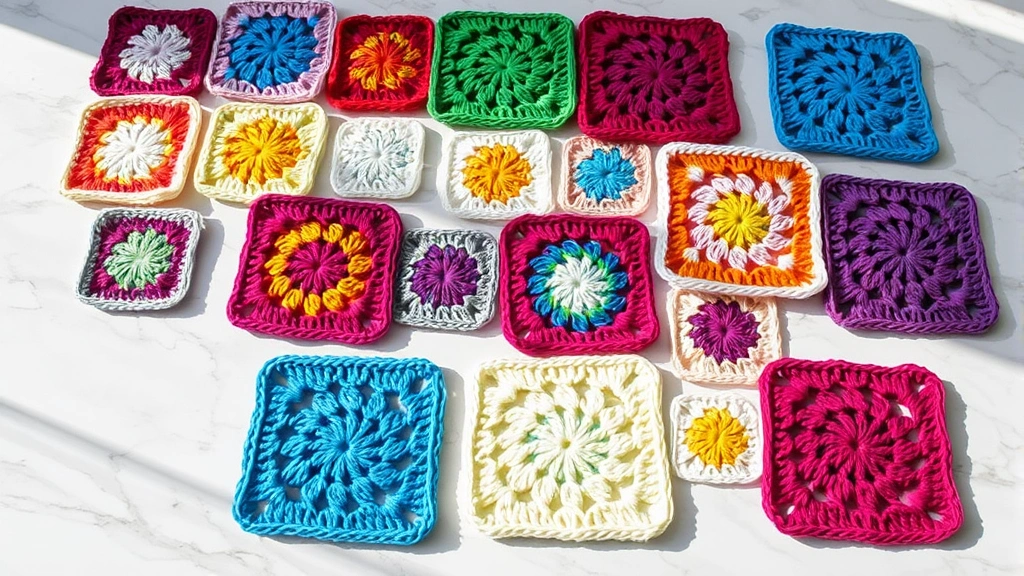
Popular Granny Square Variations
Once you’ve mastered the basic granny square, a whole world of variations opens up. These modifications can completely change the look and feel of your finished projects.
Solid Granny Square
The solid granny square fills in the chain spaces with additional stitches, creating a denser fabric. Instead of chain-1 spaces between clusters, you work double crochets in every stitch. This creates a warmer, less open fabric that’s perfect for winter blankets or bags that need more structure.
Sunburst Granny Square
This variation starts with a different center – usually 12-16 double crochets worked into the magic ring instead of the traditional cluster pattern. The subsequent rounds follow granny square logic but create a more circular appearance that transitions into a square. It’s gorgeous in gradient colors or when you want a more floral look.
Circle in a Square
This modern take maintains the circular shape for several rounds before transitioning to square corners. It creates an interesting geometric contrast and works beautifully in two-color combinations where you use one color for the circle and another for the square portion.
I’ve found that keeping a project notebook with yarn colors and hook sizes for each variation helps me recreate successful combinations later. There’s nothing more frustrating than finishing a gorgeous square and not remembering exactly how you made it.
Textured Variations
You can incorporate different stitches into the granny square framework. Try using front post double crochets for raised elements, or alternate between double crochets and treble crochets for height variation. Bobble stitches in the corners create fun dimensional elements, though they do make the squares a bit trickier to join.
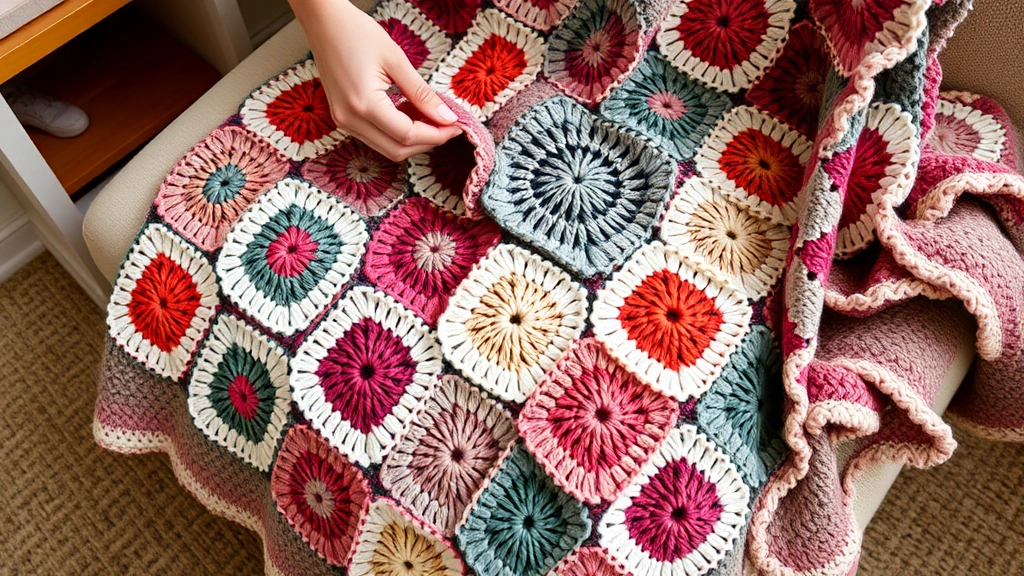
How to Join Squares Together
This is where many people get stuck – you’ve made 20 beautiful granny squares, and now they’re sitting in a basket while you figure out how to turn them into an actual blanket. There are several joining methods, each with its own advantages.
Whip Stitch Join
The whip stitch is probably the most common joining method. Hold two squares with right sides together and whip stitch along the edges using matching yarn. This creates a relatively flat seam and is very secure, but it can be a bit bulky on the wrong side of your work.
Single Crochet Join
Place squares right sides together and single crochet along the edges. This is stronger than whip stitching and creates a nice decorative ridge on the right side of your work. I particularly like this method when I’m using a contrasting color for joining – it becomes part of the design.
Invisible Join
This method creates the flattest seam by working through the back loops only of corresponding stitches. It takes more time and attention, but the result is worth it for projects where you want the squares to flow seamlessly together.
Layout tip: Before joining anything permanently, lay out all your squares and take a photo. This helps you remember your arrangement when you’re working on the project in pieces, and you can try different layouts without losing your original plan.
Join-as-You-Go Method
This technique involves joining squares as you complete them, working the join into the final round of each square. It’s incredibly efficient and eliminates the need for separate joining sessions, but it requires careful planning of your layout before you start.
For detailed joining tutorials, I recommend practicing with sample squares first. Each method has its own rhythm, and finding the one that works best for your hands and project style makes the process much more enjoyable.
Project Ideas by Skill Level
Let’s talk about what you can actually make with these squares. The possibilities are honestly endless, but here are some tried-and-true projects organized by skill level.
Beginner Projects
Start with a simple dishcloth using 4-6 squares joined together. This gives you practice with both making squares and joining them without committing to a huge project. Use cotton yarn like Lion Brand 24/7 Cotton for durability.
Coasters are another great beginner project – just make individual squares and add a border if desired. They work up quickly and make great gifts. I like to make sets of 6 in coordinating colors.
A small baby blanket (6×6 squares) is perfect for practicing consistency. Baby blankets are forgiving because slight size variations actually add character, and the finished size is manageable for a first big project.
Intermediate Projects
Once you’re comfortable with basic squares, try a throw blanket with color planning. This might involve 8×10 squares or larger, and you’ll need to think about color distribution and overall design. Throw patterns often incorporate multiple square variations for visual interest.
Tote bags using granny squares require some shaping knowledge but create sturdy, unique accessories. You’ll typically make rectangular panels and join them, adding handles and possibly a lining.
Pillow covers let you experiment with different square sizes and joining methods. A 16-inch pillow cover might use four large squares or sixteen small ones, giving you flexibility in design.
Advanced Projects
Large blankets (think king-size) require serious planning and commitment. You’re looking at 200+ squares, so consistency becomes crucial. Consider making all your squares first, then joining, or work in sections to maintain motivation.
Wearables like cardigans or vests using granny square construction require understanding of shaping and fit. The squares need to be precisely sized, and you’ll often need partial squares or triangular fill-ins for proper shaping.
Three-dimensional projects like storage baskets or plant hangers push granny square techniques into sculptural territory. These often combine traditional squares with other construction methods.
Troubleshooting Common Issues
Let’s address the frustrations that crop up when you’re learning granny squares. I’ve made every mistake in the book, so hopefully I can save you some frogging time.
Squares That Won’t Lie Flat
If your squares are cupping or ruffling, it’s usually a tension issue. Cupping (edges curling up) means your tension is too tight – try going up a hook size or consciously loosening your grip. Ruffling (wavy edges) means your tension is too loose or you’re adding too many stitches.
Sometimes the issue is with your corner chain-2 spaces. If they’re too tight, the square can’t spread properly at the corners. Make sure you can easily fit your hook through these spaces in subsequent rounds.
Inconsistent Square Sizes
This is the bane of every granny square project. Even small variations become obvious when you try to join squares together. The best solution is to establish a consistent routine: same yarn, same hook, same tension, same number of rounds.
If you’re working on a long-term project, consider making a gauge square and keeping it handy for comparison. When you sit down to crochet after a break, make sure your new squares match your gauge square.
Here’s a trick I learned the hard way: if you have squares that are slightly different sizes, use them in different sections of your project. Put all the larger squares together and all the smaller ones together rather than trying to mix them randomly.
Confusing Stitch Counts
It’s easy to lose track of where you are in a granny square, especially when you’re watching TV or chatting while crocheting. I recommend using stitch markers to mark your corners until the pattern becomes second nature.
If you find yourself with the wrong number of stitches, check your corners first. Missing or extra corners are the most common culprits. Each round should have exactly 4 corner spaces, and if you don’t, you’ll need to frog back to fix it.
Yarn End Management
Granny squares generate a lot of ends, especially if you’re changing colors frequently. Weave in ends as you go rather than leaving them all for the end – your future self will thank you. For color changes, try to position them so the ends can be woven into areas where they’ll be less visible.
Common Questions
How many granny squares do I need for a blanket?
This depends entirely on your square size and desired blanket dimensions. For a throw blanket (50×60 inches) using 5-inch squares, you’d need 120 squares (10×12). For a larger afghan (60×80 inches), you’d need 192 squares. I always recommend making a few extra squares to account for size variations or damage.
Can I mix different yarn weights in one project?
It’s possible but tricky. Different yarn weights will create different sized squares even with the same number of rounds. If you want to mix weights, plan for it by adjusting hook sizes or round counts to achieve consistent square sizes. DK weight with an F hook might match worsted weight with an H hook, but you’ll need to test this.
How long does it take to make a granny square?
A basic 4-round granny square in worsted weight yarn takes me about 15-20 minutes. Beginners might need 30-45 minutes per square initially. Larger squares with 6-8 rounds can take 45 minutes to an hour. Color changes add time, and complex variations take longer than basic squares.
What’s the best way to store work-in-progress squares?
I use large ziplock bags with index cards noting the yarn type, hook size, and number of rounds. For long-term storage, avoid folding squares – lay them flat in boxes or hang them on hangers. If you must fold them, place tissue paper between layers to prevent creasing.
Should I block my granny squares?
Blocking isn’t always necessary for granny squares, but it can help with consistency. If your squares are slightly different sizes or the edges aren’t perfectly straight, light steam blocking can help. Pin squares to measurements on a blocking board and steam lightly with an iron held above the work.
How do I fix a mistake several rounds back?
Unfortunately, there’s usually no way around frogging (ripping out) back to the mistake. Granny squares are constructed in a way that makes it impossible to fix errors without undoing subsequent work. This is why I recommend checking your stitch count after each round until you’re very comfortable with the pattern.
Can I make granny squares with cotton yarn?
Absolutely! Cotton yarn makes excellent granny squares, especially for items like dishcloths, market bags, or summer blankets. Cotton has less stretch than acrylic, so your squares might be slightly smaller and stiffer, but this can actually be an advantage for structured items. Bernat Handicrafter Cotton is a popular choice for granny square projects.
Why do my corners look rounded instead of square?
This usually happens when your corner chain-2 spaces are too tight or when you’re not placing your corner clusters correctly. Make sure you’re working both corner clusters (the 3 dc, ch 2, 3 dc) into the actual chain-2 space from the previous round, not into the stitches on either side. The chain-2 space should create enough room for the corner to form properly.
Learning granny squares opens up a world of creative possibilities that will keep your hooks busy for years to come. Whether you’re making a simple dishcloth or planning an heirloom afghan, these versatile motifs offer endless opportunities for color play, texture experimentation, and personal expression. The key is to start simple, practice consistently, and don’t be afraid to make mistakes – they’re all part of the learning process.
Remember that every expert crocheter started exactly where you are now, struggling with tension and counting stitches. The beautiful blankets you admire on social media represent hours of practice and probably a few frogged projects along the way. Be patient with yourself, enjoy the meditative rhythm of the stitches, and celebrate each completed square as a small victory.
Now grab your hook and some yarn – your first granny square is waiting to be born. Start with just one, see how it feels in your hands, and let the addiction begin. Happy crocheting!