Last weekend, I was helping my neighbor Sarah with her first crochet project when she held up her work with a frustrated sigh. “Why does my rectangle look like a wonky trapezoid?” she asked. I immediately knew the culprit – she wasn’t maintaining consistent stitch count. It’s one of those fundamental skills that seems obvious once you know it, but can be absolutely maddening when you’re starting out.
Keeping track of your stitches isn’t just about counting (though that’s part of it). It’s about understanding how stitches behave, recognizing when something’s going wrong, and having the tools and techniques to fix problems before they become disasters. Whether you’re working on a simple granny square or tackling an intricate lace shawl, stitch counting is your safety net.
I’ve been crocheting for over fifteen years, and I still count my stitches on complex projects. The difference is that now I have systems in place that make it almost automatic. I know which projects need constant vigilance and which ones I can cruise through while watching Netflix. More importantly, I’ve learned to read my work – to spot problems early and fix them quickly.
Quick Answer
Count your stitches at the end of each row and use stitch markers every 10-20 stitches on long rows. For complex patterns, keep a tally sheet and mark completed sections as you go.
Why Stitch Counting Actually Matters
Here’s the thing – every missed or added stitch compounds as you work. Start with 30 stitches instead of 32 on row one, and by row twenty, your “rectangle” will look like it’s leaning to one side. I learned this the hard way when I made a baby blanket that ended up shaped like a parallelogram. The mom was sweet about it, but I was mortified.
Stitch counting isn’t just about maintaining shape, though that’s crucial. It affects your gauge, which determines the final size of your project. If you’re following a pattern for a sweater that should fit a size medium, inconsistent stitch counts can leave you with something that fits a small or a large instead.
Different project types have different tolerance levels for counting errors. A simple scarf pattern might forgive a stitch or two, especially if you’re using a textured yarn that hides minor imperfections. But geometric designs, fitted garments, and anything with specific shaping requirements need precise stitch counts to look right.
Pro tip: Start developing good counting habits on simple projects. It’s much easier to learn proper technique on a dishcloth than on a complex sweater.
The psychological aspect matters too. When you know your stitch count is accurate, you can relax and enjoy the meditative rhythm of crochet. When you’re constantly worried about whether you’ve made mistakes, the whole experience becomes stressful instead of soothing.
Basic Counting Techniques That Work
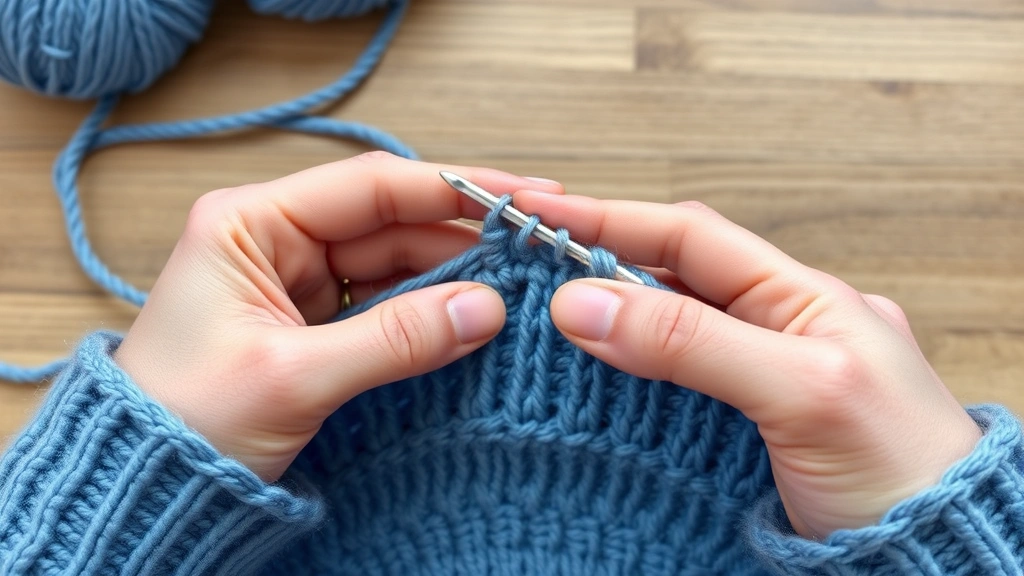
The most straightforward approach is counting every stitch at the end of each row. This works perfectly for simple projects with consistent stitch counts. When working in rows, count the vertical posts of your stitches – they’re easier to see than the top loops.
For single crochet, count the vertical lines created by each stitch. With double crochet, those posts are taller and more obvious. If you’re working with worsted weight yarn in a solid color, this method is usually foolproof.
The “count by fives” method works well for longer rows. Count five stitches, then start over: “One, two, three, four, five – that’s five. One, two, three, four, five – that’s ten.” It sounds tedious, but it’s actually faster than counting to large numbers and more accurate than trying to count everything at once.
Visual Counting Techniques
Learn to recognize what different stitch counts look like. A row of 20 single crochet stitches in worsted weight yarn measures roughly 4-5 inches, depending on your tension. Once you internalize these visual cues, you’ll notice immediately when something looks off.
The “fold and compare” method works great for rectangular projects. Fold your work in half and see if both sides line up. If one side is longer, you’ve gained stitches on that end. If it’s shorter, you’ve lost some.
Quick check: Hold your work up to eye level and look along the edge. Consistent stitch counts create straight lines, while errors create curves or angles.
Essential Tools for Tracking Stitches
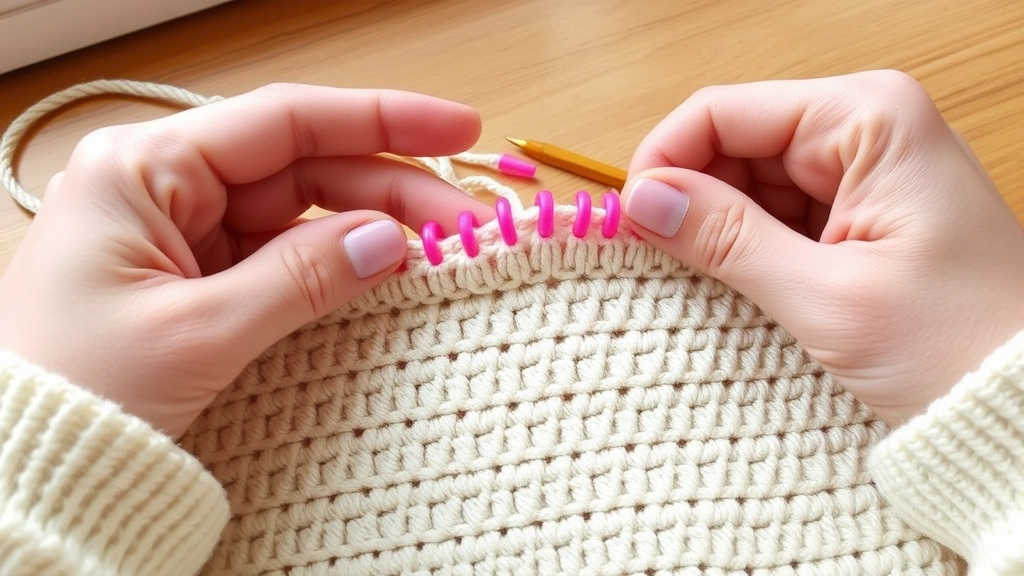
Stitch markers are absolute game-changers, especially the removable kind. I use the little plastic rings that look like safety pins – they’re cheap, come in bright colors, and won’t damage your yarn. Place one every 10 or 20 stitches on long rows, and counting becomes much more manageable.
Row counters aren’t just for knitters. The little mechanical clickers work perfectly for crochet, especially on projects where you need to track both rows and pattern repeats. I keep mine on a retractable cord attached to my project bag so I never lose it.
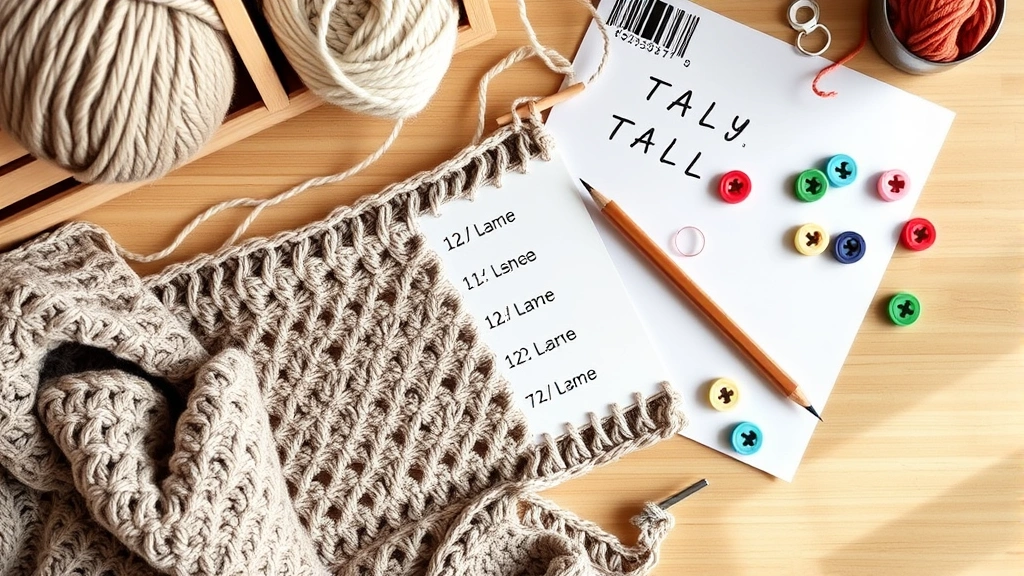
For complex patterns, nothing beats a good old-fashioned tally sheet. I create simple charts with boxes to check off completed sections. It might seem low-tech, but it’s incredibly reliable. Plus, there’s something satisfying about physically marking your progress.
| Tool | Best For | Cost | Pros |
|---|---|---|---|
| Removable stitch markers | Long rows, pattern sections | $3-8 | Reusable, won’t damage yarn |
| Row counter | Repetitive patterns | $5-15 | Mechanical, no batteries needed |
| Tally sheets | Complex charts | Free | Customizable, permanent record |
| Phone apps | Multiple projects | Free-$5 | Always with you, multiple counters |
Digital Solutions
Smartphone apps like “Crochet Guru” or “Row Counter” can track multiple projects simultaneously. They’re handy if you’re the type who always has your phone nearby while crafting. Some even let you take progress photos and add notes.
The Ravelry project pages include built-in progress tracking tools. You can mark completed sections, track yardage used, and even set up custom counters for complex stitch patterns.
Learning to Read Your Crochet Work
This is where crochet gets really interesting. Once you can “read” your stitches, you’ll spot problems immediately instead of discovering them rows later. Each stitch type creates a distinctive pattern, and learning to recognize these patterns is like learning a visual language.
Single crochet creates tight, even rows with clear vertical lines. If you see gaps or loose spots, you’ve probably skipped stitches. If the fabric starts pulling or puckering, you might be adding extra stitches or working too tightly.
Double crochet stitches have those tall, obvious posts with clear spaces between them. The spaces should be roughly equal – if some are wider or narrower, investigate. When working double crochet techniques, consistency in these spaces is crucial for maintaining proper gauge.
Reality check: Reading your work takes practice. Don’t expect to master it immediately, but do try to look at your stitches critically after each row.
Identifying Problem Areas
Increased stitches usually create a fan or flare effect. The fabric gets wider and starts to ruffle. Decreased stitches cause the opposite – the fabric pulls in and creates a curved edge. Both issues are easier to fix when caught early.
Pay attention to the “lean” of your work. Consistent tension and stitch placement create fabric that hangs straight. If your project starts leaning to one side, you’re likely adding stitches on one edge and losing them on the other.
Strategies for Complex Patterns
Complex patterns require more sophisticated tracking systems. I break these projects into manageable sections and track each one separately. For a detailed blanket pattern with multiple stitch types, I might have separate counts for each pattern repeat.
Chart reading becomes essential for intricate designs. Learn to identify pattern repeats and mark them clearly on your chart. I use different colored pencils to track where I am in complex colorwork or lace patterns.
The “checkpoint” method works brilliantly for long projects. Designate specific rows as checkpoints where you carefully verify your stitch count and overall progress. If you discover errors, you only need to rip back to the last checkpoint instead of starting over.
- Mark Pattern Repeats
Use stitch markers to separate each pattern repeat. This makes it easier to spot where errors occur and limits the amount of work you need to redo if something goes wrong.
- Track Multiple Counts
Some patterns require tracking both total stitches and pattern-specific elements like increases or color changes. Keep separate tallies for each type of count.
- Create Reference Samples
Work a small sample of complex stitch patterns before starting your main project. This gives you a reference for how the pattern should look and helps you recognize errors quickly.
Managing Increases and Decreases
Shaped projects like fitted hats or garments require careful tracking of increases and decreases. I create simple charts showing exactly where these shaping elements should occur. Missing an increase or decrease can throw off the entire fit of a garment.
The Craft Yarn Council’s standardized symbols help you read complex charts more easily. Learning these symbols is like learning the alphabet of crochet – it opens up a whole world of patterns.
Common Counting Mistakes and Fixes
The most common mistake I see is not counting the turning chain as a stitch (when it should be) or counting it when it shouldn’t be. Different stitches have different turning chain requirements, and patterns aren’t always clear about whether to count them.
For single crochet, the turning chain typically doesn’t count as a stitch. For double crochet, it usually does. When in doubt, look at your pattern’s stitch count for the first few rows – it should remain consistent if you’re handling the turning chains correctly.
Another frequent issue is losing track of the first and last stitches in each row. The first stitch can be tricky to identify, especially in taller stitches like double or triple crochet. The last stitch is often the top of the turning chain from the previous row, which can look different from regular stitches.
Turning chain trouble: When working in DK weight yarn, turning chains are more visible and easier to identify correctly. Practice with this weight before moving to finer yarns.
Edge Stitch Confusion
Edge stitches cause more confusion than they should. Mark your first and last stitches with removable stitch markers until you develop a good eye for identifying them. This simple step prevents most edge-related counting errors.
Inconsistent tension can make edge stitches look different from interior stitches, adding to the confusion. If your edges look wonky but your stitch count is correct, tension variation might be the culprit rather than counting errors.
When Your Count Goes Wrong
Don’t panic when you discover counting errors – they’re fixable. The key is figuring out where the problem started and whether it’s worth fixing or if you can work around it.
For small discrepancies (one or two stitches), you can often adjust on the next row by adding or skipping stitches strategically. Place these adjustments near seam lines or in areas where they’ll be less noticeable.
Larger errors usually require some ripping back, but don’t automatically assume you need to start over. If you can identify where the problem began, you might only need to redo a few rows. This is where good record-keeping pays off – you’ll know exactly which row had the correct count.
Been there: I once discovered a 10-stitch error 20 rows into a complex sweater panel. Instead of starting over, I carefully ripped back to the error and reworked just those 20 rows. It took an evening, but saved me days of work.
Prevention vs. Correction
Honestly, prevention is so much easier than correction. Spending an extra 30 seconds counting stitches after each row can save hours of rework later. I know it feels tedious when you’re excited about your project, but trust me on this one.
Keep a “mistake notebook” where you record errors and how you fixed them. Patterns in your mistakes often reveal habits you can work on improving. Maybe you consistently lose stitches on the left edge, or you tend to add extra stitches when working late at night.
Common Questions
How often should I count my stitches?
For beginners, count after every row until it becomes automatic. Experienced crocheters can often count every few rows on simple patterns, but complex designs still need row-by-row verification. When working with chunky yarn, stitches are easier to see and count, so you might catch errors visually before needing to count.
What’s the best way to count very long rows?
Use stitch markers every 20 stitches and count in sections. For a 100-stitch row, place markers at stitches 20, 40, 60, and 80. Then count each 20-stitch section separately. This method is much more accurate than trying to count to 100 all at once.
Should I count the turning chain?
It depends on the stitch height and pattern instructions. Single crochet turning chains (chain 1) typically don’t count. Double crochet turning chains (chain 3) usually do count as the first stitch of the next row. Always check your pattern’s specific instructions, as conventions can vary.
How do I fix a stitch count error without starting over?
First, locate where the error occurred using stitch markers or by comparing sections. If it’s recent (within 2-3 rows), carefully rip back to that point. For older errors, you might be able to add or skip stitches strategically in less visible areas to correct the count.
What tools make stitch counting easier for beginners?
Start with removable stitch markers ($3-5 for a pack), a simple row counter ($8-12), and good lighting. Bright, solid-colored yarn in worsted weight makes stitches easier to see and count. Avoid fuzzy or variegated yarns while learning counting techniques.
How do I count stitches in textured patterns?
Focus on the structural elements rather than surface texture. In bobble stitch patterns, count the base stitches that create the bobbles, not the bobbles themselves. For shell patterns, count each shell as the number of stitches specified in the pattern (usually 5-7 stitches per shell).
Why does my stitch count keep changing even when I’m being careful?
Common causes include inconsistent turning chain handling, accidentally working into the wrong stitch (like the space between stitches instead of the stitch itself), or tension variations that make stitches hard to identify. Practice on simple swatches with solid-colored yarn to build consistency.
How long should it take to count stitches in a typical row?
For a 30-40 stitch row in single crochet, counting should take 15-30 seconds once you develop good technique. Longer rows or complex patterns take proportionally longer. Remember, this small time investment prevents much larger problems later in your project.
Mastering stitch counting transforms crochet from a guessing game into a confident, enjoyable craft. Yes, it requires patience and practice, but the payoff is enormous. You’ll finish projects that actually match their patterns, develop better technique overall, and gain the confidence to tackle more complex designs.
The techniques I’ve shared here aren’t just about counting – they’re about developing a deeper understanding of how crochet works. When you can read your stitches and catch problems early, you’re not just following patterns anymore; you’re truly understanding the craft.
Start with simple projects and build these habits gradually. Count those stitches, use your markers, and don’t skip the verification steps. Your future self will thank you when you’re holding a finished project that looks exactly like it should, with straight edges and perfect shaping. Happy crocheting!