You know that sinking feeling when you’re halfway through a gorgeous granny square blanket and suddenly realize your squares are three different sizes? Yeah, I’ve been there. After years of crocheting and countless “learning experiences” (aka mistakes), I’ve figured out the tricks that actually work for keeping granny squares consistent.
The thing is, most tutorials make it sound like granny squares should naturally turn out identical. But here’s the truth: even experienced crocheters struggle with this. Your tension changes throughout the day, different yarn dyes can affect thickness slightly, and sometimes you just get into a rhythm that’s different from yesterday.
I used to think I was just bad at crochet when my squares came out wonky. Turns out, I was missing some key techniques that nobody talks about in basic tutorials. Once I learned to measure as I go, use consistent join methods, and pick the right yarn for the project, everything changed.
Quick Answer
Keep granny squares the same size by maintaining consistent tension, measuring each round, using the same yarn weight throughout, and blocking finished squares to uniform dimensions. A simple gauge swatch and regular measuring will save you hours of frustration.
Why Granny Squares Turn Out Different Sizes
Let’s start with the honest truth: granny squares are tricky little things. Even when you’re following the exact same pattern, several factors conspire to make each square slightly different.
Your tension changes throughout the day. I’m always tighter in the morning when I’m fresh, and looser in the evening when I’m relaxed on the couch. Temperature affects this too – my hands are stiffer in winter, leading to tighter stitches.
Yarn inconsistencies play a bigger role than you’d think. Even within the same skein, there can be slight variations in thickness. When you’re working with different yarn weights, this becomes even more noticeable.
The join method you use between rounds can add bulk in some squares and not others. If you’re inconsistent about where you place your slip stitches or how you weave in ends, it affects the final size.
The Compound Effect
Here’s what really gets you: these small differences compound with each round. A slightly loose first round becomes a significantly larger square by round four. That’s why a 4-inch square can easily become 4.5 inches without you noticing.
I learned this the hard way making a solid granny square blanket. My first batch of squares ranged from 3.75 to 4.25 inches. Doesn’t sound like much, right? But when you’re joining 100 squares, those quarter-inch differences create visible waves and puckering.
Mastering Consistent Tension
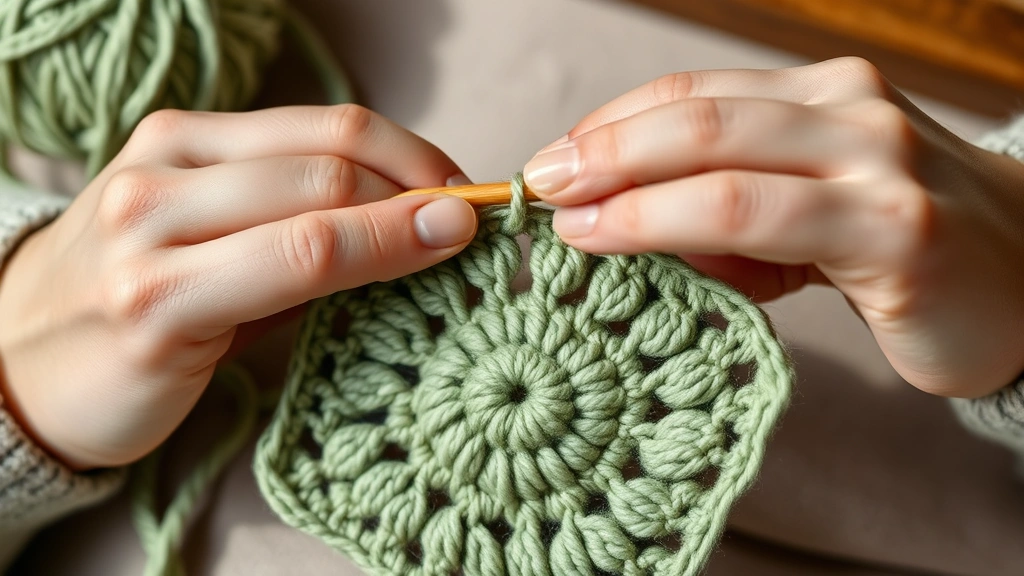
Tension control is honestly the make-or-break skill for consistent granny squares. I used to think “consistent tension” meant gripping my yarn the same way every time. That’s only part of it.
The real secret is consistent yarn flow. Your yarn should glide through your fingers at the same rate for every stitch. I hold my yarn between my pinky and ring finger, then over my index finger. This creates natural tension without death-gripping the yarn.
The Rhythm Method
Develop a rhythm and stick to it. I count “yarn over, pull through, yarn over, pull through” for double crochet clusters. It sounds silly, but this mental rhythm keeps my hand movements consistent.
When working on beginner granny square patterns, practice your tension on a swatch first. Make five identical squares before starting your real project. This isn’t wasted yarn – it’s insurance against redoing an entire blanket.
Pro tip: If your hands get tired, stop. Fatigue leads to inconsistent tension faster than anything else. I take a 10-minute break every hour when working on large projects.
Hook grip matters too. I use a knife grip (holding the hook like a knife) rather than a pencil grip. It gives me better control over yarn tension and reduces hand fatigue during long sessions.
Smart Measuring and Tracking Methods
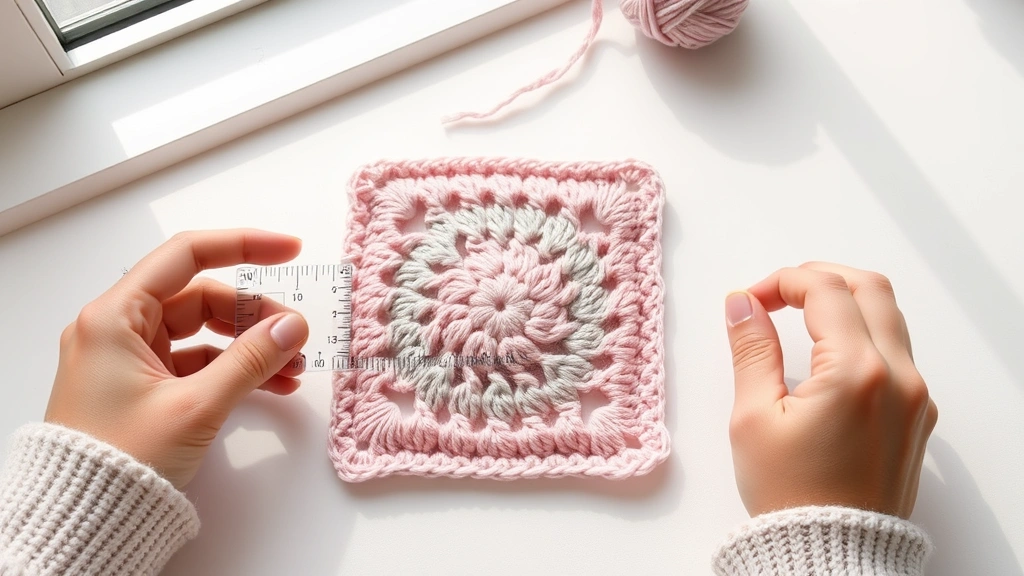
Measuring every single square sounds tedious, but it’s the only way to catch problems early. I measure after completing each round, not just at the end.
Use a rigid ruler, not a flexible tape measure. Tape measures can stretch and give false readings. I keep a 6-inch clear quilting ruler next to my crochet chair – it’s become as essential as my hook.
The Round-by-Round Method
For a standard 4-round granny square, here are the measurements I aim for with worsted weight yarn and a 5mm hook:
- Round 1: 1.5 inches across
- Round 2: 2.5 inches across
- Round 3: 3.5 inches across
- Round 4: 4.5 inches across
If any round is off by more than 1/8 inch, I frog it and redo it. Sounds harsh, but it saves hours of blocking later.
Keep a project notebook. I write down the measurement of every fifth square, along with notes about my tension that day. “Tight in morning, loosened up by square 12” – that kind of thing. It helps me spot patterns in my work.
When working with colorwork crochet techniques, measuring becomes even more critical. Different colored yarns can have slightly different tensions, even from the same manufacturer.
Choosing the Right Yarn and Tools
Not all yarns are created equal when it comes to consistent granny squares. Some are naturally more forgiving than others.
Worsted weight acrylic is your friend for learning. Brands like Lion Brand Vanna’s Choice or Red Heart Super Saver have consistent thickness throughout the skein. They’re also affordable if you need to frog and restart.
Avoid single-ply yarns for your first granny square project. They can split easily and create uneven stitches. Stick with 4-ply worsted weight until you’ve mastered the basics.
Hook Selection Matters
Use the same hook for the entire project – and I mean the exact same hook, not just the same size. Different manufacturers make hooks slightly differently. My Clover 5mm hook creates squares about 1/8 inch larger than my Susan Bates 5mm hook.
| Yarn Weight | Recommended Hook | Typical Square Size | Best For |
|---|---|---|---|
| DK (3) | 4.5mm (G) | 3.5-4 inches | Baby blankets |
| Worsted (4) | 5mm (H) | 4-4.5 inches | Afghan squares |
| Chunky (5) | 6mm (J) | 5-6 inches | Quick throws |
When exploring advanced granny square variations, stick with your tested yarn and hook combination first. Master the technique with familiar materials before experimenting with new ones.
Blocking for Perfect Uniformity
Even with perfect tension and careful measuring, your squares will benefit from blocking. Think of it as the final quality control step.
Wet blocking works best for most yarns. Soak your completed squares in cool water with a drop of wool wash for 15 minutes. Gently squeeze out excess water – never wring or twist.
Lay squares on blocking mats (I use interlocking foam tiles covered with towels). Pin each square to the exact same dimensions using rust-proof T-pins. For 4-inch squares, I pin at 4 inches exactly, even if some squares want to be 3.75 or 4.25 inches.
The Blocking Setup
Create a blocking template by drawing a 4-inch square on paper and placing it under your towel. This helps you pin consistently without measuring each time.
Blocking tip: Block squares in batches of 10-12. More than that and you’ll run out of pins or space. Fewer and it’s not worth setting up the blocking station.
Let squares dry completely – usually 24 hours. Don’t rush this step. Damp squares will return to their original size once you remove the pins.
For projects using granny square joining methods, block before joining. It’s much easier to work with uniform squares than to try blocking an entire joined piece.
Fixing Size Problems After the Fact
Sometimes you discover size issues after completing multiple squares. Don’t panic – there are solutions that don’t involve starting over.
For slightly small squares (1/8 to 1/4 inch difference), aggressive blocking can often stretch them to size. Wet the squares thoroughly and pin them slightly larger than your target size. The yarn will relax into the correct dimensions.
For significantly different sizes, consider adding or removing a round. If you have mostly 3.5-inch squares with a few 4-inch ones, add a round of single crochet to the smaller squares. Use the same color as the last round to make it less noticeable.
The Border Solution
Sometimes the best fix is strategic. Add a contrasting border to all squares that brings them to uniform size. A round of single crochet in a coordinating color can add 1/4 to 1/2 inch to each side.
I once saved a entire baby blanket this way. My squares ranged from 3.75 to 4.25 inches, but a round of white single crochet brought them all to exactly 4.5 inches. The white border actually improved the design.
When working with crochet stitch patterns that you’re adapting into squares, expect some trial and error. Keep detailed notes about what works and what doesn’t.
Planning Your Project for Success
The best way to ensure consistent granny squares is planning before you start. I know it’s tempting to dive right in, but 30 minutes of planning saves hours of frustration.
Make a gauge square first. Use your chosen yarn and hook to create one complete square. Measure it carefully and note your stitch count for each round. This becomes your template.
Calculate your yarn needs based on this gauge square. If one square uses 25 yards and you need 100 squares, that’s 2,500 yards minimum. Buy all your yarn at once from the same dye lot to avoid color variations.
The Production Schedule
Don’t try to make all your squares in one marathon session. I aim for 5-10 squares per day on large projects. This keeps my tension consistent and prevents the fatigue that leads to size variations.
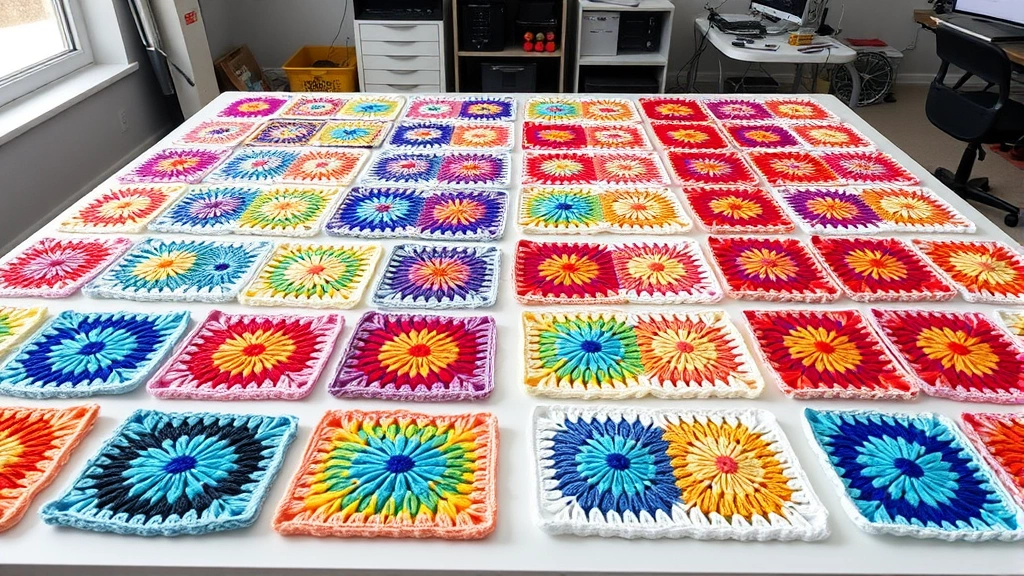
Keep a completion chart. I draw a grid representing my final layout and color in each square as I complete it. This helps me track progress and ensures I’m making the right number of each color.
- Create Your Gauge Square
Make one perfect square with your chosen materials. Measure and document everything.
- Plan Your Layout
Sketch your final project showing square placement and color distribution.
- Set Daily Goals
Aim for 5-10 squares per session to maintain consistency.
- Track Progress
Use a completion chart to monitor your work and catch problems early.
Remember that learning how to crochet for beginners includes mastering consistency. Don’t expect perfection immediately – it’s a skill that develops with practice.
Common Questions
How much size variation is acceptable in granny squares?
For most projects, squares should be within 1/8 inch of each other. Anything more than 1/4 inch difference will be noticeable in the finished project and may cause puckering or gaps when joined.
Should I block granny squares before or after joining them?
Always block before joining. Individual squares are much easier to pin to exact dimensions than a large joined piece. Blocking after joining can cause distortion and uneven edges.
What’s the best yarn for consistent granny squares?
Worsted weight acrylic yarn with 4-ply construction works best for beginners. Brands like Lion Brand Vanna’s Choice, Red Heart Super Saver, or Caron Simply Soft have consistent thickness and are forgiving to work with.
Can I fix squares that are too small without redoing them?
Yes, you can add an extra round of single crochet or half double crochet to bring small squares up to size. Use the same color as the final round to make the addition less noticeable.
How often should I measure my squares while working?
Measure after completing each round, not just at the end. This lets you catch problems early and adjust your tension before completing the square. It takes 10 seconds but can save hours of rework.
Why do my granny squares curl at the edges?
Edge curling usually indicates tension issues – either too tight overall or inconsistent between rounds. Try using a slightly larger hook or focusing on keeping your tension even throughout each round.
What’s the fastest way to make multiple identical granny squares?
Work in assembly-line fashion: complete round 1 on all squares, then round 2 on all squares, etc. This keeps your tension consistent since you’re doing the same motions repeatedly. Plus, you’ll spot problems across multiple squares quickly.
How do I keep track of which squares I’ve completed?
Use a project notebook or smartphone app to track completed squares. I draw a grid matching my final layout and color in each square as I finish it. This prevents making too many of one color and helps visualize the final project.
Getting consistent granny squares takes practice, but it’s absolutely achievable. The key is paying attention to your tension, measuring regularly, and being willing to redo squares that don’t meet your standards. Trust me, the extra time spent on consistency pays off when you’re joining squares and seeing your project come together beautifully.
Start with simple squares using familiar yarn, master your technique, then branch out to more complex patterns. Every experienced crocheter has a box of wonky practice squares somewhere – we’ve all been there. The difference is learning from those mistakes and developing the habits that lead to professional-looking results.
Remember, crochet should be enjoyable, not stressful. If you’re getting frustrated with size consistency, take a break and come back with fresh eyes. Sometimes that’s all it takes to spot what’s throwing off your squares. Happy crocheting!