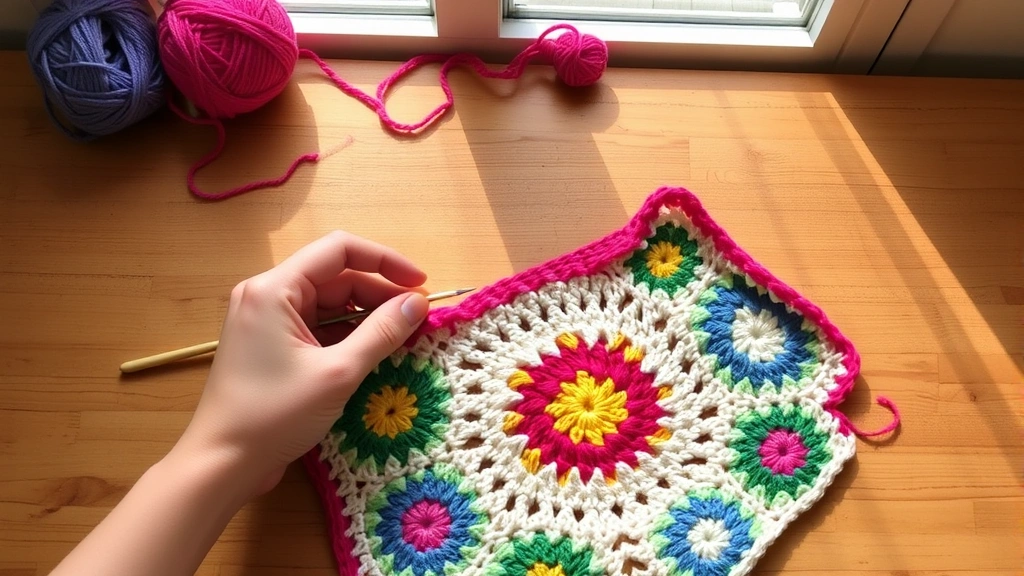
Picture this: you’ve just finished a gorgeous granny square blanket, and it’s time to add that final touch that’ll make it look professionally made. The border can make or break your project – I’ve seen beautiful blankets ruined by a wonky edge, and I’ve watched simple squares transform into heirloom pieces with the right finishing touch.
After crocheting for over fifteen years, I’ve learned that the border isn’t just decoration – it’s what gives your blanket structure, prevents curling, and creates that polished look we all want. Whether you’re working with traditional granny squares or modern variations, the right border technique can elevate your work from homemade to handcrafted.
I remember my first granny square blanket. I was so excited to finish those last few squares that I rushed straight into a simple single crochet border. Big mistake. The edges puckered, the corners didn’t lay flat, and honestly, it looked amateur. That’s when I realized that border planning starts before you even begin your squares.
Today, I’m sharing everything I’ve learned about creating beautiful, professional-looking borders for granny square blankets. We’ll cover the prep work that prevents problems, explore different border styles from simple to elaborate, and tackle those tricky corners that can make even experienced crocheters want to throw their hook across the room.
Quick Answer
Start with a foundation round of single crochet to even out your edges, then add 2-4 decorative rounds using techniques like shell stitches, picots, or bobbles. Always work corner increases and block your finished blanket for professional results.

Essential Prep Work Before You Start
Before you even pick up your hook for that border, take a step back and assess your blanket. This might sound obvious, but measuring your blanket’s dimensions is crucial for planning yarn quantities and stitch counts.
Lay your blanket flat and measure the length and width. A typical throw blanket measures about 50×60 inches, but yours might be different. Write these measurements down – you’ll need them for calculating yarn requirements. For borders, I typically plan for an additional 10-20% of the yarn I used for the main blanket, depending on how elaborate I’m going.
Next, examine your squares carefully. Are they all the same size? Do some edges look looser or tighter than others? This is where proper blocking becomes essential. If your squares are uneven, block the entire blanket before adding borders. Trust me, it’s worth the extra time.
Pro tip: Count the stitches along each edge of your blanket. If you have an uneven number of stitches on opposite sides, you’ll need to adjust during your foundation round to prevent the border from pulling or puckering.
Yarn choice matters more than you might think. I always use the same yarn weight for borders as I used for the squares, but sometimes I’ll switch to a coordinating color for contrast. If you’re using a different yarn, make sure it has similar care instructions – nothing’s worse than a blanket that shrinks unevenly because the border yarn behaves differently in the wash.
Creating the Perfect Foundation Round
The foundation round is your secret weapon for professional-looking borders. This round evens out any irregularities in your blanket edges and creates a consistent base for decorative rounds. Never skip this step – it’s the difference between amateur and professional-looking results.
Start by joining your yarn in any corner of your blanket. I prefer to start in a corner because it’s easier to keep track of where you began. Work single crochet stitches evenly around the entire perimeter, placing about 3 single crochets in each corner space to prevent the corners from cupping.
Here’s the tricky part: determining how many stitches to work along each edge. As a general rule, work one single crochet in each stitch and one single crochet in each space between stitches. For the sides of granny squares, this usually means working 2-3 single crochets per side, depending on your hook size and yarn weight.
Stitch Count Formula: For a standard granny square made with worsted weight yarn and a 5mm hook, work 3 single crochets along each side of each square, plus 3 single crochets in each corner.
Pay special attention to the corners of your blanket. Work 3 single crochets in each corner space, with the middle stitch being your true corner stitch. Mark these corner stitches with stitch markers – you’ll need to identify them for subsequent rounds.
When you complete your foundation round, join with a slip stitch to your starting stitch and chain 1. Don’t turn your work – borders are typically worked from the right side throughout.
Simple Border Options That Always Work
Sometimes simple is best, especially if your granny squares have a lot of color variation or intricate patterns. These basic borders add polish without competing with your main design.
Single Crochet Border
The most straightforward option is continuing with single crochet rounds. Work 2-3 additional rounds of single crochet, maintaining your corner increases (3 stitches in each corner stitch). This creates a clean, stable edge that’s perfect for baby blankets or everyday throws.
For visual interest, try alternating colors every round. I love using the main color from the granny squares for the first round, then switching to a coordinating solid color for the remaining rounds.
Half Double Crochet Border
Half double crochet creates a slightly taller, more substantial border. Work the same corner increases as single crochet, but the extra height gives the blanket more weight and drape. This works particularly well with chunky yarn projects.
Reverse Single Crochet (Crab Stitch)
For a truly professional finish, add a final round of reverse single crochet. This creates a rope-like edge that prevents curling and adds a decorative twist. Work from left to right instead of right to left, which feels awkward at first but creates a beautiful corded edge.
| Border Type | Rounds Needed | Best For | Skill Level |
|---|---|---|---|
| Single Crochet | 2-4 | Baby blankets, everyday use | Beginner |
| Half Double Crochet | 2-3 | Heavier blankets, chunky yarn | Beginner |
| Reverse Single Crochet | 1 (final round) | Professional finish | Intermediate |
Decorative Borders for Special Projects
When you want to create something special – maybe a wedding gift or heirloom piece – decorative borders can transform your granny square blanket into a work of art.
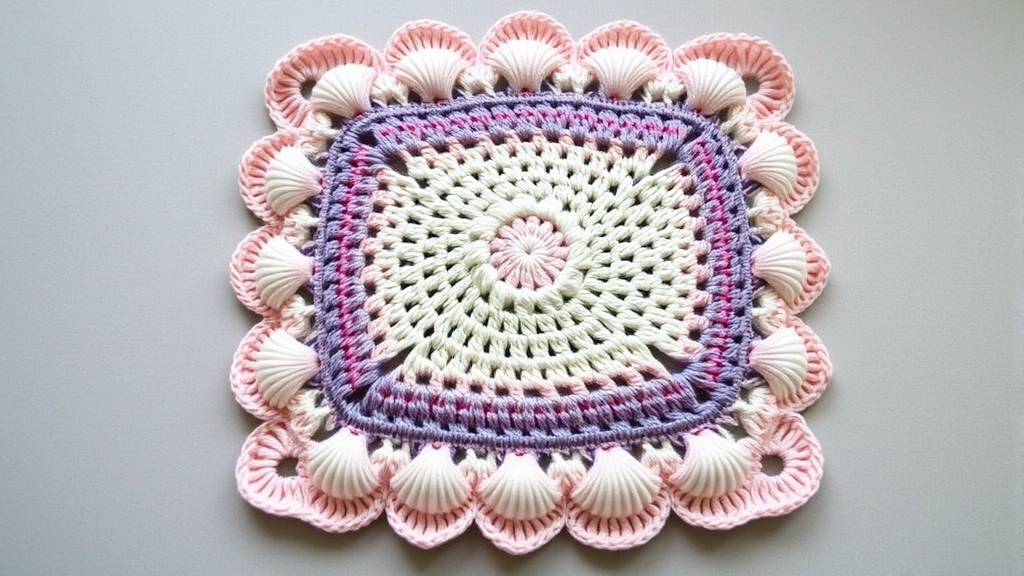
Shell Border
Shell borders are my go-to for elegant blankets. The basic shell consists of 5 double crochets worked in the same stitch, creating a fan-like shape. Space shells evenly around your blanket, typically working them every 4-5 stitches with single crochets in between.
For corners, work a full shell in the corner stitch, which naturally creates the turn without additional increases. This technique works beautifully with double crochet variations and creates lovely scalloped edges.
Picot Border
Picots add a delicate, lacy touch that’s perfect for lightweight blankets. Work 3-4 rounds of single crochet, then add picots on the final round by working (single crochet, chain 3, single crochet) in every third stitch. The chain-3 loops create small decorative points around the entire perimeter.
Bobble Border
For texture lovers, bobble borders create wonderful dimensional interest. Work bobbles every 4-5 stitches with single crochets in between. The raised bobbles catch light beautifully and add a playful element to solid-colored blankets.
Design tip: Match your border complexity to your granny squares. If your squares are simple, you can go elaborate with the border. If your squares are already busy, keep the border simple to avoid visual overload.
Mastering Corner Increases and Decreases
Corners make or break a border – literally. Get them wrong, and your blanket will either pucker and cup or stretch and ruffle. Consistent corner treatment is what separates professional-looking borders from homemade attempts.
For most borders, the standard corner increase is working 3 stitches in the corner stitch: (stitch, chain 2, stitch) or simply 3 of whatever stitch you’re using. The key is consistency – if you work 3 single crochets in one corner, work 3 single crochets in all corners.
With taller stitches like double crochet, you might need more dramatic increases. Try working 5 stitches in each corner for double crochet borders, or experiment with (2 double crochet, chain 2, 2 double crochet) for a more open corner.
Corner Testing: After completing each round, lay your blanket flat and check the corners. They should lay completely flat without puckering or ruffling. If they don’t, adjust your increase count on the next round.
For decorative borders like shells, corner placement requires more planning. I typically work a full shell in each corner, which naturally creates the turn. For picot borders, work a longer chain (chain 5 instead of chain 3) in the corner positions.
Troubleshooting Corner Problems
If your corners are cupping (creating a bowl shape), you’re not increasing enough. Add one more stitch to each corner on the next round. If they’re ruffling (creating waves), you’re increasing too much – reduce your corner increases by one stitch.
Sometimes the problem isn’t the corners themselves but the stitch count between corners. Count the stitches on each side of your blanket after every round. They should be equal, or your blanket will pull diagonally.
Fixing Common Border Problems
Even experienced crocheters run into border issues. Here’s how to fix the most common problems without starting over.
Puckering Edges
If your border is pulling or puckering, you’re working too tightly or not placing enough stitches. This often happens when transitioning from loose granny square edges to tight border stitches. Try going up one hook size for your border, or add more stitches in your foundation round.
I’ve found that maintaining consistent tension is crucial for smooth borders. If you tend to crochet tightly when concentrating, take breaks and consciously relax your grip.
Wavy or Ruffling Edges
Ruffling usually means too many stitches. If it’s mild, you can often fix it by skipping a stitch occasionally on your next round. For severe ruffling, you might need to rip back and reduce your stitch count significantly.
Uneven Sides
If one side of your blanket looks different from the others, check your stitch count. Count the stitches on each side – they should be identical. If they’re not, you’ll need to adjust by adding or skipping stitches to even them out.
Sometimes the issue is with the original granny squares rather than the border. If some squares are noticeably different sizes, consider blocking them individually before joining, or adjust your border to compensate for the size differences.
Professional Finishing Techniques
The difference between a good border and a great border often comes down to the finishing details. These final steps might seem minor, but they’re what make your blanket look professionally made.
Weaving in Ends
With borders, you’ll have multiple yarn ends to weave in. Don’t just trim them close – properly weave each end through several stitches in the same color area. For extra security, weave back through in the opposite direction before trimming.
I use a tapestry needle for this and always weave ends through the back of the work where they won’t show. Take your time with this step – loose ends that work free after washing are incredibly frustrating.
Final Blocking
Block your completed blanket one more time after adding the border. This evens out any slight tension differences and helps the border lay flat. For natural fibers, steam blocking works beautifully. For acrylics, wet blocking or careful steaming (with a press cloth) gives the best results.
Pin your blanket to measurements, ensuring the corners are perfectly square. Let it dry completely before unpinning – rushing this step can undo all your careful work.
Professional secret: Many crocheters skip the final blocking, but it’s what transforms a handmade item into an heirloom piece. The time investment is minimal compared to the dramatic improvement in appearance.
Care Instructions
Create a care tag for your finished blanket, especially if it’s a gift. Include the yarn content, washing instructions, and any special care notes. This shows thoughtfulness and helps ensure your beautiful work stays beautiful for years to come.
Consider the standard care symbols from the Craft Yarn Council to make your care instructions clear and professional-looking.
Common Questions
How much extra yarn do I need for borders?
Plan for 10-20% additional yarn depending on your border complexity. A simple 2-3 round single crochet border needs about 10% extra, while elaborate multi-round decorative borders can require up to 20% more yarn. For a typical throw blanket, this means 1-2 additional skeins of worsted weight yarn.
Can I use a different yarn weight for my border?
It’s possible but not recommended for beginners. If you use a lighter weight yarn, your border may look delicate compared to the main blanket. Heavier yarn can overpower the squares and cause puckering. If you must mix weights, go down one weight category at most and adjust your hook size accordingly.
Should I work borders in the round or in rows?
Always work borders in continuous rounds, not back-and-forth rows. This prevents visible seams and creates smoother corners. Join each round with a slip stitch, chain 1, and continue from the right side of your work.
How do I prevent my border from curling?
Curling usually indicates too few stitches or too much tension. Add more stitches in your foundation round, or try going up one hook size. A final round of reverse single crochet (crab stitch) also helps prevent curling by creating a stable edge.
What’s the best stitch for baby blanket borders?
Single crochet is ideal for baby blankets because it creates a smooth, safe edge with no loops or gaps where tiny fingers could catch. Work 3-4 rounds for durability, and consider using baby-safe yarns that are machine washable and hypoallergenic.
How do I fix a border that’s too tight?
If your border is pulling the blanket edges inward, you have a few options: carefully stretch the border while steam blocking, add an additional round with more stitches, or (as a last resort) remove the tight round and rework it with a larger hook or looser tension.
Can I add multiple decorative borders to one blanket?
Absolutely! Many beautiful blankets feature 2-3 different border treatments. Start with a foundation round, add your main decorative element (like shells or bobbles), then finish with a stabilizing round like reverse single crochet. Just ensure each round complements the others rather than competing for attention.
How long does it take to add borders to a granny square blanket?
For a typical throw-size blanket, expect 6-12 hours depending on border complexity. Simple single crochet borders can be completed in an evening, while elaborate multi-round decorative borders might take a weekend. The foundation round typically takes 2-3 hours, with each additional round taking 1-2 hours.
Adding the perfect border to your granny square blanket isn’t just about following a pattern – it’s about understanding how different techniques work together to create something beautiful and functional. Take your time with the foundation round, choose borders that complement your squares rather than compete with them, and don’t skip the final blocking step.
Remember, every experienced crocheter has made border mistakes. I still occasionally miscalculate corner increases or work too tightly when I’m excited to finish a project. The key is learning from these experiences and building your skills one blanket at a time.
Your granny square blanket represents hours of careful work and creativity. Give it the border it deserves, and you’ll have a finished piece that brings joy for years to come. Happy crocheting, and remember – the best border is the one that makes you smile every time you see it.