You know that feeling when you’re scrolling through Pinterest at 2 AM and suddenly you’re convinced you need to make every single crochet Christmas ornament you see? Yeah, I’ve been there. Last December, I went from zero holiday decorations to a full-blown crochet Christmas obsession in about three days. My living room looked like Santa’s workshop exploded, but honestly? It was the coziest, most personal holiday season I’d ever had.
The thing about crochet Christmas ornaments is they’re not just decorations – they’re little pieces of your heart hanging on the tree. Every stitch carries intention, every color choice tells a story. Plus, there’s something deeply satisfying about creating something beautiful with your own hands while binge-watching holiday movies.
But here’s what I wish someone had told me before I dove headfirst into my ornament-making marathon: not all patterns are created equal, yarn choice matters more than you think, and your fingers will thank you for pacing yourself. I learned these lessons the hard way, frogging more half-finished snowflakes than I care to admit.
Quick Answer
Crochet Christmas ornaments are perfect beginner-friendly projects using worsted weight cotton yarn and a 4mm hook. Most ornaments take 30-60 minutes to complete and require basic stitches like single crochet, double crochet, and the magic ring technique.
Essential Supplies for Ornament Making
Let’s talk about what you actually need versus what craft stores want you to think you need. I’ve made hundreds of ornaments with a surprisingly minimal toolkit, and you can too.
For hooks, stick with sizes E/4 (3.5mm) through G/6 (4mm) for most projects. I reach for my F/5 (3.75mm) hook about 80% of the time when making ornaments. It gives you nice, tight stitches without making your hands cramp up during those marathon crafting sessions.
When it comes to yarn types, cotton is your best friend for ornaments. It holds its shape beautifully, comes in gorgeous colors, and doesn’t stretch out over time. I love using Lily Sugar ‘n Cream or Red Heart Aunt Lydia’s Classic Crochet Thread for finer details.
| Supply | Recommended | Why It Matters |
|---|---|---|
| Hook Size | F/5 (3.75mm) | Perfect tension for most ornament yarn |
| Yarn Type | Cotton worsted weight | Holds shape, machine washable |
| Scissors | Sharp, small craft scissors | Clean cuts prevent fraying |
| Tapestry Needle | Size 16-18 | Easy threading, blunt tip |
Don’t forget about finishing supplies. You’ll need good scissors (invest in a pair that’s only for yarn – using them on paper dulls them fast), tapestry needles for weaving in ends, and stitch markers if you’re working complex patterns.
Pro tip: Keep a small container nearby for yarn scraps. Those tiny pieces are perfect for stuffing small ornaments or adding details like holly berries.

Best Beginner-Friendly Ornament Patterns
When I started making ornaments, I made the mistake of jumping straight into intricate snowflakes. Three frustrated hours later, I had a tangled mess and seriously questioned my life choices. Start simple, trust me on this one.
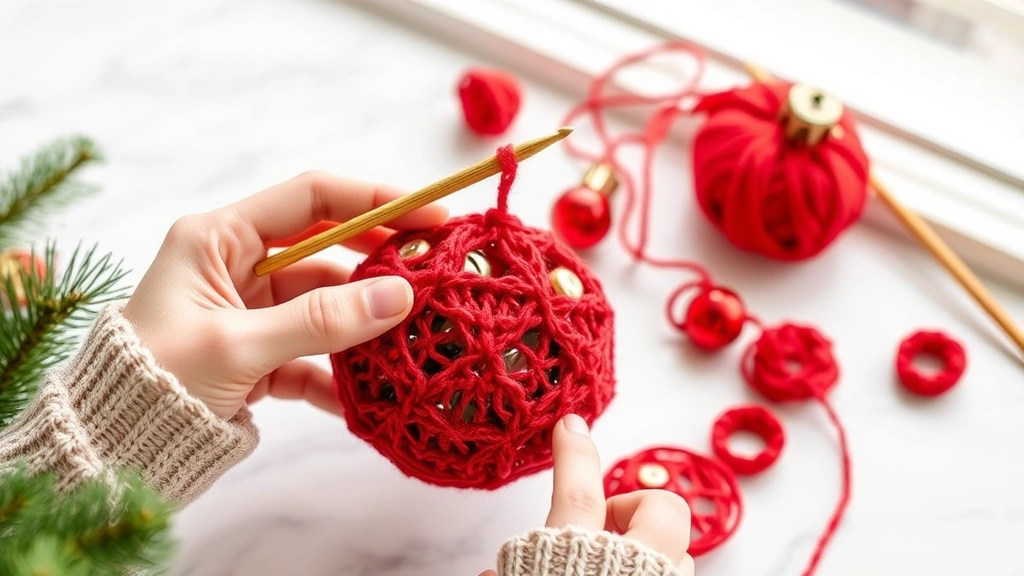
Basic ball ornaments are absolute winners for beginners. You’re essentially making a sphere using single crochet worked in continuous rounds. Start with six single crochet in a magic ring, then increase by six stitches every round until you reach your desired width. Work straight for a few rounds, then decrease at the same rate.
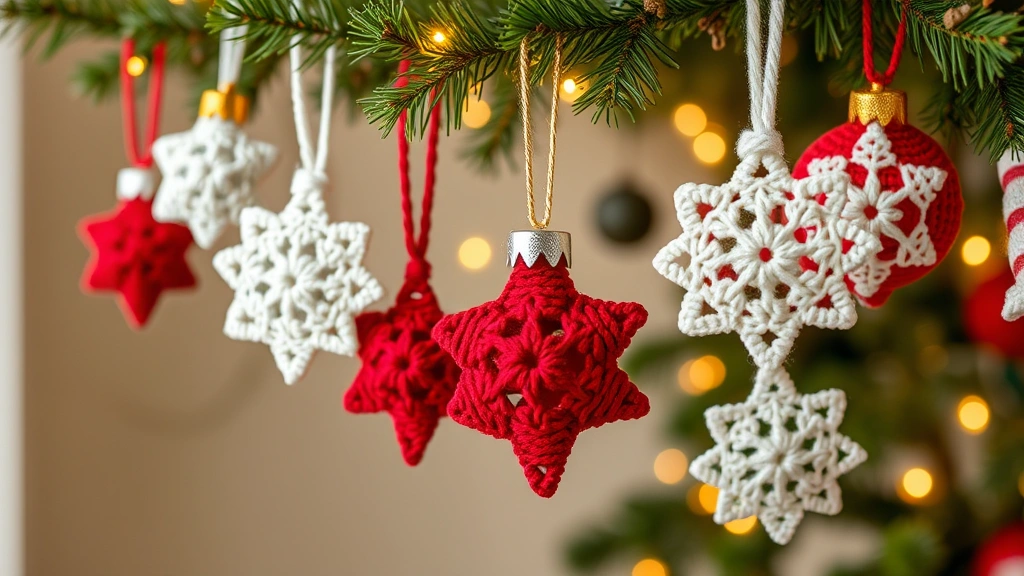
Stars are another fantastic starting point. Most crochet star patterns use basic stitches worked in a flat circle, then shaped with strategic increases. The five-pointed star I make most often takes about 45 minutes and uses less than 20 yards of yarn.
Here’s my go-to progression for building skills:
- Simple Circles
Master the magic ring and basic increases. These become the foundation for so many other shapes.
- Basic Stars
Learn to work points and create defined edges. Great for practicing tension control.
- Small Stockings
Introduce basic shaping and color changes. Perfect for using up yarn scraps.
- Candy Canes
Practice working with multiple colors and creating curved shapes.
Each of these projects teaches specific skills you’ll use in more complex ornaments later. Don’t rush through them – really focus on getting your stitches even and your tension consistent.
Choosing the Right Yarn and Colors
This is where a lot of people get overwhelmed, but it doesn’t have to be complicated. I’ve learned that having a solid color strategy makes everything else fall into place.
For traditional Christmas ornaments, you can’t go wrong with red, green, gold, and white. But here’s what I’ve discovered: adding one unexpected color elevates everything. A touch of deep purple with your reds, or silvery blue with traditional blues, makes your ornaments feel more sophisticated.
Cotton yarn is still my top recommendation, but let me break down why certain fibers work better than others for ornaments:
- Cotton: Holds shape perfectly, available in brilliant colors, easy to care for
- Cotton blends: Slight stretch makes them forgiving for beginners, still maintain shape well
- Acrylic: Budget-friendly and durable, but can look less refined
- Metallic threads: Beautiful for accents, but can be tricky to work with
Weight matters too. Worsted weight (size 4) yarn works beautifully for larger ornaments, while sport weight (size 2) is perfect for delicate details. I keep both on hand and often combine them in a single project.
Color planning tip: Lay out your chosen colors in natural light before starting. What looks perfect under your craft room lamp might clash horribly on your tree.
When working with multiple colors, plan your yarn changes carefully. I learned this lesson when I created a beautiful striped ornament that looked amazing until I realized the color changes created a lumpy, uneven surface. Now I plan color changes at natural break points in the pattern.
Essential Techniques You’ll Need
Most crochet Christmas ornaments rely on a handful of fundamental techniques. Master these, and you’ll be able to tackle almost any ornament pattern you find.
The magic ring is absolutely crucial. I know it seems intimidating at first – I avoided it for months when I started crocheting – but it’s the key to creating seamless, professional-looking ornaments. Unlike starting with a chain, the magic ring gives you a tight, adjustable center that won’t leave a hole in your finished piece.
Working in continuous rounds versus joined rounds makes a huge difference in your finished ornament’s appearance. For smooth, seamless pieces like ball ornaments, continuous rounds are perfect. For ornaments where you want defined edges or need to add details at specific points, joined rounds work better.
Increasing and Decreasing Smoothly
This is where many beginners struggle, and honestly, it took me a while to get it right. The key to smooth increases is distributing them evenly around your work. For a standard six-sided increase pattern, you’re adding six stitches per round, but spacing them out so you don’t create obvious corners.
Decreasing is trickier because you’re essentially making stitches disappear. The invisible decrease technique is a game-changer for ornaments. Instead of the traditional decrease that can create a noticeable dent, this method keeps your surface smooth and professional-looking.
Tension Control for Ornaments
Here’s something pattern instructions rarely mention: ornament tension needs to be tighter than your regular crochet projects. Loose stitches will make your ornaments look floppy and unprofessional. Your stitches should be snug enough that you can’t easily see through the fabric, but not so tight that your hook fights you with every stitch.
Practice tip: Make a small swatch before starting your ornament. This helps you find the right tension and ensures your finished piece will match the pattern’s intended size.
Finishing and Hanging Your Ornaments
The difference between a homemade-looking ornament and a professional-looking one often comes down to the finishing details. This is where you can really make your ornaments shine.
Weaving in ends properly is crucial, especially since ornaments get handled more than other crochet projects. I weave each end through at least four stitches, change direction, then weave through four more. It sounds excessive, but trust me – nothing ruins Christmas morning like finding your beautiful ornament has started unraveling.
For hanging loops, I’ve tried everything from simple chain loops to fancy ribbon hangers. My favorite method uses a small crochet chain (about 12-15 chains) formed into a loop and sewn securely to the top of the ornament. It’s sturdy, matches the ornament perfectly, and looks intentional.
Adding Structure and Shape
Some ornaments benefit from a little internal structure. For ball ornaments, I sometimes add a small amount of fiberfill stuffing to help them maintain their round shape. For flat ornaments like snowflakes, a light spray of fabric stiffener helps them hold their form.
If you’re making ornaments as gifts, consider adding a small tag with the year and your initials. I started doing this after my sister mentioned how much she treasured knowing exactly when and who made each ornament in her collection.
| Finishing Element | Best For | Materials Needed |
|---|---|---|
| Fiberfill stuffing | 3D ornaments, balls | Small amount of polyester fill |
| Fabric stiffener | Flat ornaments, snowflakes | Spray stiffener, blocking mats |
| Ribbon hangers | Elegant, gift ornaments | 1/4 inch satin ribbon |
| Crochet chain loops | Matching, durable hangers | Same yarn as ornament |
Moving to More Complex Designs
Once you’ve mastered the basics, the world of ornament possibilities opens up dramatically. This is where crochet gets really exciting – and where you can create truly unique pieces.
Layered ornaments are one of my favorite advanced techniques. You create multiple components – say, a base circle, a smaller decorative circle, and some accent pieces – then layer them for dimension. I made a series of poinsettia ornaments this way, with each petal crocheted separately then assembled into the final flower.
Working with crochet thread opens up incredibly delicate possibilities. Thread ornaments require more patience and precision, but the results are stunning. My thread snowflakes look like actual ice crystals, and they’ve become family heirlooms.
Incorporating Beads and Embellishments
Adding beads to your ornaments creates beautiful texture and catches light beautifully on the tree. The key is planning where to place them during the crocheting process rather than trying to add them afterward. I string beads onto my yarn before starting, then slide them into position as I work.
Embroidery details can transform simple ornaments into showstoppers. French knots make perfect holly berries, chain stitch creates elegant vines, and simple straight stitches can add snowflake details to plain circles.
Advanced planning tip: Sketch your ornament design before starting, especially for multi-component pieces. It helps you visualize proportions and plan your construction order.
Common Problems and Solutions
Let me share the mistakes I’ve made so you don’t have to repeat them. These are the issues that pop up repeatedly, especially when you’re getting comfortable with the basics and starting to experiment.
Curling edges are probably the most frustrating problem I encounter. This usually happens when your increases are too aggressive or your tension is inconsistent. The solution is often to rip back to where the curling started and redistribute your increases more gradually.
Lopsided ornaments are another common issue, especially with ball-shaped designs. This typically happens when your stitch count gets off somewhere in the middle rounds. I’ve learned to count my stitches every few rounds, especially when I’m distracted by TV or conversations.
When Ornaments Won’t Hold Their Shape
If your finished ornaments look droopy or won’t maintain their intended shape, the problem is usually yarn choice or tension. Acrylic yarns can stretch over time, especially in warm environments. Cotton yarn holds its shape much better, which is why I recommend it so strongly for ornaments.
Sometimes the issue is structural. Three-dimensional ornaments often need some internal support. Don’t be afraid to add a small amount of stuffing or even a wire frame for larger pieces.
Remember: most problems can be prevented by making a gauge swatch first. It seems like extra work, but it saves so much frustration later.
Dealing with Color Bleeding
This one caught me completely off-guard my first year. I made beautiful red and white striped ornaments, only to discover after washing that the red had bled into the white sections. Now I always test colorfastness by wetting a small strand of each yarn and pressing it against white paper.
Common Questions
How much yarn do I need for a set of ornaments?
For basic ornaments using worsted weight yarn, plan on 15-30 yards per ornament. A standard skein (approximately 200 yards) will make 6-12 ornaments depending on size and complexity. I always buy extra – running out of yarn mid-project when stores are closed for holidays is frustrating.
Can I wash crocheted Christmas ornaments?
Cotton ornaments can be hand-washed gently in cool water with mild detergent. Acrylic ornaments are generally machine washable on delicate cycle. Always air dry – the heat from dryers can distort shapes. I wash mine every few years or if they get dusty during storage.
How long does it take to make a Christmas ornament?
Simple ornaments like basic balls or stars take 30-60 minutes. More complex designs with multiple components or intricate stitch patterns can take 2-4 hours. Detailed snowflake patterns often take longer due to their delicate nature and precision requirements.
What’s the best way to store handmade ornaments?
Wrap each ornament individually in tissue paper and store in a sturdy box with dividers. Avoid plastic bags, which can trap moisture. I use egg cartons for smaller ornaments and cardboard dividers for larger pieces. Store in a cool, dry place away from direct sunlight.
Can beginners make Christmas ornaments successfully?
Absolutely! Start with simple shapes like circles or basic stars. Master the magic ring technique and basic increases/decreases, and you can create beautiful ornaments. Don’t attempt complex patterns until you’re comfortable with fundamental skills.
Should I use starch or blocking for ornaments?
Light fabric stiffener works well for flat ornaments like snowflakes to help them hold their shape. Avoid heavy starching, which can make ornaments feel stiff and unnatural. For most cotton ornaments, proper tension during crocheting provides adequate structure without additional treatment.
How do I prevent my ornaments from stretching over time?
Choose cotton or cotton-blend yarns over pure acrylic, maintain consistent tight tension while crocheting, and store ornaments properly when not in use. Avoid hanging heavy ornaments from delicate branches, and handle them gently when decorating and storing.
What if my ornament pattern doesn’t specify yarn weight?
Most ornament patterns work best with worsted weight (size 4) yarn and an F/5 or G/6 hook. If the pattern shows very fine details, it might be designed for sport weight or crochet thread. When in doubt, make a small test piece to check sizing and appearance.
Creating your own collection of crocheted Christmas ornaments is one of those projects that gets better every year. Each ornament carries memories of the time you spent making it, and watching your tree fill up with handmade treasures never gets old. Start simple, be patient with yourself, and don’t forget to enjoy the process. There’s something magical about creating beauty with your own hands, especially during the holiday season. Your tree – and your family – will treasure these handmade ornaments for years to come.