You know that moment when you’re halfway through what you thought was a simple crochet project, and suddenly you’re staring at a tangled mess that looks nothing like the picture? Yeah, I’ve been there too. The thing is, most crochet “mistakes” aren’t really mistakes at all – they’re just learning opportunities wrapped in yarn.
After fifteen years of crocheting (and trust me, I’ve made every mistake in the book), I’ve realized that understanding common crochet mistakes is actually one of the fastest ways to improve your skills. Instead of getting frustrated when things go wrong, you can spot the issue, fix it, and move on with confidence.
Whether you’re a complete beginner who’s still figuring out which end of the hook to hold, or you’ve been crocheting for a while but keep running into the same frustrating problems, this guide will help you identify, fix, and prevent the most common crochet mistakes. I’ll share the solutions that actually work, not just the textbook answers that sound good but don’t help when you’re sitting there with a project gone sideways.
From tension troubles to counting chaos, dropped stitches to wonky edges, we’ll cover the mistakes that trip up most crocheters and give you practical strategies to handle them like a pro.
Quick Answer
The most common crochet mistakes include incorrect tension, miscounting stitches, dropping stitches, and working into the wrong part of stitches. Most can be prevented with practice and fixed without starting over by learning to read your work and make strategic corrections.
[IMAGE_1]
Tension Problems: Too Tight or Too Loose
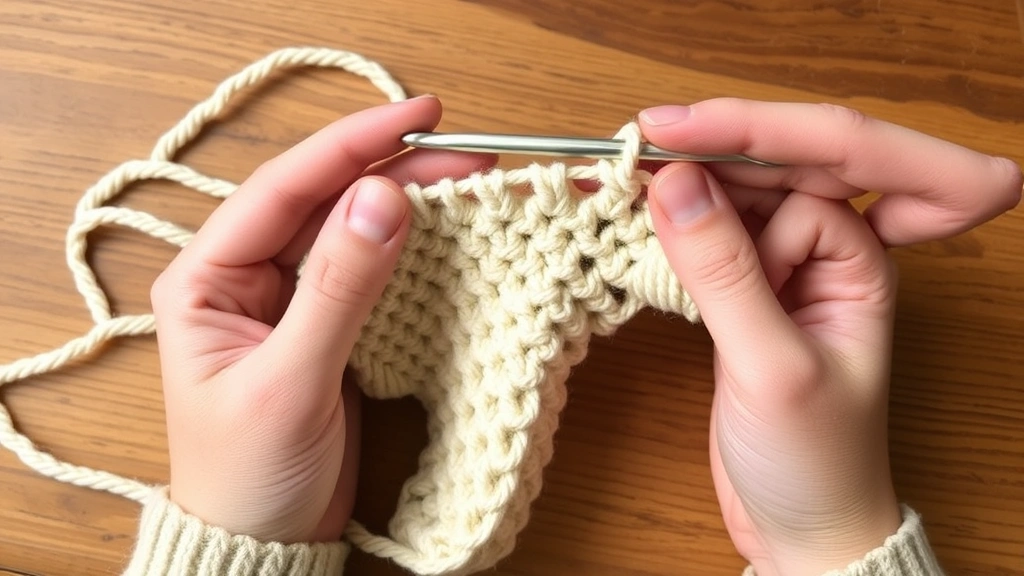
Let’s start with the big one – tension. This is probably the most common issue I see, and honestly, it took me years to get consistent. Your tension (also called gauge) affects everything: how your project looks, how much yarn you use, and whether your finished piece will be the right size.
Too Tight: If you’re gripping your hook like you’re afraid it’ll run away, your stitches are probably too tight. Signs include difficulty inserting your hook into stitches, fabric that feels stiff and doesn’t drape well, and using way more yarn than the pattern calls for. I used to crochet so tightly that my finished projects could practically stand up on their own!
Too Loose: On the flip side, loose tension creates stitches with big gaps, fabric that’s floppy and shapeless, and projects that end up larger than intended. Your work might look more like a fishing net than a cozy scarf.
How to Fix Tension Issues
The solution isn’t just “relax” (though that helps). Try these specific techniques:
- Hook size adjustment: Go down a hook size if you’re too loose, up a size if you’re too tight
- Yarn hold method: Experiment with different ways of wrapping the yarn around your fingers
- Practice consistency: Work the same stitch repeatedly until it becomes muscle memory
- Check your grip: Hold the hook like a pencil, not a sword
Pro Tip: Make a gauge swatch before starting any project. I know it’s tempting to skip this step, but trust me – spending 15 minutes on a swatch can save you hours of frogging later.
Remember, tension often varies between different crochet stitches too. Your single crochet might be perfect while your double crochet is too loose. This is totally normal and improves with practice.
Stitch Counting Mistakes
Ah, stitch counting. The bane of every crocheter’s existence, especially when you’re working on a large project and realize you’ve somehow gained or lost stitches somewhere along the way. I can’t tell you how many times I’ve had to count and recount rows, only to get a different number each time.
Stitch counting mistakes usually happen because:
- Not counting the turning chain correctly
- Missing the last stitch of a row (it often hides under the turning chain)
- Accidentally working into the turning chain when you shouldn’t
- Losing track in the middle of long rows
Prevention Strategies That Actually Work
Here’s what I’ve learned after years of counting struggles:
Use stitch markers religiously. Place them every 10 or 20 stitches, especially on long rows. Those little plastic rings are lifesavers, and they’re cheap enough that you can scatter them throughout your project without worry.
Count as you go. Don’t wait until the end of a row to count. I count in groups of 5 or 10, which makes it easier to catch mistakes early.
Learn to identify your stitches visually. This takes practice, but once you can “read” your crochet, you’ll spot missing or extra stitches immediately. Each stitch type has a distinctive look – single crochet creates short, tight rows while double crochet makes taller, more open fabric.
“The first stitch of every row is usually the trickiest to see. I mark it with a contrasting piece of yarn until I finish the next row.” – This simple trick has saved me countless hours of confusion.
When working with chunky weight yarn, counting can be easier because the stitches are more visible, but the bulk can also hide mistakes. With fingering weight yarn, stitches are smaller but often clearer to distinguish.
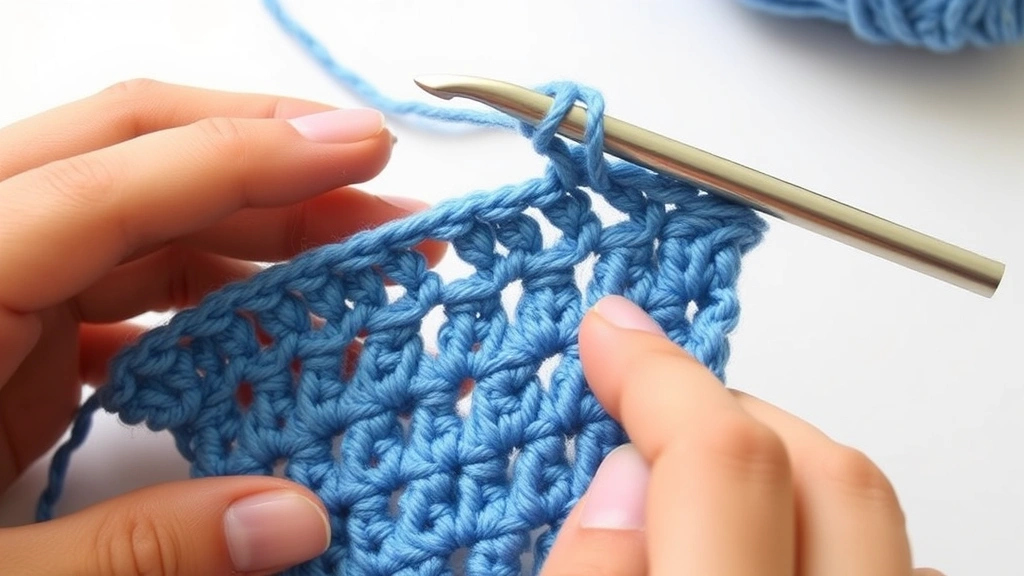
Dropped and Skipped Stitches
Dropped stitches happen when you accidentally pull your hook out of a loop that wasn’t secured yet. Skipped stitches occur when you miss working into a stitch altogether. Both create gaps in your work and can throw off your stitch count.
I used to panic when this happened, thinking I’d have to start the entire row over. But here’s the thing – most dropped stitches can be fixed easily if you catch them quickly.
Fixing Dropped Stitches
For a recently dropped stitch, simply insert your hook back into the dropped loop and continue. If the loop has unraveled a bit, you might need to work it back up to the current row level.
For older dropped stitches that have created a “ladder” effect:
- Insert your hook into the dropped loop
Start from the bottom of the ladder, where the stitch was originally dropped.
- Hook the strand above and pull through
Work your way up the ladder one strand at a time, pulling each horizontal strand through the loop below.
- Continue until you reach the current row
Once you’ve worked all the way up, you can continue with your regular stitching.
Preventing Skipped Stitches
Skipped stitches are often harder to fix because you don’t notice them until later. Prevention is key:
- Work in good lighting so you can see each stitch clearly
- Use a hook size that allows easy insertion into stitches
- Take breaks when you’re tired – fatigue leads to mistakes
- When working in rounds, use a marker to identify the beginning of each round
If you’re working on amigurumi projects, skipped stitches can cause shaping issues that affect the entire piece. It’s worth taking extra care with stitch placement in these projects.
Working Into Wrong Parts of Stitches
This mistake trips up a lot of crocheters, especially beginners. Each crochet stitch has different parts – the top loops, the front loop, the back loop, and the space between stitches. Where you insert your hook makes a huge difference in how your work looks and behaves.
The most common placement mistakes include:
- Working under only one loop instead of both loops (unless the pattern specifies)
- Working between stitches instead of into the stitch itself
- Missing the turning chain space at the end of rows
- Working into the turning chain when you shouldn’t
Understanding Stitch Anatomy
Every crochet stitch has a “V” shape at the top made of two loops. Unless your pattern says otherwise, you should insert your hook under both loops. Working under only the front loop or back loop creates different effects – front post and back post techniques are intentional design choices, not mistakes.
When working into chain spaces (common in lace patterns or granny squares), your hook goes through the space, not into the chain itself. This creates a looser, more flowing fabric.
Quick Check: If your fabric is curling unexpectedly or looks different from the pattern photo, check your stitch placement. This is often the culprit behind mysterious project problems.
Different yarn weights can make stitch placement easier or harder to see. With DK weight yarn (my personal favorite for learning), the stitches are clear enough to see the structure but not so chunky that they’re awkward to work with.
Turning Chain Confusion
Turning chains are those extra chain stitches you make at the beginning of each row to bring your hook up to the height of the next row’s stitches. Sounds simple, right? Yet this is where so many projects go wonky.
The confusion usually centers around whether the turning chain counts as a stitch or not. Sometimes it does, sometimes it doesn’t, and the pattern should tell you which. But even when it’s clearly stated, it’s easy to forget mid-project.
Common Turning Chain Mistakes
Treating it as a stitch when it’s not: This adds an extra stitch to every row, making your work gradually wider. I’ve seen scarves that started as rectangles and ended up as trapezoids because of this mistake.
Ignoring it when it should count: This removes a stitch from every row, making your work narrower as you go.
Inconsistent treatment: Sometimes counting it, sometimes not, which creates uneven edges and stitch count chaos.
Turning Chain Guidelines
| Stitch Type | Turning Chain | Usually Counts As |
|---|---|---|
| Single Crochet | Chain 1 | Does NOT count |
| Half Double Crochet | Chain 2 | Usually counts |
| Double Crochet | Chain 3 | Usually counts |
| Treble Crochet | Chain 4 | Usually counts |
When the turning chain counts as a stitch, you skip the first actual stitch of the row and work into the second stitch. At the end of the row, you work into the top of the previous row’s turning chain.
This is one area where reading the pattern carefully really pays off. Good patterns will specify exactly what to do with turning chains.
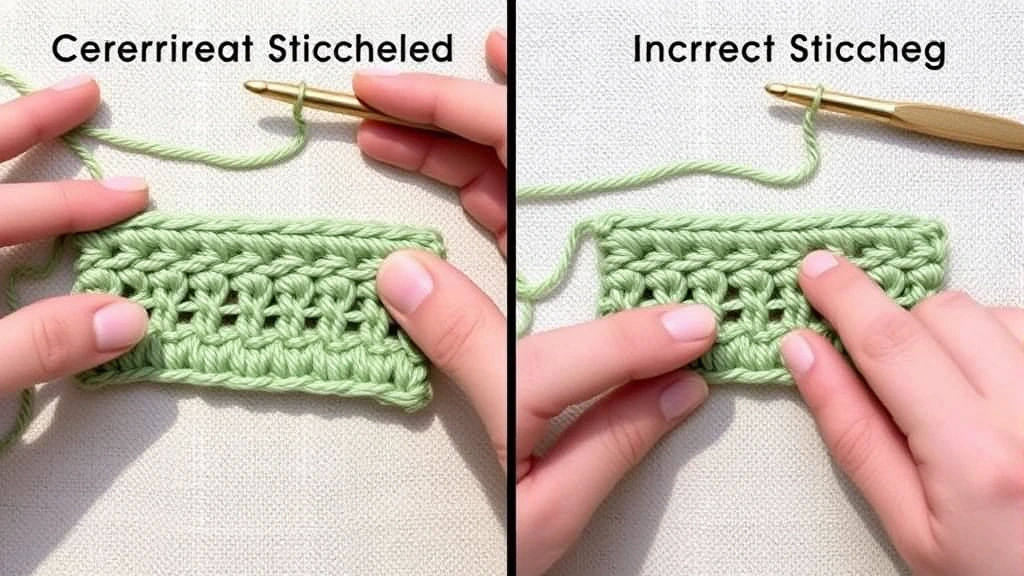
Uneven Edges and Shaping Problems
Nothing screams “beginner project” like wonky, uneven edges. I’ve made plenty of scarves that looked more like abstract art than rectangles, and don’t get me started on my early attempts at shaping.
Edge problems usually stem from:
- Inconsistent tension at row beginnings and ends
- Incorrect turning chain handling
- Missing or adding edge stitches
- Not maintaining consistent stitch count
Creating Clean, Straight Edges
The key to straight edges is consistency. Every row should have exactly the same number of stitches, and your tension should be even throughout.
Mark your edges: Use stitch markers or contrasting yarn to mark the first and last stitch of each row. This makes it impossible to miss them.
Count religiously: I know it’s tedious, but counting stitches at the end of each row prevents small mistakes from becoming big problems.
Practice your turning chains: The transition from one row to the next is where most edge problems start. Make your turning chains the same tension as your regular stitches.
For projects that need to lay flat, like baby blankets, edge consistency is crucial. Uneven edges can cause the entire blanket to curl or bunch.
Shaping Issues
When patterns call for increases or decreases to shape garments, the placement matters enormously. Increases should be evenly distributed unless the pattern specifies otherwise. Decreases need to be worked correctly – there’s a difference between skipping a stitch and working a proper decrease.
If you’re working on fitted items like sweaters, gauge becomes even more critical. A small tension difference can mean the difference between a sweater that fits and one that’s unwearable.
[IMAGE_4]
Pattern Reading Mistakes
Let’s be honest – crochet patterns can be confusing, especially when you’re starting out. The abbreviations, the parentheses, the asterisks – it’s like learning a new language. And unlike spoken languages, one misunderstood “word” in crochet can derail your entire project.
I’ve made some spectacular mistakes by misreading patterns. There was the time I thought “dc” meant “decrease” instead of “double crochet” and spent hours wondering why my circle was getting smaller instead of larger. Good times.
Common Pattern Reading Errors
Abbreviation confusion: Different publishers sometimes use different abbreviations. Always check the abbreviation list at the beginning of the pattern.
Repeat instructions: Those asterisks and parentheses aren’t decoration. “*dc in next 3 sts, ch 1; repeat from * across” means you do that sequence multiple times, not just once.
Round vs. row instructions: Working in rounds (like for hats or amigurumi) follows different rules than working in rows. Don’t turn your work when working in rounds unless specifically told to.
Skill level assumptions: Patterns assume you know certain basics. A “beginner” pattern might not explain how to change colors or weave in ends.
Making Patterns Work for You
Here’s my approach to tackling new patterns:
- Read the entire pattern first
Don’t start crocheting until you’ve read through everything. Look for techniques you’re not familiar with and practice them separately if needed.
- Highlight key information
Mark gauge requirements, yarn amounts, and any special techniques. I use different colored highlighters for different types of information.
- Make notes
Write down your actual gauge, any modifications you make, or places where you got confused. This helps if you make the pattern again.
The Craft Yarn Council has standardized many abbreviations and symbols, which helps, but there’s still variation between publishers.
When working with patterns from international sources, be aware that terms can mean different things. A “double crochet” in US terms is called a “treble crochet” in UK terms. This can completely change your project if you don’t catch it.
Common Questions
How do I fix a mistake several rows back without starting over?
You don’t always have to frog (rip out) everything. For small mistakes like a missed stitch, you can often work a strategic increase or decrease in the next row to correct the count. For more significant errors, carefully unravel just to the mistake, place the live stitches on a spare needle or safety pins, then work back up. It’s tedious but much better than starting completely over.
Why does my crochet curl even when I follow the pattern exactly?
Curling usually indicates a gauge or tension issue. You might be working too tightly, or your yarn substitution might have different properties than the pattern yarn. Try going up a hook size, checking that you’re working into the correct part of each stitch, and ensuring your edge stitches aren’t tighter than your middle stitches. Some stitch patterns naturally curl more than others.
How can I tell if I’m working into the right part of the stitch?
Each crochet stitch has a “V” shape at the top made of two loops. Unless specified otherwise, insert your hook under both loops. If you’re only catching one loop, your fabric will behave differently – it might be stiffer, curl more, or look different from the pattern photo. When in doubt, look closely at pattern photos or video tutorials.
What’s the difference between a mistake and a design feature?
Intent and consistency. If you accidentally work into front loops only but do it consistently throughout the project, it becomes a design feature that creates interesting texture. The key is recognizing what you’ve done and deciding whether to embrace it or correct it. Some of my favorite projects started as “mistakes” that I decided to keep.
How much yarn should I buy extra in case I make mistakes?
I always buy at least one extra skein of the main color, especially for large projects. For smaller projects, an extra 25-50 yards usually covers minor mistakes and gauge adjustments. Keep in mind that different dye lots can look noticeably different, so it’s better to have too much from the same dye lot than to run short and need to find a match later.
Should I use a lifeline when crocheting?
Lifelines aren’t as common in crochet as in knitting, but they can be helpful for complex lace patterns or when you’re learning a new technique. Thread a contrasting yarn through all the stitches of a completed row. If you need to rip back, you can only go as far as the lifeline, which saves your stitches from completely unraveling.
How do I prevent my hands from getting sore during long crochet sessions?
Take frequent breaks, stretch your hands and wrists, and pay attention to your grip. You shouldn’t be death-gripping your hook – hold it like a pencil, not a weapon. Ergonomic hooks can help, and some crocheters find that alternating between different hook types (metal, wood, plastic) reduces repetitive strain. If soreness persists, consider seeing a hand therapist who works with crafters.
What should I do when I can’t figure out what went wrong?
Step back and take a break. Sometimes fresh eyes see things tired eyes miss. Compare your work to the pattern photo stitch by stitch. Count your stitches and rows. Check online forums like Ravelry where other crocheters might have had the same issue with the same pattern. Don’t be afraid to ask for help – the crochet community is incredibly supportive.
Making mistakes is part of learning to crochet. I’ve been at this for fifteen years, and I still make plenty of errors. The difference now is that I can spot them quickly, fix them efficiently, and sometimes even turn them into happy accidents that make my projects unique.
Remember, every expert crocheter was once a beginner who made all these same mistakes. The goal isn’t perfection – it’s progress and enjoyment. Some of my most treasured projects have small imperfections that remind me of where I was in my crochet journey when I made them.
Keep practicing, be patient with yourself, and don’t forget to enjoy the process. Those “mistakes” you’re worried about? They’re just stepping stones to becoming a more confident, skilled crocheter. Before you know it, you’ll be the one helping other crocheters figure out what went wrong with their projects.