I still remember the first time I tried to crochet a blanket. I had this grand vision of a cozy throw that would grace my living room sofa, but what I ended up with was more like a wonky trapezoid that could barely cover a cat. The problem? I had no clue about proper blanket construction, yarn requirements, or even basic planning. Sound familiar?
After years of trial and error (and quite a few frogged projects), I’ve learned that crocheting a blanket isn’t just about picking pretty yarn and hoping for the best. It’s about understanding the fundamentals that separate gorgeous, long-lasting blankets from those destined for the donation pile.
Whether you’re dreaming of a baby blanket pattern for a new arrival or planning an ambitious king-size throw, the principles remain the same. You need to consider yarn choice, construction method, size planning, and finishing techniques. Miss any of these elements, and you might find yourself with a blanket that shrinks in the wash, develops holes after a few months, or simply doesn’t lay flat.
The good news? Once you understand these core concepts, blanket making becomes infinitely more enjoyable and successful. You’ll know exactly how much yarn to buy, which crochet stitches work best for different effects, and how to avoid those rookie mistakes that can derail a project months into the work.
Quick Answer
Successful blanket crocheting requires proper yarn selection (worsted weight is most versatile), consistent gauge, and planning your size before starting. Most lap blankets need 1200-1800 yards of yarn, while full-size blankets require 3000-4000 yards.
Planning Your Blanket Project
Before you even think about picking up a hook, you need a solid plan. I learned this the hard way when I started what was supposed to be a throw blanket and somehow ended up with something that could cover a dining room table. Planning prevents these disasters and saves you from buying too much (or too little) yarn.
Start by deciding who this blanket is for and how it’ll be used. A baby blanket pattern has completely different requirements than a heavy winter throw. Baby blankets need to be soft, washable, and typically measure around 30×40 inches. Lap blankets work best at 50×60 inches, while full-size blankets should measure at least 60×80 inches.
Setting Realistic Expectations
Here’s something nobody talks about enough: blankets take time. A lot of time. That gorgeous granny square afghan you saw on Pinterest? It probably took 80-120 hours to complete. I always tell new crocheters to start with a lap blanket or baby blanket for their first project. You’ll learn all the essential skills without committing to a year-long project.
Consider your skill level honestly. If you’re still mastering basic crochet stitches, choose a simple pattern with repetitive stitching. Single crochet, half double crochet, or basic granny squares are perfect starting points. Save the complex colorwork and intricate stitch patterns for when you’re more comfortable with the fundamentals.
Pro tip: Make a small sample square (about 6×6 inches) in your chosen pattern before committing to the full blanket. This helps you practice the stitches and gives you an accurate gauge measurement.

Choosing the Right Yarn
Yarn choice can make or break your blanket project. I’ve seen beautiful blankets ruined by poor yarn selection, and I’ve watched simple patterns shine because the crocheter chose the perfect fiber. The key is matching your yarn to your blanket’s intended use and your skill level.
For beginners, I always recommend starting with worsted weight acrylic yarn. Brands like Lion Brand Vanna’s Choice or Red Heart Super Saver are affordable, forgiving, and machine washable. They’re also widely available, so if you run short, you can usually find the same dye lot at your local craft store.
| Yarn Weight | Hook Size | Best For | Yardage per Skein |
|---|---|---|---|
| DK (3) | 4.5-5.5mm (G-I) | Baby blankets, light throws | 220-280 yards |
| Worsted (4) | 5.5-6.5mm (I-K) | Most blankets, versatile | 190-250 yards |
| Chunky (5) | 6.5-9mm (K-M) | Quick projects, bulky throws | 140-200 yards |
Fiber Content Considerations
Acrylic gets a bad reputation, but modern acrylic yarns are soft, durable, and perfect for everyday blankets. They’re also budget-friendly, which matters when you need 15-20 skeins for a large project. Cotton yarns create beautiful, breathable blankets that improve with washing, but they’re heavier and can stretch out of shape over time.
Wool and wool blends offer excellent stitch definition and warmth, but they require more careful handling. If you’re making a blanket for someone with sensitive skin or allergies, stick with hypoallergenic options like bamboo or high-quality acrylic.
Buying tip: Always buy all your yarn at once, checking that dye lots match. Yarn colors can vary significantly between dye lots, and nothing’s more frustrating than running out of yarn halfway through a project only to find the new skeins don’t match.
Essential Construction Methods
There are several ways to construct a crochet blanket, and choosing the right method depends on your pattern, skill level, and personal preferences. Each approach has its advantages and challenges, so let’s break down the most popular options.
Traditional Row-by-Row Construction
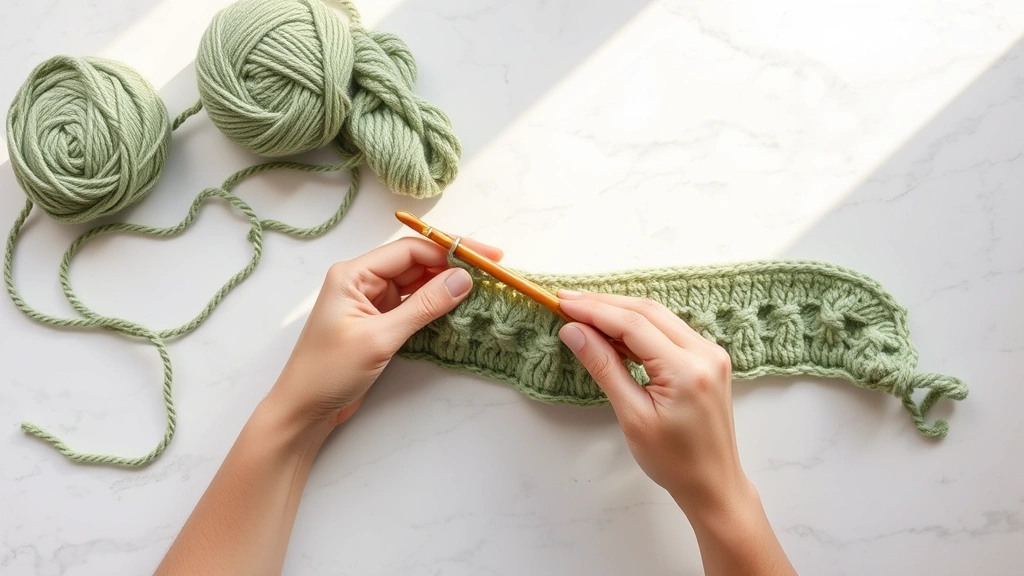
This is probably what you picture when you think of crocheting a blanket: starting with a foundation chain and working rows back and forth until you reach your desired length. It’s straightforward, requires minimal planning, and works well with most crochet stitches.
The main advantage is simplicity. You can easily adjust the width by changing your foundation chain length, and you can stop whenever you reach your target size. The downside? Long foundation chains can be intimidating, and keeping consistent tension across hundreds of stitches takes practice.
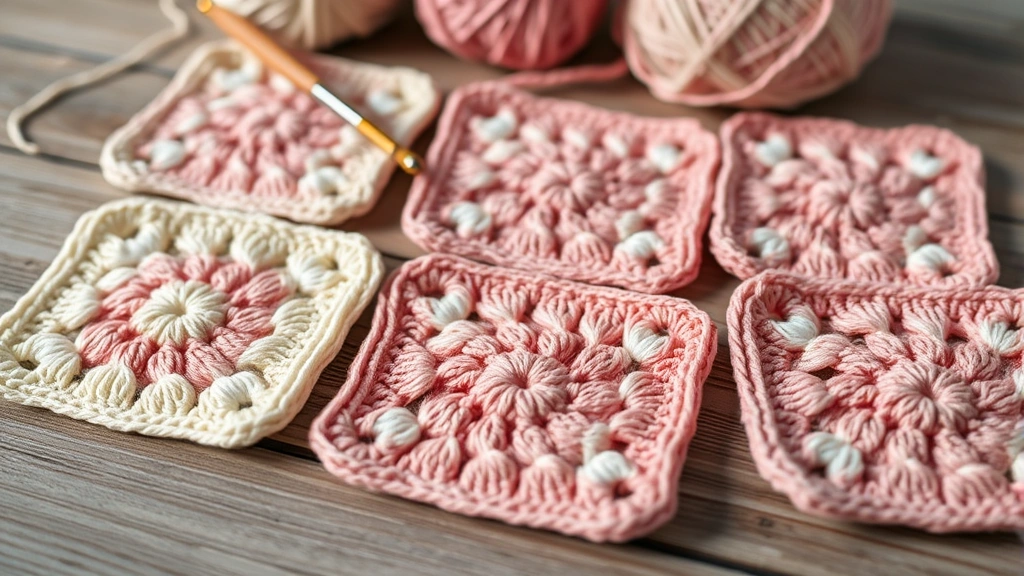
Granny Square and Motif Construction
Granny squares and other motifs offer incredible flexibility and are perfect for using up yarn scraps. You can work on individual squares during your commute or while watching TV, then join them later. This method also allows for complex color patterns and is more forgiving of tension variations.
However, joining squares properly requires patience and skill. Poor joining techniques result in blankets that don’t lay flat or have weak spots that develop holes over time. When working with granny square patterns, consistency in square size is crucial for professional-looking results.
Corner-to-Corner (C2C) Method
The corner-to-corner technique has gained popularity recently, and for good reason. It creates a diagonal fabric that’s perfect for color changes and graphgans (graph-based afghans). You start from one corner and work diagonally across, increasing until you reach the widest point, then decreasing to the opposite corner.
C2C works up relatively quickly and is excellent for beginners because you’re working with small sections at a time. The main challenge is keeping track of your increases and decreases, especially on larger projects.
Personal experience: I love C2C for baby blankets because the diagonal construction creates natural stretch that’s perfect for swaddling. Just remember to count your squares carefully – it’s easy to lose track and end up with an uneven edge.
Calculating Size and Yardage
Nothing’s more frustrating than running out of yarn when you’re 90% done with a project. Accurate yardage calculation is essential for successful blanket making, and it’s not as complicated as you might think.
Start with your finished dimensions. Standard blanket sizes are helpful guidelines, but don’t be afraid to customize. Here are the most common sizes:
- Baby blanket: 30×40 inches (1,200-1,800 yards worsted weight)
- Lap blanket: 50×60 inches (2,500-3,500 yards worsted weight)
- Twin blanket: 60×80 inches (3,500-4,500 yards worsted weight)
- Full/Queen blanket: 80×90 inches (5,000-7,000 yards worsted weight)
The Swatch Method
The most accurate way to calculate yardage is by making a gauge swatch. Crochet a 4×4 inch square in your chosen pattern, then carefully unravel it and measure the yarn used. Multiply this amount by the total square inches of your planned blanket, then add 10% for safety.
For example, if your 4×4 inch swatch uses 12 yards of yarn, that’s 0.75 yards per square inch. A 50×60 inch blanket has 3,000 square inches, so you’d need about 2,250 yards plus 10% (2,475 yards total).
When working with granny square patterns, make one complete square and calculate from there. If each 6-inch square uses 25 yards, and you need 80 squares for your blanket, you’ll need approximately 2,000 yards total.
Shopping strategy: Buy one extra skein beyond your calculated needs. It’s better to have leftover yarn for future projects than to scramble for matching dye lots later. Most craft stores accept returns of unopened skeins with receipts.
Mastering Gauge and Tension
Gauge might seem like an advanced concept, but it’s actually fundamental to successful blanket making. Consistent gauge ensures your blanket will be the size you planned and will lay flat without puckering or stretching.
Most patterns include a gauge measurement, typically expressed as “X stitches and Y rows = 4 inches.” This measurement assumes you’re using the recommended yarn and hook size with average tension. If your gauge doesn’t match, your finished blanket will be larger or smaller than expected.
Testing and Adjusting Your Gauge
Always make a gauge swatch before starting your blanket. Use the recommended hook size and work at least 20 stitches and 20 rows in your chosen pattern. Let the swatch rest for a few hours (or overnight), then measure a 4-inch section in the middle, away from the edges.
If you have too many stitches per inch, your tension is too tight – try a larger hook. If you have too few stitches per inch, your tension is too loose – try a smaller hook. Don’t try to consciously adjust your tension; changing hook size is much more reliable.
Remember that different crochet stitches have different natural gauges. Single crochet creates a tighter fabric than double crochet, even with the same yarn and hook. Always test gauge with your actual pattern stitch, not just basic single crochet.
Tension tip: Your tension naturally changes as you get more comfortable with a pattern. Check your gauge every few inches during the first foot of your blanket, and don’t be afraid to adjust your hook size if needed.
Professional Finishing Techniques
The difference between a homemade-looking blanket and a professional-quality piece often comes down to finishing. Proper edge treatment, blocking, and final details transform your hard work into something truly special.
Border Options
A well-chosen border can completely change the look of your blanket. Simple single crochet borders work well for casual, everyday blankets, while shell or picot borders add elegance to special occasion pieces. The key is choosing a border that complements your main pattern without overwhelming it.
For beginners, I recommend starting with a simple single crochet border worked in rounds. This stabilizes the edges and gives you practice with corner techniques. Work 3 single crochets in each corner stitch to maintain square corners and prevent cupping.
More advanced borders like shells or fans require careful stitch counting. Most decorative borders work best with stitch counts that are multiples of the pattern repeat. If your blanket doesn’t naturally have the right stitch count, adjust with increases or decreases in your foundation border round.
Blocking Your Finished Blanket
Blocking isn’t always necessary, but it can dramatically improve your blanket’s appearance. Wet blocking works well for natural fibers like cotton and wool, while steam blocking is safer for acrylics. The goal is to even out your stitches and ensure the blanket lays flat.
For large blankets, you might need to block in sections or use your bed as a blocking surface. Pin the blanket to the desired measurements, ensuring corners are square and edges are straight. Let it dry completely before unpinning.
Weaving in ends: Don’t underestimate this step. Properly woven ends prevent your blanket from unraveling and give it a polished look. Weave each end through at least 4-5 stitches in different directions, and trim close to the fabric.
Troubleshooting Common Issues
Even experienced crocheters encounter problems during blanket projects. The key is recognizing issues early and knowing how to fix them without starting over. Here are the most common problems I see and their solutions.
Uneven Edges and Curling
If your blanket edges are wavy or curling, you likely have tension issues. Tight tension causes edges to pull in and curl, while loose tension creates ruffled edges. The solution isn’t to rip out everything – instead, focus on consistent tension going forward and plan a border that will stabilize the edges.
For severe curling, try a firm single crochet border worked with a hook one size smaller than your main project. This creates enough structure to flatten most curling issues. When working with granny square patterns, blocking individual squares before joining often prevents edge problems.
Color Changes and Yarn Joins
Running out of yarn mid-project is inevitable with large blankets. The key is joining new yarn at the end of a row or round, never in the middle of a section. Leave 6-inch tails on both the old and new yarn, then weave them in securely during finishing.
For planned color changes, complete the last stitch of the old color until you have two loops on your hook, then yarn over with the new color and pull through. This creates a clean color transition without loose stitches.
Size Miscalculations
If your blanket is turning out larger or smaller than planned, don’t panic. For blankets that are too wide, you can adjust by working fewer stitches in each row going forward, though this will create a slight trapezoid shape. For blankets that are too narrow, add a wide border to reach your desired dimensions.
Length is easier to adjust – simply work more or fewer rows as needed. Just remember that significant size changes will affect your yarn requirements, so recalculate your needs before buying additional skeins.
Prevention tip: Measure your work every 12 inches and compare it to your target dimensions. Small adjustments are much easier to make than major corrections at the end of a project.
Common Questions
How much yarn do I need for a throw blanket?
A standard throw blanket (50×60 inches) typically requires 2,500-3,500 yards of worsted weight yarn. The exact amount depends on your chosen stitch pattern – dense stitches like single crochet use more yarn than open patterns like granny squares. Always buy 10% extra to account for gauge variations and potential mistakes.
What’s the best stitch for beginner blanket makers?
Half double crochet is ideal for beginners. It works up faster than single crochet but is more stable than double crochet. The stitch creates a nice, even fabric that’s perfect for solid-color blankets. Once you’re comfortable with basic stitches, try simple granny square patterns for more visual interest.
How long does it take to crochet a blanket?
This varies enormously based on size, complexity, and your crochet speed. A baby blanket might take 20-40 hours, while a king-size blanket could require 100-150 hours. Most crocheters work 1-3 hours per day, so expect 2-8 weeks for a lap blanket and 3-6 months for a full-size blanket.
Should I use a pattern or design my own blanket?
Beginners should definitely start with a tested pattern. Patterns provide stitch counts, yardage requirements, and troubleshooting tips that save time and frustration. Once you’ve completed 2-3 pattern blankets, you’ll understand construction well enough to modify patterns or create your own designs.
What hook size should I use for blanket yarn?
Most worsted weight yarns work well with a 5.5mm (I) or 6mm (J) hook. However, always check your gauge and adjust accordingly. Some crocheters prefer a slightly larger hook for blankets to create a softer, more drapeable fabric. The yarn label will suggest a hook size range – start in the middle of that range.
How do I keep my blanket squares the same size?
Consistency comes from maintaining even tension and counting stitches carefully. Make a template from cardboard cut to your desired square size, and check each completed square against it. If squares vary by more than 1/4 inch, consider adjusting your hook size or tension. Blocking individual squares before joining also helps achieve uniformity.
Can I machine wash a crocheted blanket?
This depends entirely on your yarn choice. Acrylic and cotton yarns are generally machine washable, but always check the yarn label first. Use cold water and the gentle cycle, and avoid fabric softener which can make acrylic yarn feel sticky. When in doubt, hand wash in cool water and lay flat to dry.
What’s the difference between an afghan and a blanket?
The terms are often used interchangeably, but traditionally an afghan is a decorative throw blanket, often featuring colorwork or complex stitch patterns. Afghans are typically smaller than bed blankets and designed more for display and occasional use. Modern usage treats the terms as synonymous for any crocheted blanket.
Creating your first successful crochet blanket is an incredibly rewarding experience. Yes, it requires patience, planning, and attention to detail, but the satisfaction of wrapping yourself (or a loved one) in something you made with your own hands is unmatched. Remember, every expert crocheter started exactly where you are now, with questions about yarn choices and worries about gauge.
The most important thing is to start. Choose a simple pattern, buy quality materials, and don’t be afraid to make mistakes – they’re how we learn. Whether you’re working on a quick baby blanket pattern or tackling an ambitious king-size throw, the principles in this guide will serve you well.
Take your time, enjoy the process, and remember that handmade doesn’t mean perfect. Those slight irregularities and personal touches are what make your blanket special. Before you know it, you’ll be planning your next blanket project and sharing your own tips with fellow crocheters. Happy stitching!