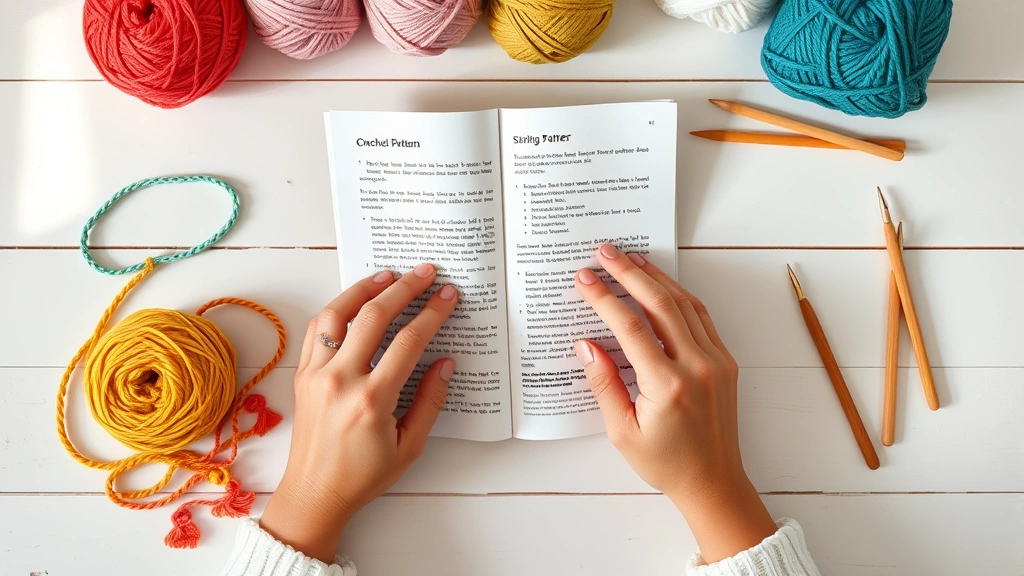
Last week, I watched my friend Sarah struggle with her first granny square, and it brought back memories of my own early crochet days. She’d mastered the basic stitches but felt completely lost when it came to creating those beautiful, intricate patterns that make crochet so special. “How do you even know where to start?” she asked, holding up a tangled mess of yarn. I totally get it – crochet patterns can feel like they’re written in a foreign language when you’re starting out.
Here’s the thing: learning to read crochet patterns isn’t just about memorizing abbreviations (though that helps). It’s about understanding the rhythm and logic behind how crochet instructions are structured. Once you crack that code, you’ll find yourself confidently tackling everything from single crochet projects to complex lacework.
I’ve been crocheting for over fifteen years, and I still remember the frustration of staring at patterns that might as well have been hieroglyphics. But I also remember that magical moment when everything clicked – when I realized that crochet patterns follow predictable patterns themselves. Today, I want to share what I’ve learned about reading crochet patterns, from the absolute basics to those tricky advanced techniques that used to make me want to throw my hook across the room.
Quick Answer
Crochet patterns use standardized abbreviations and symbols to communicate instructions. Start by learning basic abbreviations like sc (single crochet), dc (double crochet), and ch (chain), then practice reading the pattern structure from setup rows through repeating sections.
Understanding Pattern Structure
Every well-written crochet pattern follows a predictable structure, kind of like a recipe. At the top, you’ll find the materials list – yarn weight, hook size, and any special notions you’ll need. This isn’t just a shopping list; it’s crucial information that affects your finished project’s size and appearance.
The skill level indicator comes next, and trust me, pay attention to this. I’ve seen too many beginners jump into “intermediate” patterns and end up frustrated. Beginner projects focus on basic stitches and simple shaping, while intermediate patterns introduce techniques like color changes or basic increases and decreases.
After the basics, you’ll see the finished measurements and gauge information. Gauge might seem boring, but it’s your roadmap to success. When a pattern says “16 stitches and 18 rows = 4 inches in single crochet,” that’s telling you exactly how your stitches should look with the recommended yarn and hook.
The abbreviations section is like your dictionary – bookmark this part. Most patterns list the specific abbreviations they use, which can vary slightly between designers. Some might use “sc” for single crochet while others prefer “dc” (if they’re using UK terminology).
Pro Tip: Always read through the entire pattern before starting. I know it’s tempting to dive right in, but understanding the overall structure will save you from surprises later.
Essential Abbreviations and Symbols
Learning crochet abbreviations is like learning a new language, but fortunately, it’s a pretty short dictionary. The Craft Yarn Council has standardized most abbreviations, making patterns more consistent across designers.
Let’s start with the absolute essentials. Chain (ch) creates your foundation and turning chains. Single crochet (sc) is your bread-and-butter stitch – short and tight. Half double crochet (hdc) sits right in the middle height-wise, while double crochet (dc) creates taller, more open fabric.
| Abbreviation | Stitch Name | US Height |
|---|---|---|
| sl st | Slip stitch | Shortest |
| sc | Single crochet | Short |
| hdc | Half double crochet | Medium |
| dc | Double crochet | Tall |
| tr | Treble crochet | Tallest |
Beyond basic stitches, you’ll encounter directional terms. “Inc” means increase (usually by working two stitches in one space), while “dec” means decrease (combining two stitches into one). “Rnd” indicates you’re working in rounds rather than rows, which is essential for amigurumi projects.
Punctuation matters too. Parentheses group stitches that go in the same space: “(2 dc, ch 1, 2 dc) in corner space” means all those stitches work into that one corner. Asterisks mark repeating sections: “*sc in next 3 sts, inc in next st; repeat from * around.”
Here’s something that tripped me up early on: “work even” means continue in the established pattern without increasing or decreasing. It’s not a specific instruction but rather telling you to maintain your current stitch count.
How to Read Row-by-Row Instructions
Reading row instructions is where patterns can feel overwhelming, but there’s a rhythm to it once you understand the flow. Most patterns start with a foundation chain, then build row by row. Each row instruction typically starts with a turning chain (the height needed for your next stitch) and ends with a stitch count.
Let’s break down a typical row instruction: “Row 3: Ch 2 (does not count as st), hdc in first st, *hdc in next 2 sts, 2 hdc in next st; repeat from * across, hdc in last st, turn. (45 sts)” This tells you everything you need to know – your turning chain height, where to start, what to repeat, where to end, and your final stitch count.
The phrase “does not count as st” is crucial. Some turning chains count as the first stitch of your row, others don’t. When it doesn’t count, you work your first actual stitch into the first stitch of the previous row. When it does count, you skip that first stitch and start with the second.
Pay attention to stitch counts at the end of rows. This is your quality control check. If your count is off, stop and figure out where things went wrong. I learned this the hard way after completing an entire granny square blanket that was noticeably lopsided because I ignored stitch count discrepancies.
Helpful Hint: Use stitch markers to mark your first and last stitches of each row. This prevents the common mistake of accidentally increasing or decreasing at row edges.
When patterns say “work in pattern,” they’re referring to a previously established stitch sequence. For example, if you’ve been alternating single and double crochet stitches, “work in pattern” means continue that alternation without specific row-by-row instructions.
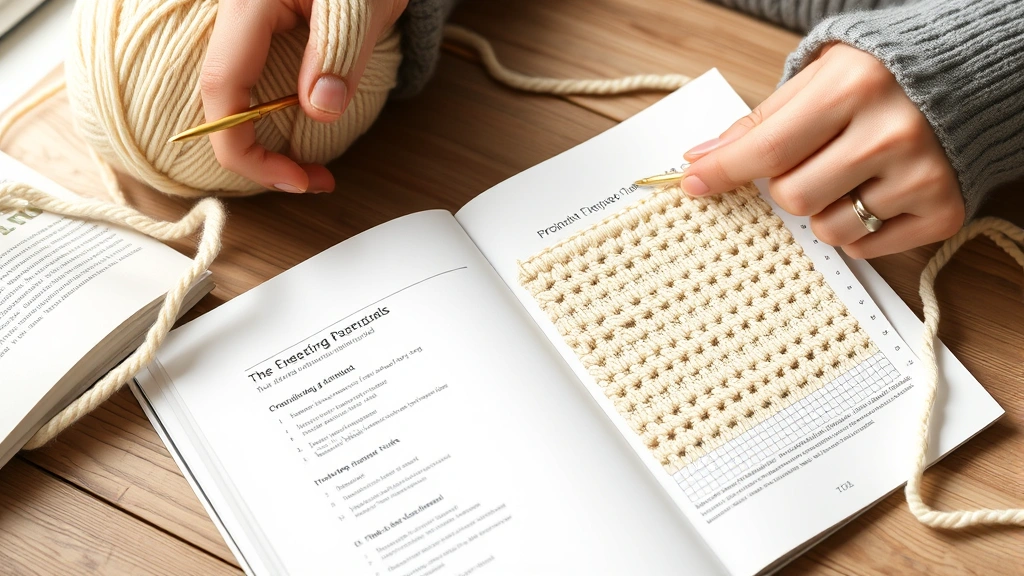
Gauge, Sizing, and Measurements
Gauge is probably the most overlooked aspect of pattern reading, but it’s absolutely critical for getting the results you want. When I started crocheting, I thought gauge was just a suggestion. Spoiler alert: it’s not. Your gauge determines whether your sweater fits or swims on you, whether your baby blanket is the right size, and whether your amigurumi looks proportional.
Here’s how gauge works: patterns are written assuming you’ll achieve a specific number of stitches and rows per inch. If your stitches are tighter than the pattern expects, your finished project will be smaller. If they’re looser, it’ll be larger. The difference can be dramatic – I once made a hat that could fit a toddler instead of an adult because my gauge was off.
To check gauge, make a swatch at least 4 inches square using the pattern’s recommended yarn and hook size. Work in the same stitch pattern as the main project – don’t test gauge in single crochet if your project uses double crochet stitches. Measure your completed, relaxed swatch and count stitches and rows within a 4-inch square.
| If Your Gauge Is… | Your Project Will Be… | Solution |
|---|---|---|
| Too tight (more stitches per inch) | Smaller than intended | Use a larger hook |
| Too loose (fewer stitches per inch) | Larger than intended | Use a smaller hook |
| Just right | Perfect size | Start your project! |
For garments, sizing information usually includes both finished measurements and suggested sizing. “Finished chest: 38 inches” tells you the actual measurement of the completed garment, while “Size: Medium” gives you the intended fit. Always go by finished measurements rather than size labels, as these can vary between designers.
Working with Charts and Diagrams
Crochet charts and diagrams can look intimidating at first, but they’re actually incredibly helpful once you learn to read them. Think of them as a visual map of your project – instead of translating written instructions, you can see exactly where each stitch goes.
In crochet charts, each symbol represents a specific stitch. A small oval typically represents a chain, while a vertical line with a cross at the bottom shows a single crochet. Taller symbols represent taller stitches – double crochet looks like a vertical line with a diagonal slash through it.
Charts are usually read from the bottom up, just like you build your crochet project. For flat pieces worked in rows, you read odd-numbered rows from right to left and even-numbered rows from left to right (this mimics how you turn your work). For pieces worked in rounds, you always read from right to left.
Here’s something that confused me initially: the starting chain in a chart often looks different from the rest of the project. It’s usually shown as a series of small ovals at the bottom, and you work your first row of actual stitches into these chains.
Diagrams are particularly common for motifs like crochet flowers or granny squares. They show you the overall shape and structure, with arrows indicating the direction of work. These visual guides are especially helpful for understanding how pieces connect or where to place increases and decreases for shaping.
Chart Reading Tip: Keep a symbol key handy when working from charts. Many designers include their own symbol key, as some symbols can vary slightly between pattern sources.
Common Pattern Reading Problems
Even experienced crocheters run into pattern reading challenges, so don’t feel bad if you get stuck. The most common issue I see is confusion about where to place stitches. When a pattern says “sc in next st,” it means the next actual stitch from the previous row, not the next space or gap.
Stitch placement becomes trickier with taller stitches. For double crochet, you work into the top of the stitch from the previous row, but you need to identify which loops constitute the “top.” Usually, it’s the two loops that form the V shape at the top of the stitch, but some patterns specify working in the back loop only or front loop only.
Another frequent stumbling block is understanding increases and decreases in pattern context. When a pattern says “inc in next st,” it typically means work two stitches of the same type into that one stitch. For decreases, “sc2tog” means single crochet two stitches together, effectively reducing your stitch count by one.
Pattern errors do exist, and recognizing them is part of becoming a skilled pattern reader. If something doesn’t make sense – like stitch counts that don’t add up or instructions that seem to contradict earlier rows – trust your instincts. Check Ravelry or the designer’s website for errata or corrections.
Color changes can be confusing in written patterns. When working tapestry crochet or fair isle techniques, patterns might use letters (A, B, C) or color names. Pay attention to when the pattern tells you to change colors – usually at the end of a stitch, not the beginning.
Remember: if you’re consistently having trouble with a particular pattern section, it might not be you – it might be unclear pattern writing. Don’t be afraid to seek help from online crochet communities or contact the pattern designer directly.
Advanced Pattern Elements
As you advance in your crochet journey, you’ll encounter more complex pattern elements that require careful reading and understanding. Short rows, for instance, are used to create shaping without traditional increases or decreases. When a pattern says “turn” in the middle of a row, you’re creating a short row that doesn’t span the full width of your work.
Construction methods vary significantly between patterns. Some garments are worked in pieces and seamed together, while others are constructed seamlessly from the top down or bottom up. Understanding the construction method helps you visualize how your project will come together and can help you catch mistakes early.
Advanced stitch techniques like post stitches create texture and dimension. Front post double crochet (fpdc) and back post double crochet (bpdc) work around the vertical post of stitches from previous rows rather than into the top loops. These create raised and recessed areas that form cables and ribbing effects.
Cluster stitches and popcorns add textural interest but require careful attention to instructions. A cluster typically involves starting several stitches but completing them all together at the end, while a popcorn is usually several complete stitches worked in the same space, then folded forward and secured.
When patterns involve multiple colors or complex stitch combinations, they often include both written instructions and charts. Use whichever format makes more sense to you – there’s no rule that says you have to use both. I prefer charts for colorwork but written instructions for texture stitches.
Advanced patterns might also include construction diagrams showing how pieces fit together. These are invaluable for understanding garment assembly or how motifs connect in afghans. Take time to study these diagrams before you start – they can save you from costly mistakes later.
Common Questions
How do I know if a pattern is written in US or UK terminology?
Check the abbreviations list or look for clues in the stitch names. In US patterns, “single crochet” is the shortest stitch, while UK patterns call this “double crochet.” Most modern patterns specify which terminology they use, but when in doubt, the stitch heights should give you a clue – if the “double crochet” instructions seem too short for what you expect, it might be UK terminology.
What does “work even” mean in crochet patterns?
“Work even” means continue in the established pattern without increasing or decreasing your stitch count. If you’ve been working in single crochet with 50 stitches per row, “work even for 6 rows” means continue making 6 more rows of 50 single crochet stitches each.
Why don’t my stitch counts match the pattern?
Stitch count discrepancies usually happen at row beginnings or ends, or when you miss increases or decreases. Count your stitches carefully, including or excluding turning chains as specified. If you’re consistently off by one, check whether you’re correctly handling the first and last stitches of each row.
How do I read parentheses and asterisks in patterns?
Parentheses group stitches that all go in the same place: “(2 dc, ch 2, 2 dc) in corner” means all those stitches work into that corner space. Asterisks mark the beginning of a repeat section: “*sc in next 3 sts, inc; repeat from *” means you’ll repeat that sequence of 4 stitches across your row.
What’s the difference between “in next stitch” and “in next space”?
“In next stitch” means you work into the actual stitch from the previous row – usually into the top two loops that form the V. “In next space” means you work into a gap or opening, like a chain space or the space between stitches. This distinction is crucial for maintaining proper stitch placement.
How do I fix mistakes when following a pattern?
For small mistakes, you can usually rip back (“frog”) to the error and rework from there. Use a smaller hook or tapestry needle to pick up dropped stitches. For major mistakes, it’s often faster to start the affected section over rather than trying to fix multiple errors. Keep track of where you are in the pattern to avoid repeating the same mistake.
Should I always make a gauge swatch?
For projects where size matters – garments, fitted accessories, blankets with specific dimensions – yes, always make a gauge swatch. For practice projects, dishcloths, or decorative items where exact size isn’t critical, you can often skip the swatch. But remember, gauge affects yarn usage too, so a significantly different gauge might mean you need more or less yarn than the pattern calls for.
What if I can’t find the exact yarn specified in the pattern?
Look for yarn with the same weight category and similar fiber content. The Craft Yarn Council’s weight standards make it easier to substitute yarns. Check the yardage per skein too – you might need a different number of skeins if the yardage varies. Always make a gauge swatch when substituting yarn to ensure your finished project will be the right size.
Reading crochet patterns is a skill that develops over time, just like your crochet stitches themselves. Don’t expect to understand everything immediately – even experienced crocheters encounter new techniques and terminology. The key is to start with simpler patterns and gradually work your way up to more complex designs.
Remember that every expert crocheter was once exactly where you are now, staring at abbreviations that looked like alphabet soup and wondering how anyone could make sense of it all. Be patient with yourself, ask questions when you’re stuck, and don’t be afraid to frog your work when something doesn’t look right. Each pattern you complete makes the next one easier to understand.
Most importantly, enjoy the process. Crochet patterns aren’t just instructions – they’re invitations to create something beautiful with your own hands. Once you master pattern reading, you’ll have access to thousands of designs from talented creators around the world. Happy crocheting!