You know that moment when you’re mid-project and suddenly realize your yarn ball is looking suspiciously flat? Or when you’re planning a new blanket and have absolutely no clue how much yarn to buy? Trust me, I’ve been there more times than I’d like to admit. There’s nothing worse than running out of yarn when you’re three-quarters done with a project, especially when you can’t find the same dye lot anywhere.
Learning to calculate yarn yardage isn’t just about avoiding those panic-inducing trips to the craft store – it’s about becoming a more confident crocheter. Whether you’re working from a pattern that doesn’t specify yardage, substituting yarns, or designing your own projects, knowing how to estimate yarn needs will save you both money and frustration.
I used to be the queen of buying “just one more skein” because I was terrified of running out. My yarn stash grew exponentially, but my confidence didn’t. Once I learned these calculation methods, everything changed. Now I can walk into any yarn store knowing exactly what I need, and I rarely have leftover yarn gathering dust in my craft room.
Quick Answer
Calculate yarn yardage by measuring your gauge swatch, determining total project area, and multiplying by yards per square inch. For substitutions, match yarn weight and adjust for fiber differences. Always add 10-20% extra for mistakes and gauge variations.
Understanding Yarn Weights and Their Impact
Before diving into calculations, you need to understand how yarn weight affects yardage requirements. The Craft Yarn Council’s standardized system makes this easier, but there’s still variation within each category.
Fingering weight yarn (Category 1) typically provides 350-450 yards per 100 grams, while bulky yarn (Category 5) might only give you 75-125 yards for the same weight. This dramatic difference means your project calculations will vary significantly based on your yarn choice.
| Yarn Weight | Typical Yardage per 100g | Common Hook Size | Best For |
|---|---|---|---|
| Lace/Fingering (0-1) | 350-450 yards | 2.25-3.5mm | Delicate shawls, doilies |
| Sport/DK (2-3) | 200-300 yards | 3.5-4.5mm | Baby items, lightweight sweaters |
| Worsted (4) | 150-200 yards | 5-6mm | Afghans, most garments |
| Bulky (5) | 75-125 yards | 6.5-9mm | Quick projects, winter accessories |
| Super Bulky (6) | 50-75 yards | 10mm+ | Chunky blankets, rugs |
When working with chunky yarn projects, remember that the thick fibers create more coverage per stitch, but you’ll use more yarn by weight. It’s a trade-off that affects both your timeline and your budget.
Pro Tip: Always check the yarn label for actual yardage rather than assuming based on weight category. I’ve seen worsted weight yarns vary from 140 to 220 yards per 100 grams depending on the fiber content and construction.
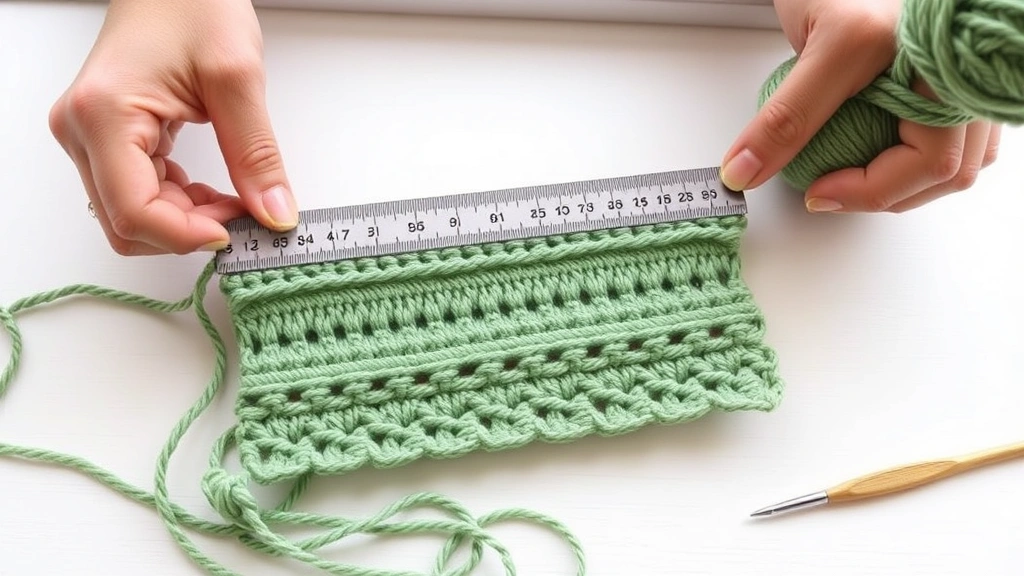
Measuring Your Gauge Accurately
Your gauge swatch is the foundation of accurate yardage calculations. I can’t stress this enough – skipping this step is like trying to bake without measuring ingredients. It might work sometimes, but it’s not a reliable strategy.
Make your swatch at least 4 inches square using the same hook and yarn you plan to use for your project. Work in your chosen stitch pattern, not just single crochet, because different stitches use different amounts of yarn. A double crochet fabric will use more yarn per square inch than single crochet due to the height and yarn overs.
- Create Your Swatch
Chain enough stitches for about 5 inches of width, then work in your pattern stitch until you have 5 inches of height. This gives you extra room for accurate measuring.
- Block Your Swatch
Wash and block your swatch exactly as you plan to care for your finished project. Some yarns grow significantly when blocked, which affects both gauge and yarn consumption.
- Measure and Record
Count stitches and rows in a 4-inch square. Also measure how much yarn you used for this swatch – this is crucial for your calculations.
- Calculate Yarn Per Square Inch
Divide the yarn used by 16 (4 inches × 4 inches) to get your yarn consumption per square inch.
I learned this lesson the hard way when making an afghan pattern that looked perfect in my head but required 30% more yarn than I’d calculated because I didn’t account for the stitch pattern’s yarn consumption.
Basic Yardage Calculation Methods
Once you have your gauge information, calculating yardage becomes straightforward math. Here are the three methods I use most often, depending on the project type.
Method 1: Area-Based Calculation
This works best for blankets, scarves, and other rectangular projects. Multiply your finished dimensions to get total area, then multiply by your yarn-per-square-inch measurement.
For example, if you want a 40″ × 50″ blanket and your gauge swatch used 2 yards per square inch:
- Total area: 40 × 50 = 2,000 square inches
- Yarn needed: 2,000 × 2 = 4,000 yards
- Add 15% buffer: 4,000 × 1.15 = 4,600 yards
Method 2: Pattern Multiplication
When you have a small motif or repeat pattern, calculate yarn for one unit and multiply. This works perfectly for granny square projects or any modular crochet.
Measure yarn used for one complete motif, then multiply by the number of motifs needed. Don’t forget to add yarn for joining – I typically add 10% extra just for seaming and weaving in ends.
Method 3: Weight-Based Estimation
Sometimes you’ll find similar patterns with yarn requirements listed. Use these as starting points, adjusting for yarn weight differences. If a pattern calls for 1,200 yards of worsted weight, and you’re using DK weight, you might need 1,400-1,500 yards to achieve the same coverage.
Remember, these calculations give you a baseline. Factors like your tension, the specific yarn’s construction, and your crochet style all influence actual yarn consumption.
Project-Specific Calculations
Different project types have unique considerations that affect yarn calculations. Let me walk you through the most common scenarios I encounter.
Garments and Fitted Items
Calculating yarn for sweater patterns requires more precision because fit matters. Start with your gauge swatch, but also consider:
- Ease allowance (how loose or fitted you want the garment)
- Stitch pattern variations (cables use more yarn than stockinette-equivalent stitches)
- Construction method (top-down vs. bottom-up can affect yarn distribution)
For a basic pullover in worsted weight yarn, I typically estimate 1,200-1,800 yards depending on size and length. Add 200-300 yards if you’re including cables or complex stitch patterns.
Blankets and Large Projects
Large projects like blankets are where accurate calculations really matter. Nobody wants to run out of yarn when they’re 80% done with a queen-size afghan.
I always make my gauge swatch larger for blanket projects – at least 6 inches square – because the repetitive nature means small errors compound quickly. For a typical worsted weight throw (50″ × 60″), expect to use 2,500-3,500 yards depending on stitch density.
Amigurumi and 3D Projects
Three-dimensional projects are trickier to calculate because surface area doesn’t tell the whole story. The stuffing creates internal volume that affects how the yarn sits.
For amigurumi projects, I recommend finding similar-sized patterns and using their yarn requirements as a starting point. A typical stuffed animal about 8 inches tall usually requires 150-250 yards of worsted weight yarn.
Calculation Shortcut: For quick estimates, remember that worsted weight yarn typically covers about 4-5 square inches per yard when worked in single crochet at standard gauge.
Yarn Substitution Guidelines
Yarn substitution is where many crocheters get tripped up, and honestly, it used to intimidate me too. The key is understanding that yarn weight categories are guidelines, not rigid rules.
When substituting yarns, match the gauge first, then consider fiber content. A cotton yarn might have the same yardage per weight as a wool yarn, but cotton typically has less stretch and might require slightly more yarn to achieve the same coverage.
Fiber Content Considerations
Different fibers behave differently, affecting your yarn calculations:
- Cotton: No stretch, tends to grow with wear. May need 5-10% more yarn than wool patterns suggest.
- Acrylic: Consistent and predictable. Usually matches pattern requirements closely.
- Wool: Has natural elasticity. Patterns designed for wool might use less yarn than cotton substitutions.
- Alpaca: Heavy and drapey. Often requires less yarn by yardage but more by weight.
I learned about fiber differences when I substituted cotton for wool in a baby blanket pattern. The cotton version needed an extra 200 yards to achieve the same coverage because it lacked the wool’s natural loft.
Brand-to-Brand Variations
Even within the same weight category, different brands can vary significantly. Lion Brand Vanna’s Choice and Red Heart Super Saver are both worsted weight acrylics, but they have different yardages per skein and slightly different thicknesses.
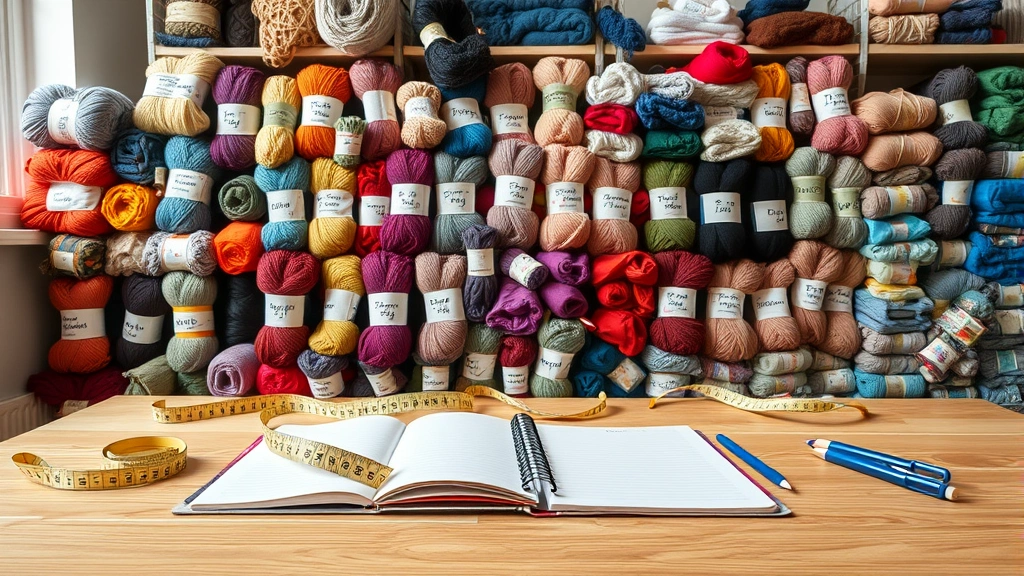
Always check the actual yardage on yarn labels rather than assuming based on skein count. I keep a notebook with yarn specifications for brands I use frequently – it saves time when planning projects.
Troubleshooting Common Calculation Issues
Even with careful planning, yarn calculations can go wrong. Here are the most common issues I see and how to address them.
Running Short vs. Having Too Much
Running short is usually worse than having leftovers, but both scenarios are frustrating. If you’re consistently running short, check these factors:
- Your tension might be looser than average, using more yarn per stitch
- You might be making your stitches taller than the pattern assumes
- The yarn might be thinner than the weight category suggests
If you consistently overestimate, you might be working tighter than average or choosing yarns that are thick for their weight category.
Dye Lot Matching Issues
This is why I always buy slightly more yarn than calculated. Dye lots can vary noticeably, and running out mid-project often means settling for a close-but-not-perfect match.
When working on large projects, I buy all my yarn at once and check that all skeins are from the same dye lot. For projects spanning multiple shopping trips, I keep detailed records of brand, color name, and dye lot numbers.
Pattern Modifications
Changing a pattern affects yarn requirements in ways that aren’t always obvious. Making a blanket longer is straightforward – you need proportionally more yarn. But changing from single crochet to half double crochet affects both gauge and yarn consumption per stitch.
When modifying patterns significantly, treat it as a new design project and calculate yarn requirements from scratch rather than trying to adjust the original pattern’s specifications.
Advanced Tips for Experienced Crocheters
Once you’re comfortable with basic calculations, these advanced techniques will make you even more accurate in your yarn planning.
Colorwork Calculations
Multi-color projects require separate calculations for each color. The dominant color (usually the background) typically uses 60-70% of the total yarn, with accent colors making up the remainder.
For tapestry crochet projects, carry both colors throughout, which increases total yarn consumption by about 15-20%. The unused color creates a double-thick fabric that affects both yarn needs and finished dimensions.
Stitch Pattern Impact
Different stitch patterns use dramatically different amounts of yarn. Here’s what I’ve found through years of swatching:
| Stitch Type | Yarn Usage vs. SC | Coverage Factor |
|---|---|---|
| Single Crochet | Baseline (100%) | Standard |
| Half Double Crochet | 110-120% | More open |
| Double Crochet | 130-150% | Much more open |
| Shell Patterns | 140-180% | Very open |
| Cable Patterns | 150-200% | Dense, textured |
When designing your own patterns or significantly modifying existing ones, always make test swatches in your chosen stitch pattern. The difference between a simple single crochet fabric and a complex cable pattern can double your yarn requirements.
Seasonal and Care Considerations
Think about how your finished project will be used and cared for. Items that will be washed frequently might need extra yarn allowance for potential shrinkage. Summer tops in cotton might stretch with wear, affecting the final dimensions.
I once made a summer cardigan in cotton that grew two inches in length after the first wash. Now I always pre-wash cotton yarns or account for growth in my initial calculations.
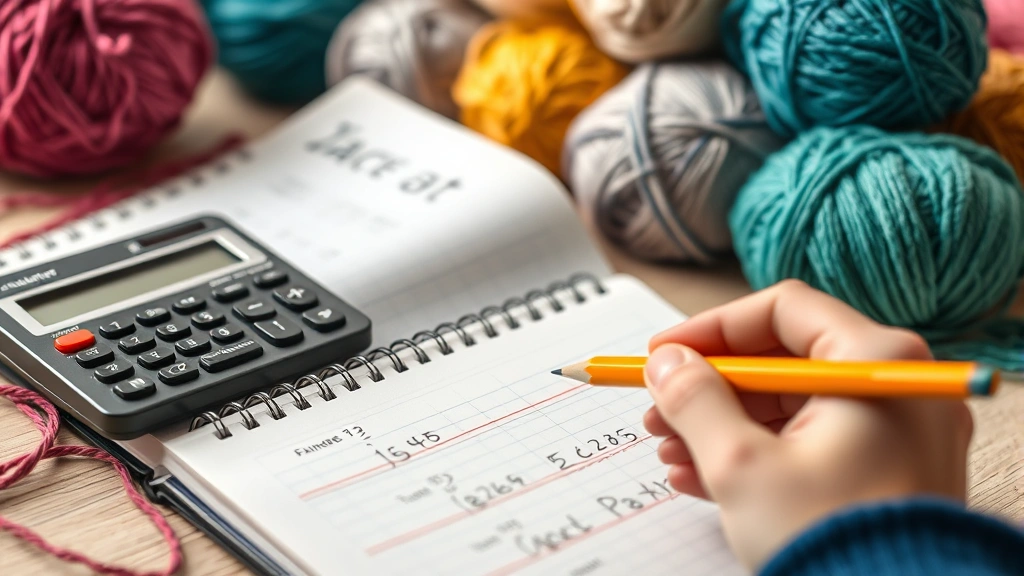
Advanced Planning: Keep detailed project notes including actual yarn used vs. calculated amounts. Over time, you’ll identify your personal patterns and adjust your calculations accordingly.
Common Questions
How much extra yarn should I buy as a safety buffer?
I recommend 15-20% extra for most projects. For complex patterns or if you’re a beginner, go with 25%. This accounts for gauge variations, mistakes that need ripping out, and the reality that most of us crochet slightly differently than pattern designers. For large projects like afghans, even 10% extra can mean several hundred yards.
Can I use online yarn calculators instead of doing the math myself?
Online calculators are helpful starting points, but they can’t account for your specific gauge, yarn choice, or crochet style. Use them for rough estimates, then refine with your own gauge swatch. I’ve found calculators are most accurate for basic rectangular projects in standard yarn weights.
What if I can’t find the exact yarn weight specified in a pattern?
Focus on matching gauge rather than exact yarn weight. Make a swatch with your chosen yarn and adjust hook size until you match the pattern’s stitch and row gauge. You might need slightly more or less yarn than originally specified, but the finished size will be correct.
How do I calculate yarn for projects worked in rounds versus rows?
The calculation method is the same – you’re still measuring total fabric area and multiplying by yarn per square inch. However, projects worked in rounds often have less waste from turning chains, so you might use 5-10% less yarn than equivalent projects worked in rows.
Should I account for yarn lost to weaving in ends?
Yes, especially for projects with many color changes or separate motifs. I typically add 6 inches of yarn per end to weave in. A granny square blanket with 100 squares might need an extra 50 yards just for finishing work.
How do I adjust calculations when changing from the pattern’s recommended hook size?
Changing hook sizes affects both gauge and yarn consumption. A larger hook creates looser stitches that use more yarn per stitch but cover more area. Make a new gauge swatch with your chosen hook size and recalculate from there. Don’t try to estimate – the differences can be significant.
What’s the best way to track yarn usage during a long project?
Weigh your yarn before starting and periodically during the project. Digital kitchen scales work perfectly for this. Record your progress and remaining yarn weight to predict if you’ll have enough. This method is especially useful for gradient yarns or when you’re concerned about running short.
How do I calculate yarn for modifications like adding sleeves to a vest pattern?
Treat additions as separate mini-projects. Calculate the area of the sleeves based on arm measurements and desired fit, then use your established gauge to determine yarn needs. For sleeves, I typically estimate 150-250 yards each in worsted weight, depending on length and circumference.
Wrapping Up Your Yarn Calculations
Learning to calculate yarn yardage accurately is one of those skills that transforms your crochet experience. No more panic buying at craft stores, no more projects sitting unfinished because you ran out of yarn, and no more overflowing stash of “just in case” skeins.
Start with simple projects and basic calculations, then work your way up to more complex estimations. Keep notes on your projects – what you calculated versus what you actually used – and you’ll quickly develop an intuition for yarn requirements that serves you well.
Remember, these calculations are guidelines, not gospel. Your tension, yarn choice, and even your mood can affect how much yarn you use. That’s why the buffer percentage exists, and why making gauge swatches is so important.
The confidence that comes from knowing you have exactly the right amount of yarn for your project is worth the extra planning time. Plus, your budget will thank you when you stop buying yarn “just to be safe.” Happy crocheting!