Crochet Blanket Patterns: Creating Cozy Masterpieces
There’s something genuinely magical about wrapping yourself in a blanket you’ve made with your own two hands. I’m not just talking about the warmth—though that’s definitely part of it—but that deep satisfaction of knowing every stitch, every color choice, and every late-night crafting session went into something you’ll actually use and love. Whether you’re a total beginner or you’ve been crocheting for years, blanket projects are some of the most rewarding things you can tackle.
I’ve worked with hundreds of crocheters over the years, and blankets consistently come up as the project that made someone fall in love with the craft. Maybe it’s because you can see real progress week by week, or maybe it’s because there’s something primal about creating something that keeps you warm. Whatever it is, I’m here to walk you through everything you need to know to create a blanket you’ll genuinely treasure.
Understanding Different Blanket Pattern Types
Okay, let’s start with the big picture. When you’re browsing through crochet blanket patterns, you’re basically looking at a few main categories, and knowing the difference between them will save you so much time and frustration.
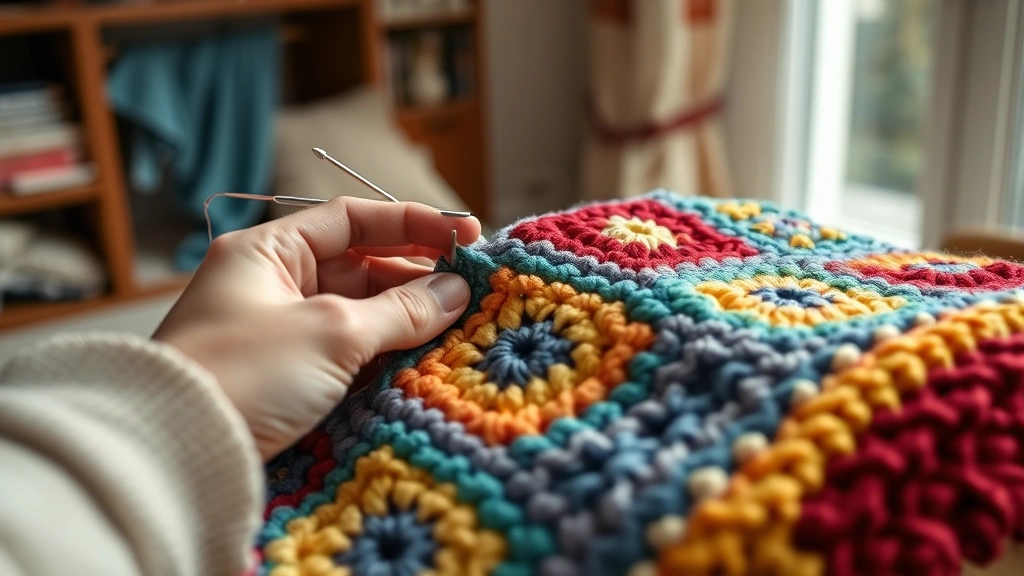
Granny Square Blankets are the classics for a reason. You’re making individual squares—usually with that iconic four-cluster-corner design—and then joining them together. The beauty here? You can work on this anywhere. Stuck at the dentist’s office? Waiting for your coffee? You’ve got a portable project. Plus, if you mess up one square, you only have to rip back that one square, not the whole blanket. I’ve seen people start with granny squares and fall so hard for the modular approach that they make dozens of blankets this way.
Blankets worked in rows (sometimes called rectangular or afghan patterns) are worked from one end to the other in long, continuous rows. These are straightforward and great if you like the meditative rhythm of consistent work. The trade-off is that if you need to fix something deep in the blanket, you might need to rip back quite a bit.
Blankets worked in rounds start from the center and spiral outward. Think of those gorgeous concentric square or circular designs. These are stunning but require a bit more attention to shaping and increases as you go.
Then there’s the essential stitches approach, where you’re combining different stitch techniques—maybe alternating between single crochet rows and shell stitch sections—to create visual interest and texture.
Choosing Your Yarn and Materials
Here’s where things get real: yarn choice will absolutely make or break your blanket experience. And I’m not saying that to be dramatic—I’m saying it because I’ve watched people struggle through projects with yarn that just wasn’t right for what they were trying to do.
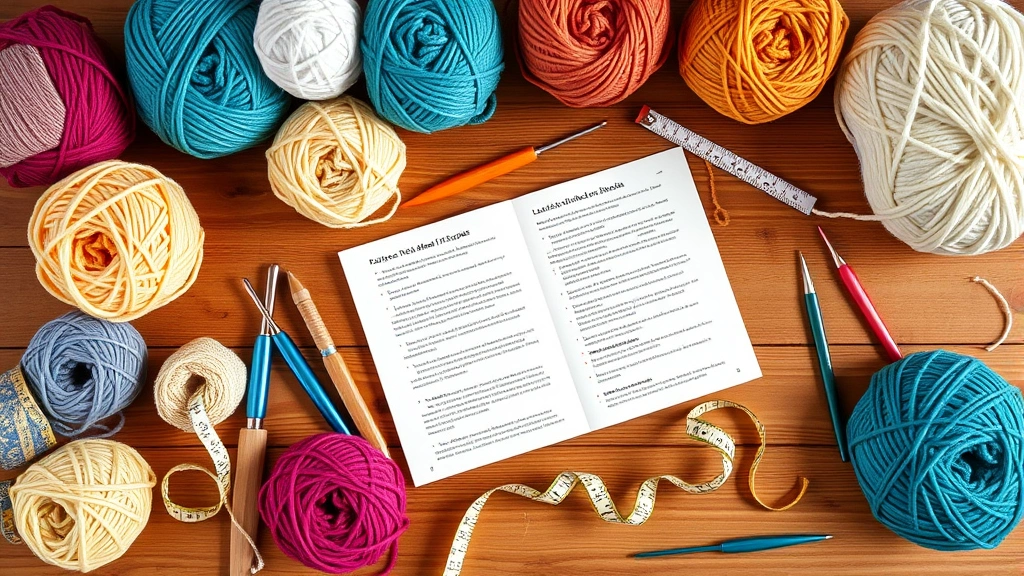
First, let’s talk about weight. Most blankets work beautifully with worsted weight (also called medium or #4 weight) yarn. It’s got enough substance to create nice drape without being so chunky that your arms get tired, and it’s readily available everywhere. If you’re making a lighter summer throw, sport weight or DK weight will give you something airier. Baby blankets? Fingering weight creates delicate, beautiful work but requires patience—you’re making a lot more stitches for the same yardage.
Fiber content matters more than people realize. Acrylic yarn is affordable, durable, and machine-washable—perfect if this blanket’s going on a couch that gets actual use. Cotton or cotton blends are breathable and great for summer blankets, though they can be less forgiving if you need to rip out and restart. Wool is warm and elastic (which helps if your tension isn’t perfect), but it’s pricier and requires more careful washing. Blends often give you the best of multiple worlds—maybe a wool-acrylic blend that’s warm, durable, and easier on the budget.
Think about who this blanket is for and where it’ll live. Is your toddler going to be wiping their nose on it? Acrylic. Is it going on a guest bed in a climate-controlled bedroom? You’ve got more options. Is someone allergic to wool? That narrows things down too.
For yardage, most blankets range from 1,500 to 3,500 yards depending on size and stitch density. Read the pattern requirements carefully—and honestly, buy a bit extra if your budget allows. Dye lots matter, and running short near the end is heartbreaking.
Essential Stitches for Blanket Success
You don’t need to know a million stitches to make beautiful blankets. In fact, some of the most stunning blankets are made with just three or four basic techniques.
Single Crochet (SC) is the foundation. It’s tight, dense, and creates a sturdy fabric. Use it when you want structure and durability. The downside? It takes forever for large projects because each stitch is so small. I usually save single crochet for edges, borders, or smaller blankets.
Double Crochet (DC) is your workhorse. Taller than single crochet, it works up faster and creates a nice drape. Most blanket patterns rely heavily on double crochet because it’s the sweet spot between speed and structure.
Half Double Crochet (HDC) sits right between single and double crochet. It’s got a bit more drape than single crochet but works up faster. If a pattern feels too dense, switching from SC to HDC can completely change the feel.
Treble Crochet (TR) and taller stitches create lacy, open fabric. These are gorgeous for summer blankets or if you want that feathery, delicate look. Fair warning though—they can be floppy if you’re not careful with your tension and construction.
Shell stitches (multiple stitches worked into one stitch) create beautiful scalloped edges and texture. A simple shell is usually three double crochets in one stitch, and it creates instant visual interest.
V-stitches (DC, chain 1, DC in the same stitch) are my secret weapon for adding visual texture without complicated techniques. They’re simple but look impressive.
The trick is combining these thoughtfully. Maybe you’re doing rows of double crochet with a shell stitch border. Or alternating between single crochet and treble crochet to create stripes of texture. When you understand how each stitch behaves, you can make intentional choices instead of just following instructions blindly.
Step-by-Step Pattern Construction
Let’s walk through actually making a blanket from start to finish. I’m going to use a simple rectangular blanket as an example, but these principles apply to almost any pattern.
Step 1: Gather Everything
Before you cast on a single stitch, get your yarn, hook, scissors, yarn needle, and pattern all in one place. Check your yarn for knots or damage. If you’re using multiple skeins, plan where you’ll join them so the joins aren’t all in obvious places. I usually try to hide yarn joins along edges or in areas where color changes happen naturally.
Step 2: Make Your Foundation Chain
This is where precision matters. If your foundation chain is wonky, your whole blanket will be wonky. Count carefully. Some people use a slightly larger hook for the foundation chain because it’s easier to work into, then switch to their regular hook for the first row. That’s totally valid.
Pro tip: Mark the end of your foundation chain somehow—a stitch marker, a safety pin, anything—so you know which end is which. Trust me, after you’ve been working for a while, it’s easy to lose track.
Step 3: Work Your First Row
This row sets the tone for everything that follows. Work into the back bump of the foundation chain (or wherever your pattern specifies). Keep your tension consistent. If you’re naturally a tight crocheter, you might need to consciously loosen up. If you’re loose, focus on keeping even tension.
Count your stitches at the end. Seriously. I know it seems tedious, but catching a missed stitch now beats ripping back twenty rows later.
Step 4: Establish Your Pattern Repeat
Most blanket patterns have a repeating sequence. Maybe it’s “double crochet, chain one, skip one stitch, double crochet.” Once you understand the repeat, you can work almost on autopilot. I usually work the first few rows slowly, really paying attention to the pattern. Once I’m confident I’ve got it, I speed up.
Step 5: Check Your Gauge
After a few inches, measure your work. Does it match the pattern’s gauge specifications? Gauge is usually given as something like “18 stitches and 10 rows in 4 inches.” If your gauge is off, your finished blanket size will be off too. If you’re getting more stitches per inch than the pattern calls for, you might need to go up a hook size. Fewer stitches? Go down a size.
Step 6: Get Into Your Rhythm
This is where blanket-making becomes meditative. You’ve got your pattern down, your gauge is right, and now you’re just… making stitches. Row after row. Some people like to set goals—”I’ll work one row every morning with coffee.” Others marathon crochet on weekends. Find what works for your life.
Step 7: Watch for Common Issues
As you work, keep an eye out for things that commonly go wrong. Are your edges staying straight, or are you accidentally increasing or decreasing? Are you maintaining consistent tension? Is your blanket starting to curl or wave? These things are fixable, but easier to catch early.
Step 8: Plan Your Ending
The last few rows are crucial. Some patterns have you work to a certain size and then bind off. Others have you work a specific number of rows. Know what “done” looks like before you get there.
Managing Your Project Size and Gauge
One of the most common questions I get is “How do I know if my blanket will be the right size?” and honestly, it comes down to understanding gauge and doing some basic math.
Gauge is literally how many stitches and rows you get per inch with a given yarn and hook size. If a pattern says “18 stitches = 4 inches,” that means if you chain 18 stitches and measure across, you should get 4 inches. Test this before you start your actual blanket. Make a small swatch, measure it, and adjust your hook size if needed.
Once you know your gauge, you can figure out your finished size. If your pattern calls for a 200-stitch foundation chain and your gauge is 18 stitches = 4 inches, your blanket will be about 44 inches wide (200 ÷ 18 × 4). Same math applies to length—count your rows and apply your row gauge.
Here’s the thing though: blankets aren’t like fitted sweaters where size has to be exact. A blanket that’s 48 inches instead of 50 inches? No one will notice. A blanket that’s 48 inches instead of 60 inches? That’s a different story. So build in some flexibility. If you want a throw blanket and you’re aiming for roughly 50×60 inches, you’ve got some wiggle room.
If you’re working a granny square blanket, this gets easier. You know each square is, say, 4 inches. If you want a 48-inch blanket, you need 12 squares across. If you want 60 inches, you need 15. Simple multiplication instead of gauge calculations.
Finishing Techniques That Make a Difference
The finishing is where good blankets become great blankets. I know it’s tempting to just bind off and call it done, but taking time with your finishing will make you love your blanket more.
Blocking is optional but genuinely transformative. Wet blocking (pinning your blanket to shape on a blocking board while damp) evens out stitches and can fix minor tension issues. Spray blocking (misting with water and pinning) works for lighter blankets. Even just steaming can help. Your blanket will look noticeably more polished.
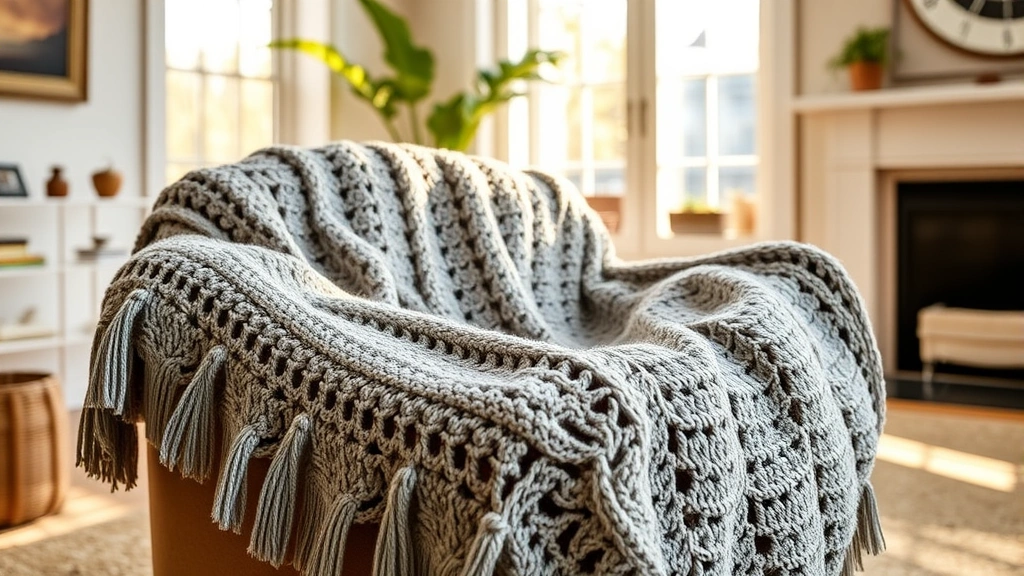
Borders frame your blanket and add polish. A simple single crochet border in a contrasting color can make a huge difference. Some people do multiple-round borders with different stitches. If your blanket edges are uneven, a border can actually help hide that and give you a clean finish.
Weaving in ends matters more than you’d think. Use a yarn needle and weave each end through several stitches on the back side of your work. Don’t just knot and trim—those knots will eventually work loose. Take your time here. Your future self (the one using the blanket) will appreciate not finding yarn ends poking out.
Washing and caring for your finished blanket depends on fiber content. Check the yarn label. Most acrylic blankets can go in the washing machine on gentle cycle. Wool needs more care. Cotton is usually pretty hardy. Wash before gifting or before using regularly—this sets the yarn and helps everything relax into its final shape.
When you’re done with all of this, you’ve got an actual heirloom-quality blanket. Something someone will use for years, something that’ll get softer and more loved with time. That’s the goal, right?
Finding Inspiration and Patterns
If you’re looking for specific blanket designs, Ravelry is basically the library of Alexandria for crochet patterns. You can filter by difficulty level, yarn weight, size, and stitch type. Yarnspirations (owned by Caron) has free patterns and excellent video tutorials if you’re a visual learner. Craftsy offers classes from experienced instructors if you want to level up your skills.
For yarn sourcing, brands like Lion Brand and Caron have excellent websites where you can order yarn and often find free patterns specifically for their products. Local yarn shops are also incredible resources—the people working there usually have strong opinions about which yarns work best for blankets and can guide you toward options that fit your budget and vision.
Joining Communities and Getting Support
One thing that makes blanket projects easier is having people to talk to about them. Join a local crochet circle if one exists, or find online communities. The Crochet Guild of America (CGOA) has local chapters and resources. Reddit’s r/crochet community is surprisingly supportive and helpful. Facebook groups dedicated to specific yarn brands or blanket projects can be goldmines for troubleshooting and inspiration.
There’s something about showing someone a photo of your work-in-progress and getting genuine excitement back that makes you want to keep going, especially when you hit that inevitable moment where you’re tired of working on the same blanket.
FAQ
How long does it take to crochet a blanket?
It depends on the size, yarn weight, and stitch complexity, but most blankets take anywhere from 20 to 100+ hours. A smaller throw in worsted weight might take 30-40 hours. A large granny square blanket could be 60+ hours. Some people work on blankets for months; others marathon them over a few weeks. There’s no “right” timeline—it’s about enjoying the process.
Can I change colors in the middle of a blanket pattern?
Absolutely. Stripes are the easiest—just switch yarn at the beginning of a row. For more complex color work, you might need to carry yarn along the edges or use the essential stitches technique of crocheting over yarn. Changing colors adds visual interest and can actually make a long project feel less monotonous.
What do I do if I make a mistake several rows back?
You’ve got options. If it’s a small mistake that won’t affect structure, you might just leave it—honestly, no one will notice but you. If it bothers you or affects the pattern, you can rip back to that point. Put your hook in the stitch below the one you want to remove, pull the working yarn, and unravel. It’s not fun, but it’s fixable. Some people use a smaller hook or crochet hook to pick up dropped stitches more easily.
Should I block my blanket?
If you’ve got the time and patience, yes. It really does make a difference in how polished your blanket looks. At minimum, give it a gentle wash and let it dry flat. If blocking feels overwhelming, don’t skip the blanket entirely—just know that blocking would make it even better.
How do I join granny squares without it looking messy?
There are several methods. The whip stitch (using a yarn needle to sew squares together) creates an invisible seam if done carefully. Single crochet joining creates a visible but neat seam. Some people use slip stitch, though that can pucker. Practice on a couple of squares to find the method that feels most natural to you. YouTube tutorials for each method are super helpful for visualizing the technique.
Can I make a blanket if I only know basic stitches?
One hundred percent yes. Single crochet, double crochet, and chain stitch are literally all you need for countless beautiful blankets. Don’t let pattern complexity intimidate you. Start with something simple, and as you gain confidence, you can explore more complex stitches and techniques.