I’ll never forget the first time I tried to crochet a blanket. I was so excited about the pattern, picked out gorgeous yarn, and dove right in. Three rows later, I had this wonky triangle that looked nothing like the neat rectangle in the photo. Sound familiar? Yeah, that was my introduction to the world of gauge and why it matters so much more than most beginners realize.
Here’s the thing about crochet gauge – it’s not just some suggestion pattern designers throw in to make their instructions longer. It’s literally the difference between a baby blanket that actually fits a baby and one that could double as a tent. I’ve seen too many crocheters get frustrated and give up on beautiful projects simply because they skipped this crucial step.
Gauge affects everything: how much yarn you’ll need, whether your finished project will be the right size, if your stitches will look even and professional, and honestly, whether you’ll be happy with what you’ve made. I’ve learned this the hard way through countless frogged projects and way too many trips to the yarn store for “just a little more” yarn.
Quick Answer
Crochet gauge is the number of stitches and rows per inch in your work, determined by your yarn, hook size, and tension. Always make a gauge swatch before starting any project to ensure proper fit and yarn calculations.
What Is Crochet Gauge?
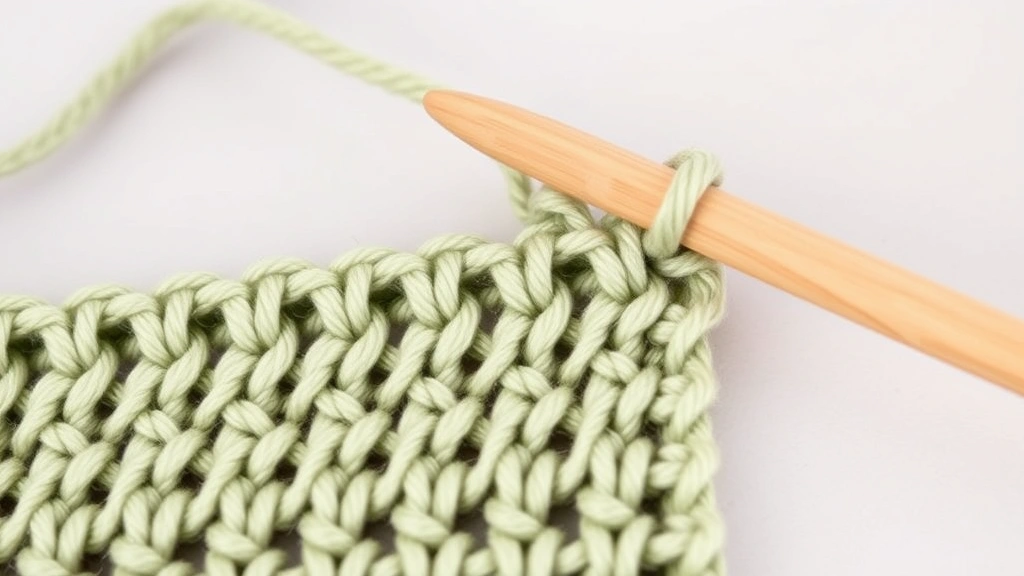
Crochet gauge is simply how many stitches and rows you get per inch (or per 4 inches, which is more common) when working with specific yarn and hook combinations. Think of it as your crochet fingerprint – it’s unique to how you hold your yarn, your tension, and your technique.
When you see “Gauge: 16 sc and 18 rows = 4 inches with size H hook” in a pattern, that’s the designer telling you exactly what their stitches looked like when they created the original project. If your gauge matches theirs, your finished piece will be the same size as what they designed.
Gauge is influenced by three main factors: your yarn weight, your hook size, and your personal tension. Even if you use the exact same materials as someone else, your gauge might be completely different because of how tightly or loosely you work your stitches.
Understanding Gauge Measurements
Most patterns give gauge measurements over 4 inches because it’s easier to measure accurately than trying to count stitches in a single inch. You’ll typically see it written as “X stitches and Y rows = 4 inches” or sometimes as “X stitches per inch.”
The stitch count (horizontal measurement) is usually more critical than the row count (vertical measurement) for most projects, but both matter for things like sweater patterns where length is crucial.
Here’s something I wish someone had told me early on: gauge can vary even within the same project. Your tension might change as you get more comfortable with the stitch pattern, so check your gauge periodically, especially on larger projects.
Why Gauge Actually Matters
Let me paint you a picture. You’re making a baby blanket that should measure 30×36 inches. The pattern calls for 18 stitches per 4 inches, but your gauge is 20 stitches per 4 inches. Instead of a cozy 30-inch width, you’ll end up with a 27-inch blanket. That might not sound like much, but it’s the difference between a blanket that works and one that’s too small.
For garments, the stakes are even higher. A sweater that’s supposed to fit a size medium could easily become a size small or large depending on your gauge. I once made a cardigan that was supposed to be oversized and cozy – it ended up so tight I could barely get my arms through the sleeves.
Yarn Usage and Budget Impact
Gauge also determines how much yarn you’ll actually need. If your stitches are tighter than the pattern suggests, you’ll use more yarn per square inch. Looser stitches mean you might have yarn left over. This becomes expensive when you’re working with premium yarns or large projects.
I always buy an extra skein when working with luxury yarns, especially if my gauge swatch suggests I might need more than the pattern calls for. Running out of yarn halfway through a project is heartbreaking, especially if you can’t find the same dye lot.
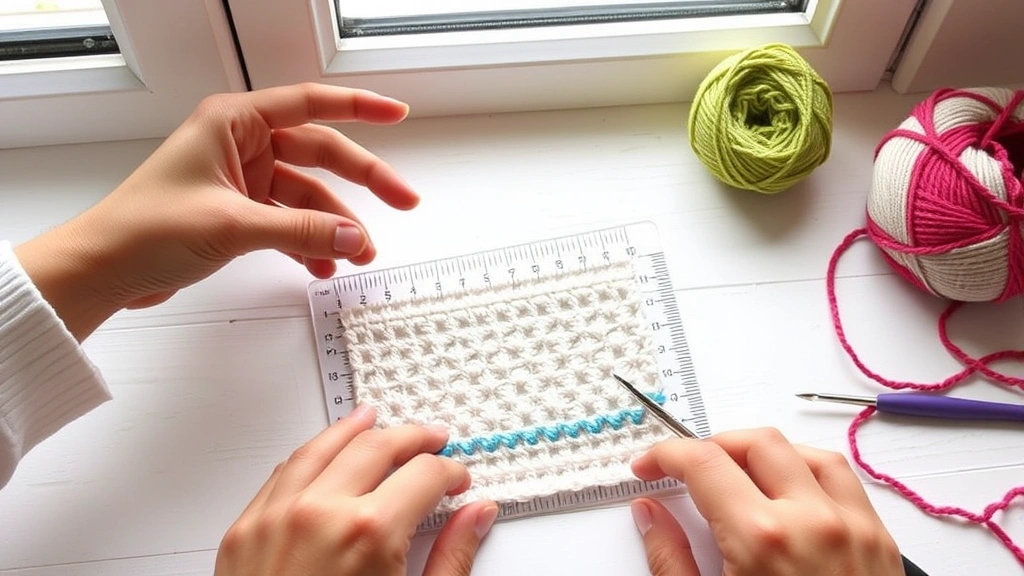
How to Measure Your Gauge
Measuring gauge accurately is a skill that takes a bit of practice, but once you get the hang of it, it becomes second nature. You’ll need a ruler or gauge tool, good lighting, and a flat surface.
Start by laying your swatch on a flat surface without stretching it. Place your ruler horizontally across the stitches and count how many complete stitches fit within 4 inches. Don’t include partial stitches – only count the ones that are completely within your measurement area.
For row gauge, turn your ruler vertically and count the rows within 4 inches. This can be trickier to see, especially with certain stitch patterns, so take your time and use good lighting.
Tools That Make Measuring Easier
A gauge ruler or blocking mats with grid lines can make measuring much more accurate. I love my Craft Yarn Council gauge tool – it has a 2-inch window that makes counting stitches super easy.
Some crocheters prefer to measure over 2 inches and then double the count, which can be more accurate for fine yarns where stitches are tiny. Whatever method you choose, be consistent throughout your project.
| Yarn Weight | Typical Gauge Range | Common Hook Sizes |
|---|---|---|
| Fingering (1) | 24-32 stitches per 4″ | B-E (2.25-3.5mm) |
| Sport (2) | 20-24 stitches per 4″ | E-G (3.5-4.5mm) |
| DK (3) | 16-20 stitches per 4″ | G-I (4.5-5.5mm) |
| Worsted (4) | 14-18 stitches per 4″ | I-K (5.5-6.5mm) |
| Bulky (5) | 12-15 stitches per 4″ | K-M (6.5-9mm) |
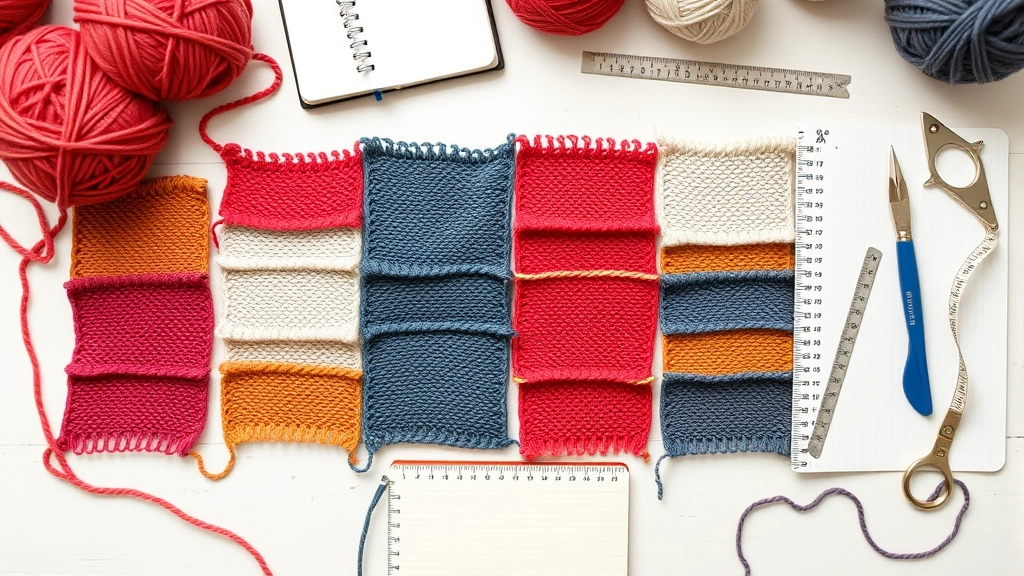
Making the Perfect Gauge Swatch
Here’s where a lot of crocheters go wrong – they make tiny swatches that don’t give accurate readings. Your swatch should be at least 6×6 inches, preferably larger. I know it feels like you’re wasting time and yarn, but trust me, it’s worth it.
Start with a foundation chain that’s about 6-8 stitches wider than what you think you’ll need. Work in the exact stitch pattern specified in your pattern – if it’s single crochet, do single crochet. If it’s a complex lace pattern, work that pattern. The stitch type makes a huge difference in gauge.
Work until your swatch is at least 6 inches tall, then fasten off. Don’t measure immediately – let it relax for a few hours or even overnight. Yarn has memory, and fresh stitches can be misleading.
Blocking Your Swatch
For projects that will be blocked (like lace shawls or doilies), you need to block your swatch the same way you’ll block the finished piece. This can dramatically change your measurements, especially with natural fibers that bloom when wet.
Pin your swatch to blocking mats, spray it lightly with water, and let it dry completely before measuring. Some yarns can grow significantly during blocking, while others barely change at all.
I learned this lesson the hard way with a wool shawl that grew about 20% after blocking. My gauge swatch was spot-on before blocking but told a completely different story afterward.
Adjusting Your Gauge
So your gauge doesn’t match the pattern – now what? The most straightforward fix is changing your hook size. If you’re getting too many stitches per inch (your work is too small), go up a hook size. If you’re getting too few stitches (your work is too big), go down a hook size.
Generally, changing hook sizes by one letter or 0.5mm will adjust your gauge by about 1-2 stitches per 4 inches, but this varies depending on your yarn and tension. Make a new swatch with your adjusted hook size and measure again.
Sometimes you’ll need to make multiple swatches to get it right. I once made five different swatches for a sweater pattern because I was right between two hook sizes and needed to find the perfect middle ground.
When Hook Size Changes Aren’t Enough
If changing hooks isn’t getting you close enough, you might need to adjust your tension. This is harder to control consciously, but it’s possible with practice. Try holding your yarn a bit differently or adjusting how you wrap it around your fingers.
Some crocheters naturally work very tightly or very loosely, and no amount of hook size changing will get them to standard gauge. In these cases, you might need to choose patterns specifically designed for your natural tension or learn to adjust pattern sizes mathematically.
Common Gauge Problems
One of the most frustrating gauge issues is when your stitch gauge is perfect but your row gauge is off. This happens more often than you’d think, especially with double crochet stitches where height can vary significantly between crocheters.
If your rows are too short, try making your stitches a bit taller by pulling up your loops slightly higher. If they’re too tall, work them a bit shorter. This takes practice, but it’s definitely doable with patience.
Another common problem is gauge changing as you work. Your first few rows might be tighter as you’re getting into the rhythm, then loosen up as you get comfortable. Always measure your gauge from the middle of your swatch, not the edges.
Yarn Substitution Gauge Issues
Substituting yarns can throw your gauge completely off, even when using yarns of the same weight category. Different fiber contents, plies, and manufacturing methods all affect how yarn behaves under your hook.
When substituting yarn, always make a new gauge swatch. I’ve seen crocheters assume that all worsted weight yarns will give the same gauge, only to end up with projects that are completely the wrong size.
Cotton yarns tend to be less stretchy than wool, acrylic can vary wildly between brands, and alpaca blends often drape differently than pure wool. Each requires its own gauge check.
Gauge Tips for Different Projects
Different types of projects have different gauge priorities. For amigurumi, you typically want a tighter gauge than the yarn label suggests to prevent stuffing from showing through. I usually go down a hook size or two from what the yarn manufacturer recommends.
For garments, both stitch and row gauge are crucial. A sweater that’s the right width but the wrong length is just as unwearable as one that’s completely the wrong size. Pay special attention to armhole depth and sleeve length when checking your gauge.
Blankets and afghans are more forgiving with row gauge – if your rows are a bit off, you can just work more or fewer rows to reach your desired length. But stitch gauge still matters for width and yarn calculations.
Lace and Openwork Projects
Lace patterns can be tricky because the openwork can make measuring difficult. Focus on the solid stitch areas when measuring, and remember that blocking will likely change your gauge significantly.
Some lace patterns are meant to be worked quite loosely to show off the stitch definition, while others need tighter tension to maintain their shape. Follow the pattern’s guidance, but don’t be afraid to adjust if your fabric doesn’t look right.
For lace projects, I always make my swatch larger than usual – at least one full pattern repeat plus borders. This gives me a better sense of how the overall fabric will behave.
Common Questions
How big should my gauge swatch be?
Make your swatch at least 6×6 inches, preferably larger. Smaller swatches don’t give accurate readings because edge stitches can be tighter or looser than the main body of work. I typically aim for 8×8 inches when working with new yarn or unfamiliar patterns.
Do I really need to make a swatch for every project?
For fitted garments, blankets, and any project where size matters, absolutely yes. For simple scarves or dishcloths where exact size isn’t critical, you can sometimes skip it. But honestly, it’s such a good habit that I recommend doing it for everything until it becomes second nature.
My gauge is perfect horizontally but off vertically. What should I do?
This is super common, especially with taller stitches like double crochet. Try adjusting the height of your stitches by pulling your working loop slightly higher or lower. You can also adjust your turning chain height – sometimes one extra chain or one fewer can fix row gauge issues.
Can I use a different yarn than what the pattern calls for?
Yes, but you must make a new gauge swatch with your substitute yarn. Even yarns of the same weight can behave very differently. Check yarn manufacturer websites for suggested hook sizes as a starting point, but always verify with your own swatch.
How much extra yarn should I buy if my gauge is different?
If your gauge is tighter than the pattern (more stitches per inch), buy 10-20% more yarn. If it’s looser, you might need slightly less, but I still recommend buying the full amount listed – it’s better to have extra than run short, especially with hand-dyed or discontinued yarns.
Should I wash my gauge swatch?
If you plan to wash your finished project, yes! Some yarns change dramatically after washing – cotton can shrink, wool can bloom, and acrylic can become softer and drapier. Wash and dry your swatch exactly how you’ll care for the finished piece, then remeasure.
What if I can’t get gauge no matter what I try?
Sometimes you need to accept that a particular pattern isn’t meant for your natural tension. Look for patterns designed for your gauge, or learn to resize patterns mathematically. There are also online calculators that can help you adjust stitch counts for different gauges.
How often should I check gauge during a project?
Check every few inches, especially on large projects like blankets or sweaters. Your tension can change as you get tired, switch yarn balls, or take breaks from the project. I like to measure width periodically to make sure I’m staying on track.
Getting comfortable with gauge takes time and practice, but it’s honestly one of the most valuable skills you can develop as a crocheter. Yes, making swatches feels tedious when you’re excited to start a new project, but I promise it’s worth it when your finished piece fits perfectly and looks exactly like you imagined.
Start incorporating gauge swatches into your routine gradually if it feels overwhelming. Begin with projects where fit really matters, then work your way up to making them for everything. Your future self will thank you when you’re not frogging projects or trying to figure out why nothing ever turns out the right size.
Remember, every experienced crocheter has stories about gauge disasters – it’s part of the learning process. The key is learning from those mistakes and developing good habits that prevent them in the future. Happy crocheting, and may all your projects turn out exactly the size you intended!