You know that feeling when you’re halfway through a gorgeous blanket project and suddenly realize your edges are wonky, your tension’s all over the place, and you’re pretty sure you miscounted somewhere around row 47? Yeah, we’ve all been there. The thing is, most crochet problems aren’t actually that mysterious once you know what to look for.
I’ve been crocheting for over fifteen years, and I can tell you that the same handful of issues trip up almost everyone at some point. The good news? Most of these problems have surprisingly simple fixes. You don’t need to rip out weeks of work or throw your project in the corner (though I won’t judge if you’ve done that – we all have).
What I’ve learned is that understanding why these problems happen is just as important as knowing how to fix them. When you can spot the warning signs early, you’ll save yourself hours of frustration and probably a few choice words muttered under your breath.
Quick Answer
The most common crochet problems include uneven edges, tension issues, dropped stitches, and counting mistakes. Most can be prevented with proper stitch markers, consistent hook grip, and regular counting, while fixes range from simple adjustments to strategic blocking.
Tension and Gauge Issues
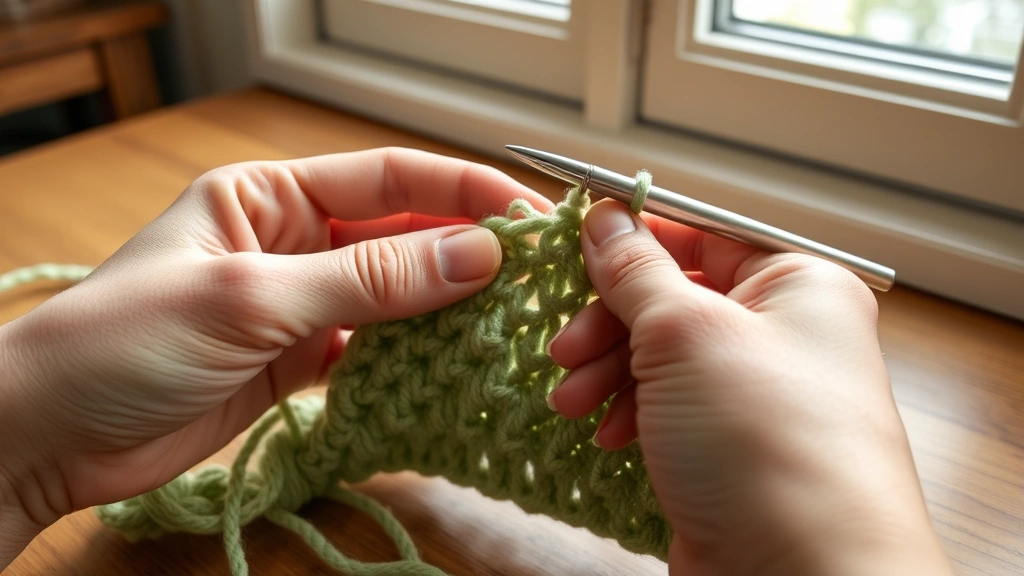
Let’s start with the big one – tension problems. This is probably the most frustrating issue because it affects everything else about your project. Your stitches might be too tight, making your fabric stiff and your hook hard to insert. Or they’re too loose, creating a floppy mess that won’t hold its shape.
Tight tension usually comes from gripping your hook too firmly or wrapping the yarn around your fingers too many times. I see this a lot with beginners who are concentrating so hard they forget to breathe (literally). Try relaxing your shoulders and loosening your grip on the hook. Your hand shouldn’t be cramping after ten minutes of crocheting.
For loose tension, you might need to adjust how you hold your yarn. The yarn should have some resistance as it flows through your fingers, but not so much that you’re fighting it. I like to wrap the yarn around my pinky, then over my index finger. Experiment with different holds until you find what feels natural.
Pro tip: Your gauge can change throughout a project as you get tired or stressed. Take breaks and check your work regularly, especially on larger projects like blankets.
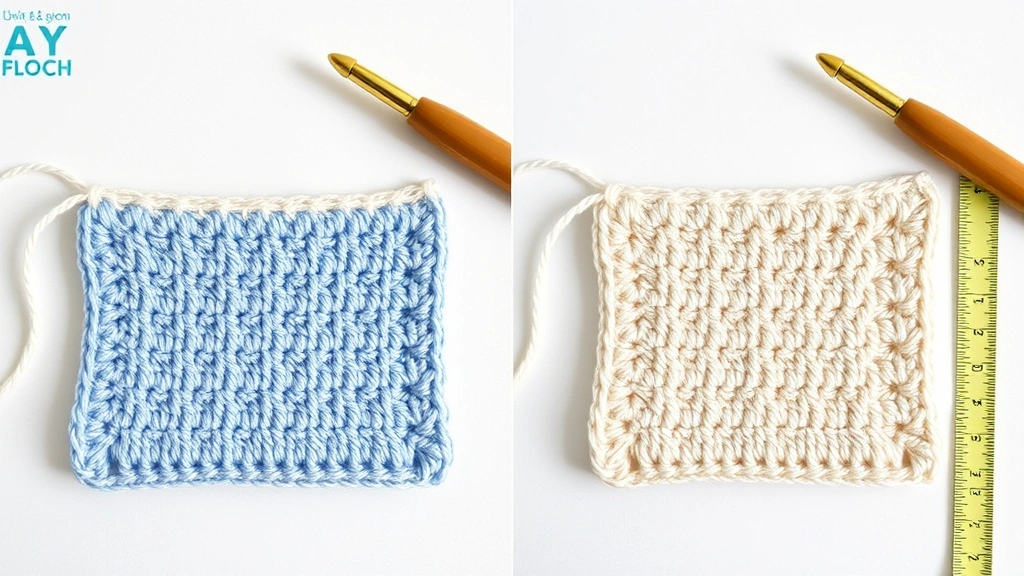
Gauge swatches aren’t just suggestions – they’re your best friend for avoiding size disasters. I know they seem boring, but spending twenty minutes on a swatch can save you from making a baby blanket that’s actually queen-sized. Use the same yarn and hook you’ll use for your project, and measure after blocking if the pattern calls for it.
Quick Tension Fixes
If you notice tension problems mid-project, don’t panic. For slightly tight sections, gentle blocking can often even things out. For loose areas, you might be able to tighten them up with strategic decreases or by switching to a smaller hook for a few rows.
Uneven Edges and Curling
Wonky edges are the bane of every crocheter’s existence. You start with perfectly straight edges, and somehow by row 20, your rectangle looks more like a trapezoid. The culprit is usually inconsistent stitch placement or miscounting.
The most common mistake is not working into the correct stitch at the beginning and end of each row. That first stitch can be tricky to see, especially in single crochet projects. I always mark my first and last stitches of each row with removable stitch markers. It takes an extra few seconds but saves so much frustration later.
Curling happens when there’s a mismatch between your foundation chain and your first row of stitches. If your chain is too tight, the whole piece will curl up like a scroll. The fix is usually to use a larger hook for your foundation chain or add a few extra chains for ease.
| Problem | Likely Cause | Quick Fix |
|---|---|---|
| Edges getting wider | Adding stitches accidentally | Count stitches each row, use markers |
| Edges getting narrower | Missing end stitches | Mark first and last stitches |
| Bottom edge curling | Foundation chain too tight | Use larger hook for chain |
| Sides curling in | Tension too tight | Relax grip, block when finished |
For projects that are already curling, blocking is your best friend. Wet blocking works wonders for natural fibers, while steam blocking can help with acrylics. Sometimes a good soak and careful pinning is all you need to transform a curled mess into a perfectly flat piece.
Dropped and Twisted Stitches
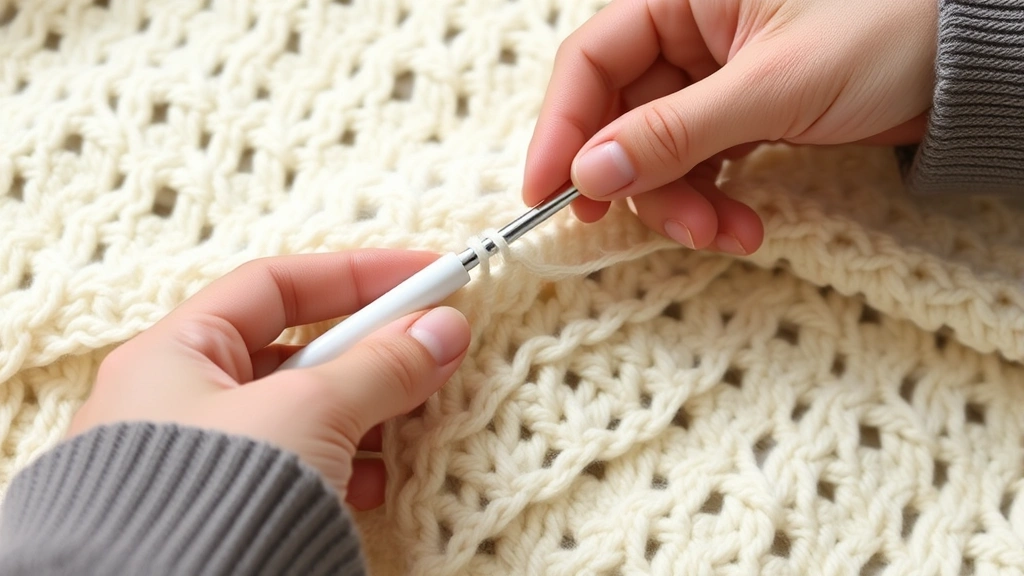
Dropped stitches are like losing a sock in the dryer – somehow they just disappear when you’re not looking. The key is catching them early before they create a ladder running down your work. I’ve learned to do a quick visual scan of my previous row before starting a new one.
When you do find a dropped stitch, don’t try to just hook it back up randomly. You need to work it back up through each row it dropped through, maintaining the correct stitch pattern. A crochet hook one size smaller than your working hook makes this easier.
Twisted stitches are sneakier because they don’t create obvious holes, but they can make your fabric look wonky and affect the drape. This usually happens when you’re working into the wrong part of the stitch. For most stitches, you should be going under both loops at the top of the stitch from the previous row.
Some patterns intentionally call for working in the front loop only or back loop only, which creates different textures. Make sure you’re reading the pattern correctly and not accidentally creating these effects when you don’t want them.
Counting and Pattern Problems
Pattern reading is where a lot of crocheters hit a wall. Abbreviations can be confusing, especially when different designers use different conventions. I keep a bookmark with common abbreviations saved on my phone for quick reference.
Stitch counting is crucial, but it gets harder as your projects get bigger. For large projects like afghans, I use a row counter app on my phone and place stitch markers every 10 or 20 stitches to make counting easier.
Repeat sections can be tricky. When a pattern says “repeat from * to * 3 more times,” that means you’ll work the section a total of 4 times (the original plus 3 repeats). I’ve seen so many projects go wrong because of this misunderstanding.
Pattern Reading Tips
- Read through the entire pattern before starting
- Highlight or circle size-specific instructions
- Make note of any unusual abbreviations
- Check the skill level and make sure it matches your experience
- Look for errata or corrections on the designer’s website
If you’re working on amigurumi projects, keeping track of rounds becomes even more important since you’re working in a continuous spiral. A locking stitch marker in your first stitch of each round is essential.
Yarn Splitting and Tangling
Yarn splitting is incredibly frustrating, especially when you’re in a good rhythm. This usually happens with loosely plied yarns or when your hook has a rough spot that catches the fibers. Sometimes switching to a hook with a smoother finish helps, or try a different yarn brand if splitting is a constant problem.
When your yarn does split, don’t just push through and hope it won’t show. Take the time to back out the stitch and fix it properly. A split stitch will always be visible in the finished project, especially in smooth stitches like double crochet.
Yarn tangling is usually a storage issue. I learned this the hard way after spending an hour untangling a beautiful skein of alpaca yarn. Center-pull balls are great, but once you get down to the center, things can get messy. Yarn bowls or bags with holes for the yarn to feed through can prevent a lot of tangles.
Keep a tapestry needle handy for fixing split stitches. You can often weave the split ends back into the yarn to hide them without having to redo the entire stitch.
For projects using multiple colors, like colorwork blankets, yarn management becomes even more important. Small yarn bobbins or even clothespins can help keep different colors organized and prevent tangling.
Blocking and Finishing Problems
Blocking can make or break a project, but it’s often overlooked or done incorrectly. Different fibers need different approaches. Cotton and wool can handle wet blocking, but acrylic yarns might need steam blocking or just a gentle wash and lay flat to dry.
The biggest blocking mistake I see is not using enough pins or not measuring as you go. Your piece should be pinned out to the correct dimensions, not just stretched randomly. For lace projects, this is especially critical since blocking opens up the stitch patterns and shows off all your hard work.
Seaming is another area where things can go wrong. Mattress stitch works well for most seaming, but the key is keeping consistent tension and making sure your pieces are aligned properly. I always pin pieces together before seaming to prevent shifting.
Weaving in ends properly is crucial for project longevity. Don’t just make a few quick stitches and call it done. Weave ends through several stitches in different directions, and trim close to the fabric. For slippery yarns, a tiny dot of fabric glue can provide extra security.
Project-Specific Challenges
Different types of projects come with their own unique challenges. Hat patterns can be tricky because getting the crown shaping right is crucial for proper fit. Too much increasing and your hat will be floppy; too little and it won’t fit over your head.
Garment construction adds complexity with sizing, shaping, and fit issues. Always check the finished measurements in the pattern, not just the size designation. Designers’ ideas of “medium” can vary significantly. When in doubt, go with the size that matches your bust or chest measurement most closely.
Amigurumi projects have their own set of challenges, mainly around maintaining consistent tension and proper stuffing. Overstuffing can distort your stitches and create gaps, while understuffing results in a floppy, sad-looking creation. The Craft Yarn Council has great guidelines for making safe toys.
Common Project Fixes
For blankets that turn out too small, adding a border can save the day. A few rounds of single crochet border or a decorative stitch pattern can add the inches you need while looking intentional.
Sweaters that don’t fit quite right can sometimes be fixed with strategic blocking or by adding length to sleeves or body. For major fit issues, it’s often better to start over with a different size.
Common Questions
Why do my edges keep getting wider even though I’m counting stitches?
You’re likely accidentally working increases at the edges. This often happens when you work into the turning chain space and the last stitch of the previous row. Use stitch markers to clearly mark your first and last stitches, and make sure you’re following the pattern’s instructions for turning chains.
How can I fix uneven tension throughout my project?
Gentle blocking can help even out minor tension variations. For future projects, take breaks when you feel stressed or tired, as this affects your tension. Consider using a tension ring if you struggle with consistent yarn control.
What’s the best way to fix a mistake several rows back?
For small mistakes like a missed stitch, you can often drop down to the error, fix it, and work back up. For larger errors or pattern mistakes, it’s usually better to rip back to the mistake. Use a lifeline (a piece of contrasting thread woven through a correct row) to make ripping back safer.
Why does my granny square curl up at the corners?
This usually indicates too few stitches in the corner spaces. Each corner should have 3 double crochets, chain 2, and 3 more double crochets. If you’re working into the chain space instead of around it, you might not have enough room for all the stitches.
How do I prevent my yarn from splitting constantly?
Try a hook with a smoother finish, like bamboo or a coated aluminum hook. Some yarns are just prone to splitting – loosely plied cottons and some novelty yarns are notorious for this. Working more slowly and being gentler with your hook insertion can help.
When should I use blocking, and when is it not necessary?
Block whenever you want to improve the drape, open up lace patterns, or even out tension issues. Items like dishcloths or pot holders might not need blocking, but garments, blankets, and decorative items almost always benefit from it. When in doubt, make a small swatch and see how blocking affects it.
How can I tell if my gauge is off without making a full swatch?
Work about 20 stitches and 10 rows in your pattern stitch, then measure. If you’re significantly off (more than half an inch in 4 inches), change hook sizes. Remember that gauge can change as you get more comfortable with a pattern, so check periodically throughout your project.
What’s the best way to keep track of rows in a large project?
Use a row counter app, make tick marks on paper, or use a physical row counter that attaches to your project. For very large projects, I photograph my work at regular intervals and note the row count. This also helps you spot mistakes early.
Moving Forward with Confidence
The truth about crochet problems is that they’re all part of the learning process. Every experienced crocheter has a collection of stories about projects gone wrong, mistakes that turned into happy accidents, and techniques learned the hard way. What separates confident crocheters from frustrated beginners isn’t the absence of problems – it’s knowing how to handle them when they come up.
Start building your problem-solving toolkit now. Keep stitch markers handy, learn to read your work so you can spot mistakes early, and don’t be afraid to rip back when necessary. A few hours of fixing now can save you from weeks of disappointment later. Most importantly, remember that every mistake is teaching you something valuable about the craft. Before you know it, you’ll be the one helping other crocheters troubleshoot their projects, sharing the wisdom you’ve gained from your own journey through the wonderful, sometimes frustrating, always rewarding world of crochet.