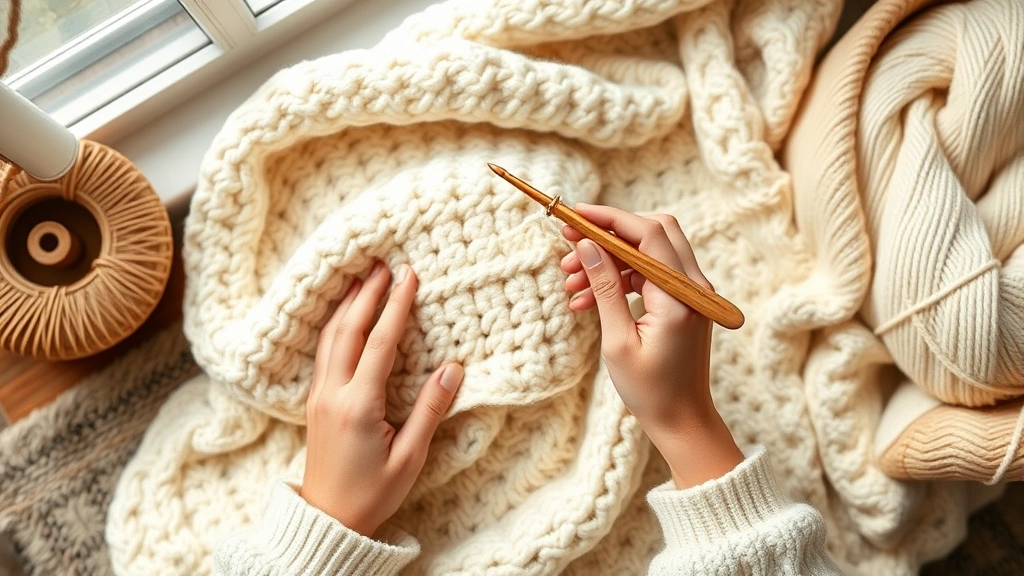
I still remember the first time I tried to make a crochet blanket. I was so excited about the idea of snuggling under something I’d made myself, but about three rows in, I realized I had no clue what I was doing. The stitches were uneven, my edges looked like a drunk person had drawn them, and don’t even get me started on the tension issues. If you’ve ever felt overwhelmed by the thought of making a blanket, trust me – I’ve been there.
Here’s what I wish someone had told me from the start: blanket making isn’t about perfection, it’s about understanding the basics and building from there. Once you know which yarn works best for your project and master a few key techniques, you’ll be amazed at how quickly things come together. I’ve made dozens of blankets now, from tiny baby afghans to massive king-size throws, and each one taught me something new.
The beauty of crochet blankets is their versatility. You can make them as simple or complex as you want, use up your stash yarn, or splurge on something luxurious. Whether you’re drawn to classic granny squares or prefer working in continuous rows, there’s a blanket style that’ll suit your skill level and patience. Plus, they make incredible gifts that people actually use and treasure.
Quick Answer
Start with worsted weight acrylic yarn and a size H (5mm) hook for your first blanket. Choose a simple stitch pattern like single crochet or half double crochet, and aim for a baby blanket size (30×36 inches) to build confidence before tackling larger projects.
Choosing the Right Yarn for Your Blanket
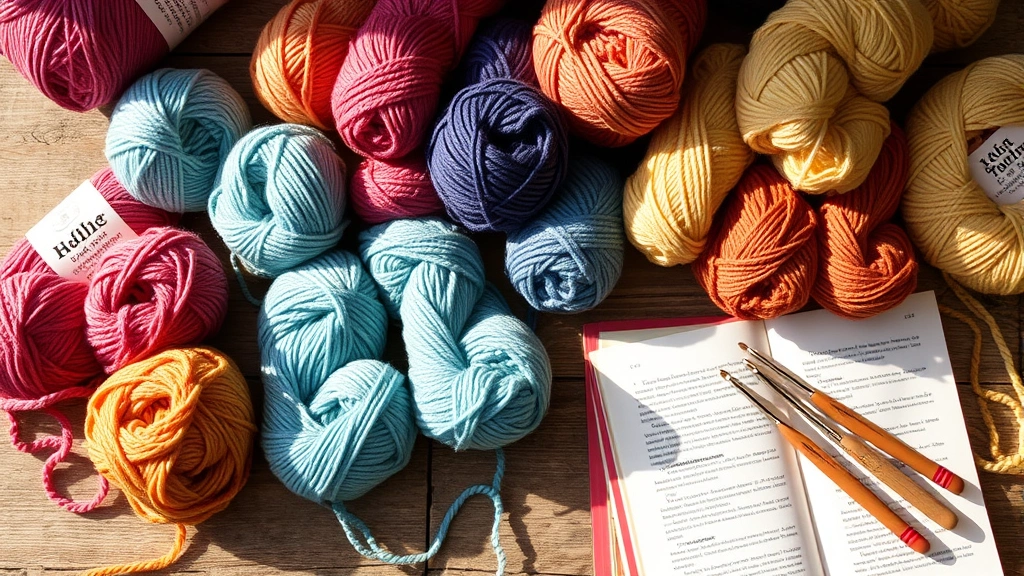
Let’s talk yarn – because this decision will make or break your blanket experience. I learned this the hard way when I made my first blanket with a scratchy wool blend that nobody wanted to touch, let alone snuggle under. Now I always consider who’ll be using the blanket and how it’ll be cared for.
For beginners, I always recommend starting with worsted weight (size 4) acrylic yarn. Lion Brand Pound of Love or Red Heart Super Saver are fantastic choices because they’re affordable, machine washable, and come in tons of colors. You’ll need about 1,200-1,500 yards for a baby blanket, 2,500-3,000 yards for a throw, and up to 4,500 yards for a full-size blanket.
| Yarn Weight | Best For | Hook Size | Pros | Cons |
|---|---|---|---|---|
| DK (3) | Baby blankets | 4.5mm (G) | Soft, detailed stitches | Takes longer |
| Worsted (4) | All-purpose | 5mm (H) | Quick progress, widely available | Can be bulky |
| Chunky (5) | Quick throws | 6.5mm (K) | Very fast, cozy | Limited stitch definition |
If you’re making a blanket for someone with sensitive skin, consider cotton or cotton blends. Bernat Handicrafter Cotton is my go-to for summer throws – it’s breathable and gets softer with every wash. For luxury blankets, I love working with wool blends, but save those for when you’re confident in your skills since they’re pricier and often require hand washing.
Pro Tip: Buy all your yarn at once, even if it means ordering online. Dye lots can vary significantly, and nothing’s more frustrating than running out of yarn halfway through and not being able to match the color exactly.
Hook Selection and Why It Matters
Your hook choice affects everything from your stitching speed to the final drape of your blanket. I used to think any hook would do, but switching to the right hook for each project was a game-changer. The Craft Yarn Council provides excellent guidelines, but here’s what actually works in practice.
For worsted weight yarn, start with a size H (5mm) hook. This creates a nice, even fabric that’s not too tight or too loose. If your stitches are looking cramped or your hands are getting tired, size up to an I (5.5mm). If your blanket feels floppy or you can see through it, size down to a G (4mm).
Material matters too. Aluminum hooks are my workhorses – they’re smooth, affordable, and last forever. For longer projects like blankets, consider ergonomic handles. I swear by my Clover Amour hooks for marathon crocheting sessions. The rubber grip saves my hands, and the smooth aluminum shaft keeps my yarn flowing nicely.
Testing Your Gauge
I know gauge swatches seem boring, but hear me out. Make a 4×4 inch square with your chosen yarn and hook. If you’re getting fewer stitches per inch than the pattern calls for, your hook is too big. More stitches per inch means your hook is too small. This 10-minute test can save you hours of frustration later.
Remember: gauge affects yarn consumption too. Loose stitches use more yarn, tight stitches use less. Factor this into your yarn purchasing decisions.
Standard Blanket Sizes and Yarn Requirements
Nothing’s worse than finishing what you thought was a throw blanket only to realize it’s more like a large dishcloth. Let me save you from this particular heartbreak by sharing the standard sizes I use for different blanket types.
Baby blankets typically measure 30×36 inches – perfect for strollers and cribs. You’ll need about 1,200-1,500 yards of worsted weight yarn. I always add an extra 6 inches to each dimension because babies grow fast, and parents appreciate the extra coverage.
Lap blankets or throws are usually 50×60 inches and require 2,500-3,000 yards. This is the sweet spot for most crocheters – big enough to feel substantial but not so large that you lose motivation. Twin bed blankets measure 66×90 inches and need about 3,500-4,000 yards, while full/queen blankets (90×108 inches) can require up to 4,500 yards.
| Blanket Type | Dimensions | Worsted Weight Yarn Needed | Estimated Time |
|---|---|---|---|
| Baby | 30×36 inches | 1,200-1,500 yards | 15-25 hours |
| Lap/Throw | 50×60 inches | 2,500-3,000 yards | 40-60 hours |
| Twin | 66×90 inches | 3,500-4,000 yards | 70-90 hours |
| Full/Queen | 90×108 inches | 4,500+ yards | 100+ hours |
Keep in mind these are estimates. Your actual yarn usage will depend on your tension, stitch choice, and hook size. I always buy 10-20% extra yarn just in case. Better to have leftovers for a matching pillow than to run short near the finish line.
Best Stitches for Blanket Beginners
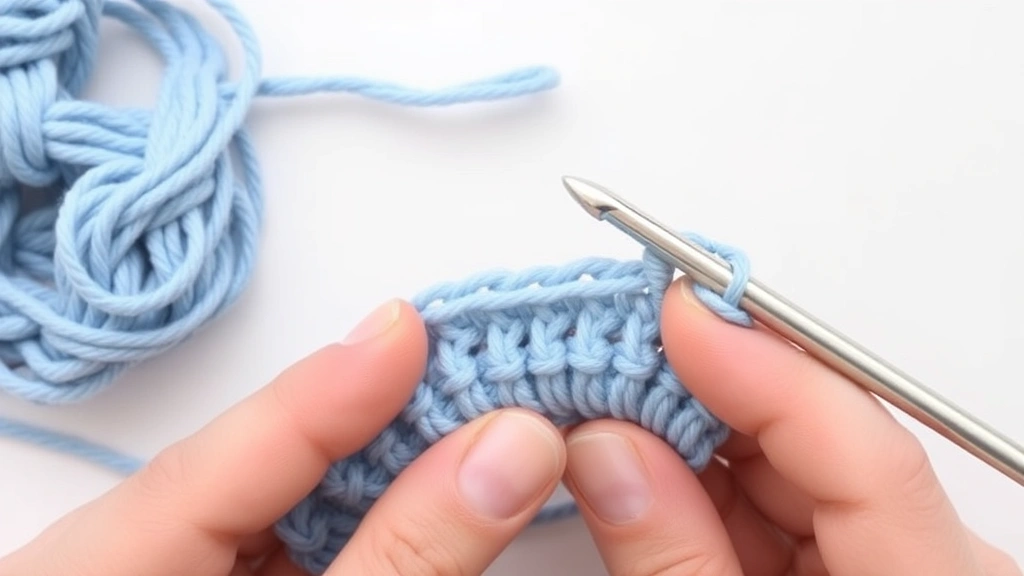
When you’re starting out, resist the urge to jump into complex stitch patterns. I’ve seen too many beautiful blankets abandoned because the crocheter bit off more than they could chew. Master these basic stitches first, and you’ll have the foundation for any blanket you want to make.
Single crochet creates a dense, warm fabric that’s perfect for baby blankets. It uses the most yarn but also provides the most coverage. The rhythm is soothing once you get going: insert hook, yarn over, pull through, yarn over, pull through both loops. Repeat until your fingers do it automatically.
Half double crochet is my personal favorite for throws. It works up faster than single crochet but isn’t as tall as double crochet, giving you a nice balance of speed and stitch definition. The fabric has a lovely drape that’s perfect for snuggling. Learning this stitch will open up so many blanket possibilities.
Stitch Pattern Recommendations
For your first blanket, try alternating rows of single crochet and half double crochet. This creates subtle texture without being complicated. Or work entirely in half double crochet but change colors every few rows for stripes – it looks intentional and hides any slight tension variations.
Once you’re comfortable with basic stitches, shell stitch patterns add beautiful texture without being too difficult. The key is choosing patterns with good multiples – stitches that divide evenly into your blanket width so you don’t have awkward partial repeats at the edges.
Beginner-Friendly Stitch Patterns: Moss stitch (alternating single crochet and chain 1), lemon peel stitch, or simple ripple patterns. Save the complex cables and bobbles for when you’ve got a few blankets under your belt.
Construction Methods: Rows vs. Squares
There are two main ways to construct a crochet blanket: working in continuous rows or making individual squares and joining them. Both have their merits, and your choice depends on your patience level, available time, and personal preference.
Row-by-row construction is what most people think of when they picture making a blanket. You start with a foundation chain and work back and forth, turning at the end of each row. This method is great for beginners because you only need to master a few stitches, and you can see your progress growing steadily. The downside? It can get unwieldy as the blanket gets larger, and if you make a mistake early on, it affects the entire blanket.
Square construction, particularly granny squares, offers more flexibility. You can work on individual squares anywhere – perfect for travel or when you only have short bursts of crafting time. Each square is a complete unit, so mistakes are contained, and you can experiment with different colors easily. The challenge comes in joining all those squares neatly and keeping your edges straight.
Joining Squares Like a Pro
If you choose the square route, your joining method can make or break the final result. I prefer the flat slip stitch join for a nearly invisible seam, but whip stitch is faster if you don’t mind a slightly raised seam. Proper joining techniques ensure your blanket lies flat and looks professional.
For mixed approaches, consider strip construction. Make long strips of different stitch patterns or colors, then join the strips together. This gives you the portability of squares with fewer seams to sew.
Common Mistakes and How to Avoid Them
Let me share the mistakes I see most often (and have definitely made myself) so you can avoid them. The biggest one? Not counting stitches. I know it seems tedious, but trust me on this. Count your stitches at the end of every row for at least the first 10 rows. This establishes your pattern and catches problems early.
Tension issues plague almost every beginner. Your stitches might start loose and gradually get tighter as you get more comfortable, or vice versa. Practice maintaining consistent tension by paying attention to how hard you pull your yarn. Your stitches should slide easily on your hook without being sloppy.
Edge stitches are another common trouble spot. Always work into the very first and very last stitch of each row, even if it seems awkward. Skipping edge stitches creates that curved, wonky look that screams “beginner project.” If you’re unsure where to put your hook, look for the top of the stitch from the previous row.
The Turn Chain Rule: Your turning chain counts as a stitch in double crochet and taller stitches, but not in single crochet or half double crochet. This affects your stitch count and where you place your first stitch of the new row.
Fixing Common Problems
Curling edges usually mean your tension is too tight. Try using a larger hook or consciously loosening your grip on the yarn. Wavy edges indicate loose tension – size down your hook or tighten up slightly.
If your blanket is getting wider or narrower as you work, you’re either adding or losing stitches. This is why counting is so important, especially in the beginning. Don’t be afraid to frog (rip out) a few rows if you catch the problem early. It’s much easier to fix a few rows than to live with a wonky blanket forever.
Finishing Touches That Make a Difference
The difference between a homemade-looking blanket and a professional-looking one often comes down to the finishing. These final steps take a bit of extra time, but they’re what transform your project from “I made this” to “Wow, where did you buy this?”
Blocking is your secret weapon, especially for blankets with stitch patterns or squares that need to lie flat. For acrylic yarns, steam blocking works well – lay your blanket on a clean surface, pin it to the correct dimensions, and hold a steam iron about 6 inches above the surface. Let the steam relax the fibers, then let it cool completely before unpinning.
Borders can elevate even the simplest blanket. A few rounds of single crochet in a contrasting color creates clean, finished edges. For something fancier, try a shell or picot border. The key is choosing a border that complements your blanket’s style without overwhelming it.
Weaving in Ends Properly
Nobody enjoys weaving in ends, but doing it properly means your blanket will last for years. Thread each tail onto a tapestry needle and weave it through several stitches in the same color, changing direction at least once. For extra security, split the yarn and weave the plies in different directions.
For color changes, try the Russian join method – it creates an invisible join that’s stronger than just weaving in ends. This technique is especially useful when working with different yarn weights or when you want absolutely no loose ends.
Pro tip: Weave in your ends as you go rather than saving them all for the end. Your future self will thank you, and you’ll be less tempted to take shortcuts when you’re excited to finish the project.
Common Questions
How much yarn do I need for a throw blanket?
For a standard 50×60 inch throw using worsted weight yarn, you’ll need approximately 2,500-3,000 yards. This varies based on your stitch choice and tension. Dense stitches like single crochet use more yarn, while lacy patterns use less. Always buy 10-20% extra to account for gauge differences and potential mistakes.
What’s the easiest blanket pattern for complete beginners?
Start with a simple single crochet or half double crochet rectangle in one color. Make a foundation chain of 150-180 stitches (for a throw width), then work back and forth in rows until you reach your desired length. This teaches basic techniques without overwhelming you with color changes or complex stitches.
Should I use acrylic or cotton yarn for my first blanket?
Acrylic is better for beginners because it’s forgiving, affordable, and machine washable. Cotton can be less forgiving with tension issues and is typically more expensive. Save cotton for when you’re more confident in your skills, especially for summer throws or baby items where breathability matters.
How do I keep my blanket edges straight?
Count your stitches religiously for the first 10-15 rows to establish your pattern. Always work into the first and last stitch of each row, and make sure your turning chain is the correct height for your stitch. Use stitch markers to mark your first and last stitches if it helps you remember.
Can I change yarn brands in the middle of a project?
You can, but stick to the same yarn weight and fiber content for best results. Different brands may have slightly different thicknesses or textures, which can create visible lines in your work. If you must switch, do it at the beginning of a new row and work a few test stitches to check the appearance.
How long does it take to crochet a blanket?
This depends on size, stitch complexity, and your crocheting speed. A baby blanket might take 15-25 hours, while a full-size blanket could take 100+ hours. Most crocheters work on blankets over several weeks or months, spending 1-3 hours per session. Don’t rush – enjoy the process!
What hook size should I use with worsted weight yarn?
Start with a size H (5mm) hook for worsted weight yarn. This creates good stitch definition without being too tight or too loose. If your stitches feel cramped or your hands get tired, try an I (5.5mm). If your fabric feels too loose or you can see through it, size down to a G (4mm).
Do I need to block my finished blanket?
Blocking isn’t always necessary for simple blankets in basic stitches, but it can improve the appearance significantly. Steam blocking acrylic blankets helps them lie flat and gives a more professional finish. For cotton or wool blankets, wet blocking may be necessary to achieve the correct dimensions and drape.
Making your first crochet blanket is a journey, not a race. Yes, it’ll take longer than you think, and yes, you’ll probably make some mistakes along the way. But there’s something magical about creating something this substantial with just a hook and yarn. Every stitch is a small meditation, every row brings you closer to having something beautiful and functional that you made with your own hands.
Start small if you need to – there’s no shame in making a baby blanket first to build your confidence. Choose yarn you love working with, pick a simple stitch pattern, and remember that even experienced crocheters had to start somewhere. Your first blanket doesn’t have to be perfect; it just has to be yours.
The most important thing is to enjoy the process. Put on your favorite show, make a cup of tea, and settle in for some peaceful crafting time. Before you know it, you’ll have a beautiful blanket and the skills to make many more. Happy crocheting!