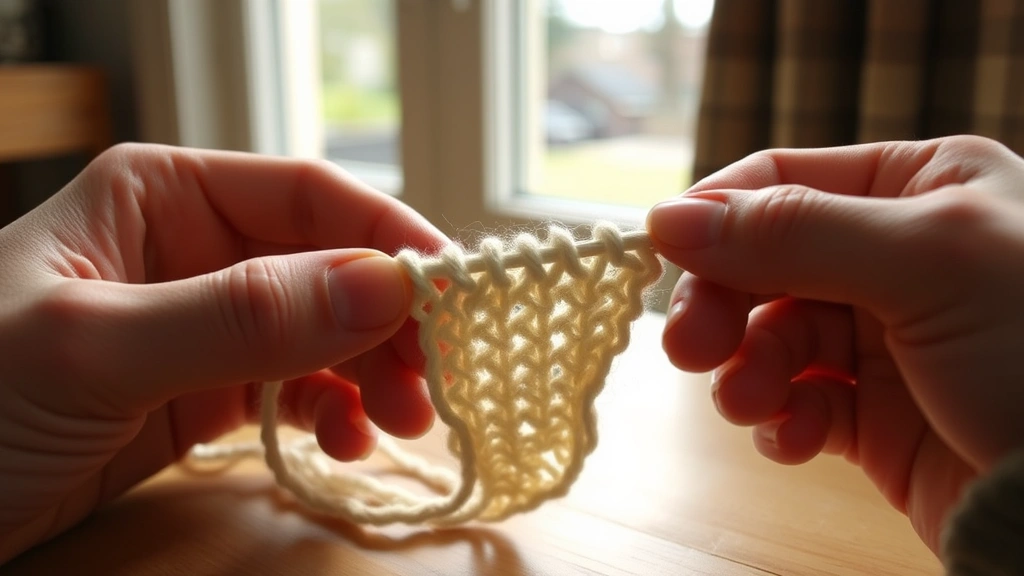
Last week, I was working on a delicate lace shawl when disaster struck—my yarn snapped right in the middle of a complex pattern repeat. After a moment of panic (and maybe a few choice words), I realized this was actually the perfect opportunity to practice invisible joins. You know what? That “disaster” ended up teaching me one of the most valuable skills in my crochet toolkit.
Yarn breaks happen to everyone. Sometimes it’s a manufacturing flaw, sometimes we pull too tight, and sometimes our cats decide to “help” by attacking our work-in-progress. But here’s the thing—a broken yarn doesn’t have to mean starting over or accepting a visible knot in your finished piece.
I’ve been crocheting for over fifteen years, and I wish someone had taught me proper joining techniques from the beginning. Those chunky knots I used to tie? They created lumpy spots that showed through every stitch. The loose ends I thought I’d hidden? They worked their way out after a few washes. Learning to join yarn properly changed everything about my finished projects.
Quick Answer
The best way to join new yarn in crochet depends on your project: use the Russian join for smooth color changes, the magic knot for quick fixes, or work over tail ends for washable items. Never tie regular knots—they create bulk and can come undone.
When You Need to Join Yarn
Understanding when and where to join yarn can make the difference between a professional-looking project and one that screams “homemade.” I’ve learned this the hard way through years of trial and error.
The most obvious time is when your yarn breaks unexpectedly. But there are strategic moments when you should plan your joins. For complex crochet patterns, I always join at the beginning or end of a row when possible. This keeps the join away from the most visible parts of your work.
When working on blanket projects, plan your joins at the edges rather than in the center. For garments, avoid joining at stress points like shoulders or necklines. These areas get more wear and any weakness in the join will show up faster.
Pro tip: If you’re working with a yarn that tends to break (I’m looking at you, bargain acrylic), examine your skein before starting. Look for thin spots or rough areas and plan to cut these out before they cause problems.
For planned color changes, the timing depends on your stitch pattern. In single crochet, change colors on the last yarn over of the previous stitch. For double crochet, change during the final yarn over. This creates the cleanest color transition.
When working in rounds, like with amigurumi projects, join new yarn at the beginning of the round when possible. This keeps the join point consistent and easier to hide in the seaming process.
Preparing for a Clean Join
Before you start any joining technique, proper preparation makes all the difference. I learned this after ruining a beautiful baby blanket with sloppy joins that created visible bumps throughout the fabric.
First, examine both yarn ends carefully. Cut away any frayed or weak sections—you want clean, strong fiber to work with. For the Russian join method, you’ll need about 6 inches of tail on each end. For other methods, 4 inches is usually sufficient.
Consider your yarn type when choosing a joining method. Wool and other animal fibers felt naturally, making the Russian join incredibly strong. Cotton and synthetic yarns don’t felt, so they rely more on mechanical strength from the weaving process.
Check your project’s care instructions too. If you’re making something that will be machine washed frequently, avoid joins that might loosen over time. The magic knot, while quick, isn’t my first choice for children’s items that see heavy washing.
Temperature matters more than you might think. Cold hands make yarn stiffer and harder to work with, while warm hands can make some synthetic yarns too slippery. I keep my hands at a comfortable temperature and work in good lighting to see exactly what I’m doing.
The Russian Join Method
The Russian join is my absolute favorite technique for most projects. It creates an incredibly strong, nearly invisible connection that works beautifully with wool, alpaca, and other animal fibers. I use this method for all my sweater projects because it creates such a clean finish.
Here’s how to do it properly:
- Thread the Needle
Use a large-eye tapestry needle and thread it with the tail end of your old yarn. You’ll need about 6 inches of working length.
- Create the First Loop
Insert the needle back into the old yarn about 3 inches from the end, going with the twist of the yarn. Pull it through, creating a small loop.
- Thread the New Yarn
Take your new yarn and thread it through the loop you just created. Pull about 4 inches through.
- Mirror the Process
Now thread the new yarn tail through your needle and repeat the process, creating a loop in the new yarn and threading the old yarn through it.
- Tighten Carefully
Pull both ends gently to tighten the join. The two loops should slide together, creating one continuous piece of yarn.
The beauty of the Russian join is that it gets stronger with use and washing. The fibers actually felt together over time, creating a bond that’s often stronger than the original yarn.
I’ve tested Russian joins by pulling on them hard enough to break the original yarn, and the join held firm. That’s the kind of reliability I want in my finished projects.
This method works best with yarns that have some texture or “tooth” to them. Smooth yarns like mercerized cotton or silk can slip, so save this technique for wool, alpaca, or textured synthetics.
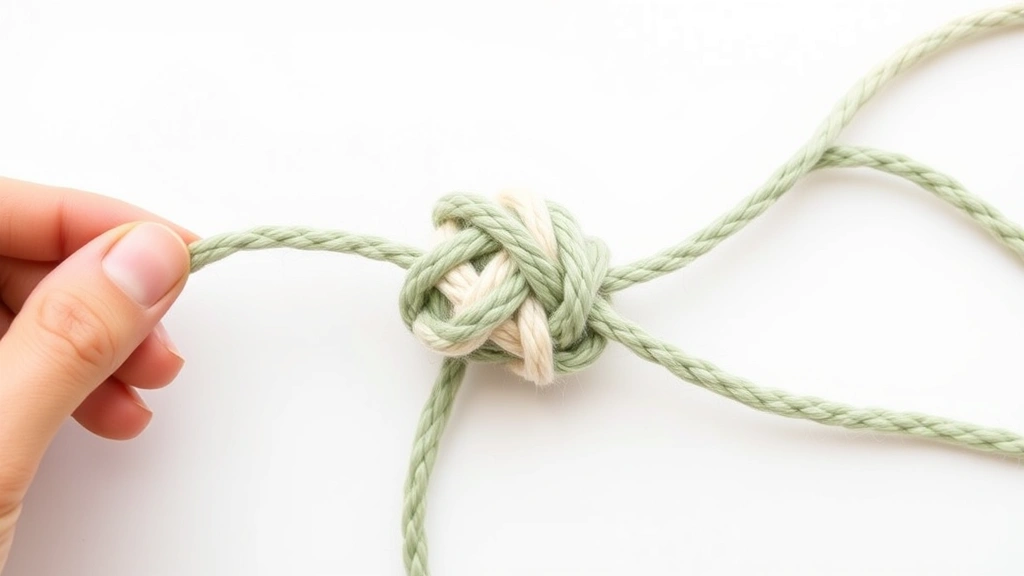
Magic Knot Technique
When I need a quick join that won’t add bulk to my work, the magic knot is my go-to solution. Despite its name, it’s not actually magic—just a clever way of tying two pieces of yarn together so the knot essentially disappears into the fabric.
This technique works particularly well for hat projects and other items where you need a secure join but don’t want visible bulk. I’ve used it successfully on everything from chunky scarves to delicate shawls.
The magic knot process:
- Position the Yarns
Lay your old yarn and new yarn parallel to each other, overlapping by about 6 inches. The ends should point in opposite directions.
- Create Two Simple Knots
Tie a simple overhand knot with the new yarn around the old yarn, positioning it about 3 inches from the old yarn’s end. Then tie another overhand knot with the old yarn around the new yarn.
- Slide and Tighten
Carefully slide the two knots toward each other while pulling on the long ends of both yarns. The knots should meet and lock together.
- Trim Excess
Cut the short tails close to the knots. The finished join should be no thicker than your original yarn.
What makes this “magic” is how the knots lock together and then get pulled into the fabric as you work. After a few stitches, the join becomes virtually invisible.
I don’t recommend the magic knot for baby items or anything that will see heavy washing. While it’s secure for normal use, aggressive washing can sometimes work the knots loose.
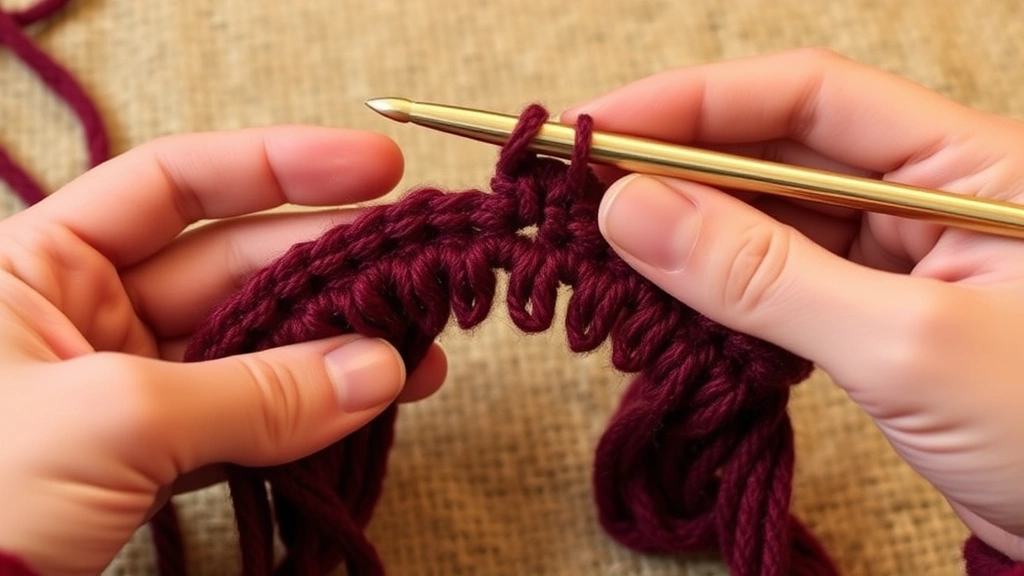
Working Over Tail Ends
Sometimes the simplest approach is the best one. Working over tail ends as you crochet eliminates the need for weaving in ends later and creates a very secure join. This method works especially well for projects with dense stitch patterns where the tails will be completely hidden.
I use this technique constantly when making granny squares or other motifs where I’m changing colors frequently. It saves hours of finishing work and creates joins that are as strong as the original fabric.
The process is straightforward but requires attention to detail:
- Leave Adequate Tails
When your old yarn runs out, leave a 6-inch tail. Start your new yarn with another 6-inch tail.
- Hold Both Tails
Hold both tails along the top of your previous row of stitches, running in the direction you’ll be working.
- Work Over the Tails
As you create your next row of stitches, work over both tails, encasing them completely within the new stitches.
- Check Your Work
After working over the tails for about 2 inches, gently tug on any visible ends to make sure they’re securely trapped.
This method works best with yarns that have some texture. Smooth yarns can slip out over time, especially with washing. For cotton projects, I often combine this with a small dab of fabric glue on the tail ends for extra security.
The key to success with this method is consistent tension. Keep the tails taut as you work over them, but don’t pull so tight that you distort your stitches.
For variegated or self-striping yarns, this method helps maintain the color pattern without interruption. The join becomes part of the natural color flow rather than a visible break.
Joining for Color Changes
Planned color changes require different strategies than emergency joins. The goal is to create clean transitions that enhance your design rather than distract from it. I’ve spent years perfecting these techniques for projects ranging from simple stripes to complex colorwork.
For basic stripe patterns, timing is everything. Complete your last stitch of the old color until you have two loops on your hook, then yarn over with the new color and pull through. This creates a clean line between colors without any bleeding or muddiness.
When working tapestry crochet or carrying multiple colors, I join new colors at the beginning of rows whenever possible. This keeps all the loose ends on one side of the work, making finishing much easier.
| Stitch Type | When to Change | Best Method |
|---|---|---|
| Single Crochet | Last yarn over | Drop old, pick up new |
| Double Crochet | Final yarn over | Russian join preferred |
| Granny Squares | Beginning of round | Work over ends |
| Amigurumi | Start of round | Magic knot for speed |
For gradient effects or subtle color blending, I sometimes hold both yarns together for a few stitches. This creates a natural transition that looks intentional rather than like a mistake or afterthought.
Consider the final use of your project when choosing joining methods for color changes. Items that will be stretched or stressed need stronger joins, while decorative pieces can use quicker methods that prioritize appearance over absolute strength.
Common Problems and Solutions
Even with perfect technique, yarn joining can go wrong. I’ve made every mistake possible over the years, and I want to save you from the same frustrations. Here are the most common problems and how to fix them.
Visible bulk at the join: This usually happens when you leave too much tail or don’t trim close enough. For future joins, use less tail length and trim more aggressively. If the bulk is already there, carefully unpick a few stitches and redo the join with less material.
Joins coming apart: This is often a tension issue. You might be working too loosely, or the yarn type doesn’t hold well with your chosen method. Switch to a more secure technique like the Russian join, or add a tiny drop of fabric glue for insurance.
Color bleeding at joins: When changing colors, make sure you complete the color change at the right point in your stitch. Practice on swatches until the timing becomes automatic.
I keep a “mistake sampler” where I practice fixing common problems. It’s incredibly helpful to work through solutions when there’s no pressure from a real project.
Yarn ends working loose: This happens most often with smooth yarns or items that get heavy use. For these situations, I reinforce joins with a small backstitch using matching thread, or I use the Russian join exclusively since it actually gets stronger over time.
Uneven tension around joins: Take your time with the stitches immediately before and after a join. It’s tempting to rush, but maintaining consistent tension is crucial for professional-looking results.
For projects that will be gifts or see heavy use, I always test my joins by giving them a firm tug before continuing. Better to discover a weak join early than have it fail in the finished piece.
Common Questions
What’s the strongest way to join yarn in crochet?
The Russian join creates the strongest connection for most yarn types, especially animal fibers. It actually gets stronger with use and washing as the fibers felt together. For synthetic yarns, working over tail ends for 2-3 inches provides excellent security.
Can I use regular knots to join yarn?
I strongly advise against regular knots. They create bulk, can come undone with washing, and often work their way to the surface of your fabric. The magic knot is the only knot-based method I recommend, and even then, only for specific situations.
How much yarn should I leave for tails when joining?
For most joining methods, 4-6 inches is sufficient. The Russian join needs about 6 inches on each end, while working over ends can be done with as little as 4 inches. Always err on the side of leaving more—you can trim excess, but you can’t add length.
Should I join yarn in the middle of a row?
Avoid mid-row joins when possible. They’re more visible and harder to hide. Plan your joins for the beginning or end of rows, or at natural pattern breaks. If you must join mid-row due to breakage, use the Russian join for the cleanest result.
How do I join different yarn weights together?
Joining different weights is tricky and usually not recommended for structural integrity. If you must do it (like using up scraps), hold multiple strands of the lighter weight yarn together to match the thickness of the heavier yarn, then use the Russian join method.
What’s the best joining method for baby items?
For baby items that will be washed frequently, I prefer working over tail ends combined with the Russian join. Avoid the magic knot for anything that will see heavy washing. The security of the join is more important than speed for items that need to withstand frequent laundering.
Can I join yarn when working in the round?
Yes, but plan your joins for the beginning of rounds when possible. This keeps the join point consistent and makes it easier to hide in the final finishing. Mark your join points so you can maintain consistent placement throughout your project.
How do I fix a join that’s coming apart?
If you catch it early, you can often reinforce a failing join by working a few small stitches through both yarn pieces with matching thread. For complete failures, you’ll need to unpick back to the join point and redo it with a more secure method.
Learning to join yarn properly transformed my crochet from obviously handmade to professionally finished. These techniques take practice, but they’re worth mastering. Your future self will thank you when you’re admiring a beautiful finished project with no visible joins or loose ends.
Start with simple projects to practice these methods. Once you’ve got them down, you’ll approach every new project with confidence, knowing that running out of yarn or needing to change colors is just another step in the process, not a crisis. Happy crocheting!