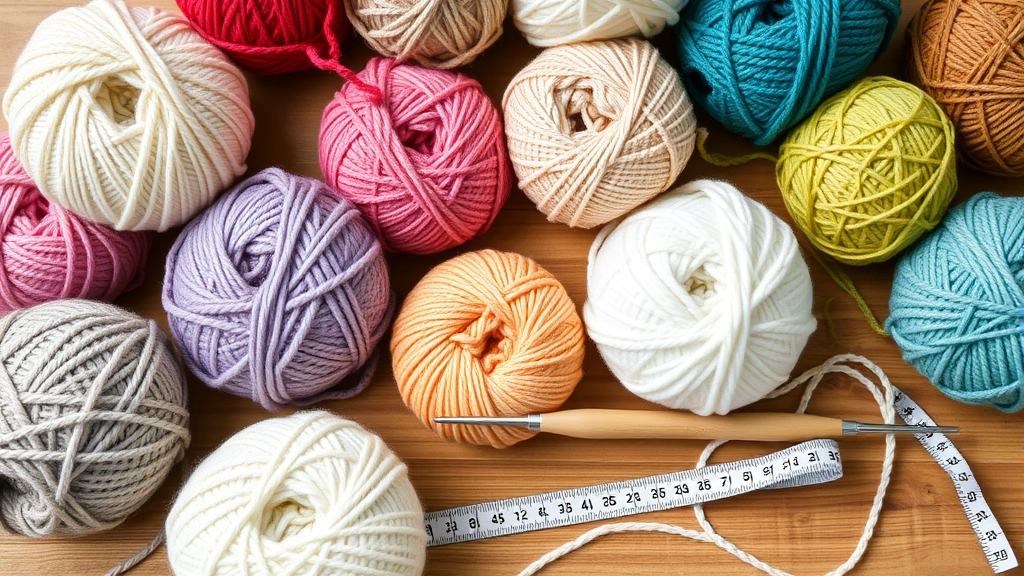
Choosing the Right Crochet Yarn: A Beginner’s Complete Guide
Let me be honest with you—walking into a yarn shop for the first time can feel completely overwhelming. There are literally hundreds of colors, textures, and fiber types staring at you from every shelf, and the labels all have these mysterious numbers and abbreviations that make your head spin. I’ve been there, and I want you to know that feeling confused is totally normal. The good news? Once you understand a few core concepts about yarn selection, you’ll feel like you’ve unlocked a superpower for your crochet projects.
The truth is, picking the right yarn isn’t just about aesthetics—it fundamentally changes how your finished project looks, feels, and holds up over time. A yarn that’s perfect for a cozy winter blanket might be absolutely terrible for a delicate summer top. The same goes for your skill level; what works beautifully for an experienced crocheter might frustrate a beginner. That’s why I’m walking you through everything you need to know, from fiber content to weight classifications, so you can make confident choices that’ll make you actually enjoy your projects.
Understanding Yarn Weight and Thickness
Yarn weight is probably the most important thing to grasp when you’re starting out, and honestly, it’s simpler than it sounds. Yarn weight refers to how thick or thin the yarn is, which directly affects your finished project’s drape, warmth, and how quickly you’ll complete it. The Craft Yarn Council has standardized this into a system ranging from 0 (lace) to 7 (jumbo), but most beginners work with weights 2 through 5.
Lace weight (0) is delicate and thin—think intricate shawls and doilies. It requires patience and a keen eye, so I’d honestly skip this if you’re just starting out. Fingering weight (1) is still quite fine and creates beautiful detail work, but again, it’s more for when you’ve built up some confidence.
Here’s where most beginners find their sweet spot: DK and light worsted (3-4) are absolutely magical when you’re learning. They’re thick enough that you can actually see your stitches clearly, which means you’ll catch mistakes faster and understand your technique better. Plus, projects work up reasonably quickly without feeling rushed. If you want to match yarn to your crochet projects, this is usually where you’ll start.
Worsted and bulky weight (5-6) are fantastic for blankets, scarves, and home goods. They’re forgiving, work up super fast, and honestly, there’s something incredibly satisfying about seeing progress with every row. Many people love working with bulky yarn because the results feel substantial and cozy.
The relationship between yarn weight and hook size is crucial. Thicker yarn needs bigger hooks, and thinner yarn needs smaller hooks. Your yarn label will always recommend a hook size range—follow it as a starting point. If you’re struggling to see your stitches or the fabric feels too tight, you might need to go up a hook size.

Exploring Fiber Content and Natural vs. Synthetic
This is where yarn gets really personal because different fibers have completely different personalities. Understanding fiber content helps you choose yarn that’ll actually make you happy to work with, and I think that matters more than people realize.
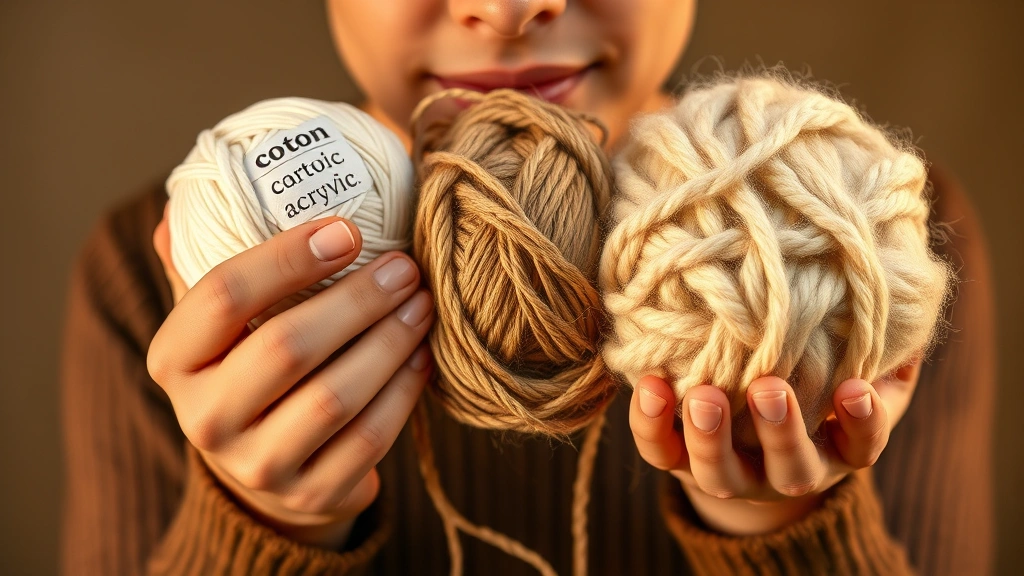
Wool is the classic choice for good reason. It’s warm, elastic (which means it forgives tension inconsistencies), and has a beautiful natural memory that helps stitches hold their shape. Merino wool is softer against the skin than standard wool and feels luxurious. The downside? Wool can be pricey, and some people find it itchy or worry about shrinkage. If you’re making something you’ll actually wear, test how the wool feels against your skin before committing to a whole project.
Cotton is perfect for summer projects, dishcloths, and anything that needs breathability. It’s cooler than wool, naturally hypoallergenic, and holds stitch definition beautifully. The trade-off is that cotton doesn’t have wool’s elasticity, so it’s less forgiving if your tension is inconsistent. It also takes longer to work with because it’s heavier and doesn’t slide quite as smoothly over your hook.
Acrylic gets a bad rap sometimes, but honestly? It’s fantastic for beginners and budget-conscious crafters. It’s affordable, comes in every color imaginable, and it’s low-maintenance—most acrylic is machine washable. The feel isn’t as luxurious as natural fibers, and it doesn’t breathe as well, but for practice projects and gifts for people with sensitive skin, acrylic is genuinely practical. Check out Yarnspirations for tons of free acrylic yarn patterns that are beginner-friendly.
Blends are my personal sweet spot. A wool-acrylic blend gives you the warmth and elasticity of wool with the affordability and easy care of acrylic. Cotton-acrylic blends offer breathability without the weight. Bamboo blends are silky and sustainable. When you’re reading yarn labels like a pro, check the fiber percentage to understand what you’re getting.
One practical tip: if you have a yarn in mind, visit a local yarn shop if you can and actually touch it. Feel it against your skin, wrap it around your wrist, see how it looks in natural light. Online shopping is convenient, but tactile feedback is invaluable when you’re learning what you actually enjoy working with.
Reading Yarn Labels Like a Pro
Yarn labels contain a treasure map of information, and once you know what everything means, you’ll feel so much more confident. Let me break down what you’re actually looking at.
The yardage (or meterage) tells you how much yarn you’re getting in that ball or skein. This is crucial for project planning. A pattern will always specify yardage requirements, so knowing this number helps you figure out if you have enough yarn. Pro tip: always buy a bit more than the pattern calls for—about 10-15% extra—because dye lots vary and you might need to adjust your tension.
The weight category is usually shown as a number (0-7) or words (worsted, bulky, etc.). This is what you match to your pattern and your hook size.
The fiber content percentage tells you exactly what you’re working with. If it says 100% wool, that’s pure wool. If it says 60% acrylic, 40% wool, you’re getting a blend.
The care instructions are shown with those little symbols—a hand in a tub means hand wash, numbers indicate temperature, and X through a symbol means don’t do that thing. This matters a lot if you’re making gifts or things you’ll wear frequently.
The hook size recommendation is your starting point. Most labels give a range (like “Size H/8 (5mm) – I/9 (5.5mm)”). If your tension is loose, go down a hook size; if it’s tight, go up.
The dye lot number is honestly critical and people overlook it constantly. Yarn dyed in different batches can vary in color, sometimes noticeably. If you’re buying multiple balls for one project, try to get them all from the same dye lot. If that’s impossible, alternate the balls every few rows so any color variation blends throughout the project.
Gauge information might also be listed—like “18 stitches and 20 rows = 4 inches in stockinette stitch.” This is a reference for understanding how tightly the yarn works up.
Budget-Friendly Yarn Shopping Strategies
Let’s talk real for a second: yarn can get expensive, and I totally understand if budget is a factor in your choices. Here’s how to shop smart without sacrificing quality.
Buy from discount retailers like Walmart, Target, and craft stores during their sales. Yes, the selection is more limited, but for learning basics, mid-range acrylic is perfect. Sign up for store apps and newsletters—they always have coupons.
Shop online marketplaces like Ravelry, which is basically the social network for fiber artists. You can find user reviews, track projects, and connect with other crocheters. Many independent dyers sell through Ravelry too, and prices are often competitive.
Join local yarn groups or fiber guilds. Seriously. These communities often have yarn swaps, bulk buying groups, and members who share recommendations for where to find deals. The Crochet Guild of America has local chapters and resources for finding community near you.
Buy yarn specifically for practice. When you’re learning new techniques or trying ambitious projects, use affordable yarn. Save the expensive natural fibers for projects you’re confident about. This removes the pressure and actually helps you learn faster because you’re not stressed about messing up.
Calculate cost per yard. A $4 ball with 200 yards is cheaper per yard than a $5 ball with 150 yards. Do the math, especially when comparing brands.
Check out yarn outlet stores if you have any nearby. Discontinued colors and overstock items are sold at huge discounts. You might not get exactly what you want, but you’ll find beautiful yarn at a fraction of the price.
Matching Yarn to Your Crochet Projects
This is where everything comes together. Now that you understand yarn weight, fiber content, and how to read labels, let’s talk about actually choosing yarn for specific projects.
For blankets and afghans, you want something substantial and warm. Worsted to bulky weight (5-6) in wool, wool blends, or acrylic works beautifully. Cotton is lovely if you want breathability. Yardage varies wildly depending on project size, but expect anywhere from 2,000 to 4,000 yards for a full-size blanket. Test your yarn’s drape by crocheting a small swatch—blankets should feel cozy but not stiff.
For wearables like sweaters, cardigans, or shawls, you need yarn that drapes well and feels good against skin. DK to worsted weight (3-5) is ideal. If you’re making something that’ll touch your face or neck, test the fiber against your skin first. Merino wool, cotton, or soft acrylic blends are fantastic choices. Avoid anything scratchy or overly stiff.
For amigurumi (stuffed toys), you want yarn that holds stitch definition clearly so your finished creature looks intentional and cute. Worsted weight acrylic is perfect here—it’s affordable, comes in tons of colors, and creates firm fabric that holds its shape well. You’ll only need 500-1,500 yards for most projects.
For dishcloths and kitchen items, cotton or cotton blends are your best friend. They’re absorbent, washable, and create fabric with good structure. DK to worsted weight works great. This is honestly the perfect beginner project category because mistakes don’t matter much—it’s still functional and beautiful.
For lacy or delicate projects, you need yarn with good stitch definition. Fingering or sport weight works well here. Merino wool or wool blends create beautiful drape. These projects take patience, so make sure you’re actually excited about the pattern before diving in.
When you’re avoiding common beginner mistakes, one major one is choosing yarn based on color alone without considering the fiber, weight, or project compatibility. That gorgeous chunky novelty yarn might not work for the delicate shawl pattern you love. Always read the pattern requirements first, then choose yarn that meets those specs.
Common Beginner Mistakes and How to Avoid Them
I’ve watched so many people get frustrated with yarn that wasn’t actually wrong—it just wasn’t right for what they were trying to make. Let me help you skip these learning curves.
Mistake #1: Ignoring yardage requirements. You fall in love with yarn and buy three balls, then realize the pattern needs 1,200 yards and you only have 800. Heartbreaking. Always check yardage before purchasing. Write it down. Take a photo of the label. This is non-negotiable.
Mistake #2: Buying yarn that’s too thin for your skill level. Fingering weight is gorgeous, but if you’re a beginner, you’ll struggle to see your stitches and might develop tension issues. Start with DK or worsted weight. Once you’re comfortable, branch into thinner yarns.
Mistake #3: Not checking fiber content for the project type. You can’t make a breathable summer shirt from 100% wool—it’ll be too hot and heavy. You can’t make a cozy winter blanket from 100% cotton—it won’t be warm enough. Match fiber to purpose.
Mistake #4: Choosing novelty yarn for complex patterns. Ribbon yarn, eyelash yarn, variegated yarn with wild color changes—these are fun, but they hide your stitches. Save them for simple patterns where the yarn does the visual heavy lifting.
Mistake #5: Not testing yarn before committing to a full project. Buy a single ball, crochet a small swatch, wash it (following care instructions), and see how it feels and looks. Then decide if you want to buy more. This saves so much heartache.
Mistake #6: Overlooking dye lot variation. I mentioned this before, but it’s worth repeating. That beautiful variegated yarn you bought last month might not match exactly if you’re buying more now. Check dye lots.
Mistake #7: Being afraid to experiment with less expensive yarn. Acrylic gets judged unfairly. High-quality acrylic is a legitimate choice, especially for learning and practicing. Use it confidently. Once you know your preferences and skill level, you can invest in premium fibers if you want to.
The thing about crochet is that it’s incredibly forgiving. You can rip back and restart as many times as you need. That means the only real mistake is choosing yarn you don’t enjoy working with. If you hate how it feels in your hands or how it looks after a few rows, that’s valuable information. Stop, choose different yarn, and try again. There’s zero judgment in that.
Before I finish up, I want to mention that Lion Brand Yarn has incredible free patterns and educational resources for all skill levels, and Craftsy offers video classes if you want visual instruction alongside your yarn education. These resources genuinely helped me understand how different yarns perform in real projects.
FAQ
What’s the best yarn for absolute beginners?
Worsted weight (5) acrylic in a solid color is your ideal starting point. It’s affordable, forgiving, easy to see your stitches in, and comes in every color imaginable. Once you’ve completed a few projects and understand your preferences, branch out to other fibers and weights.
How do I know if yarn is good quality?
Good quality yarn has consistent thickness throughout, feels pleasant to work with, and has clear fiber content information on the label. Read reviews on Ravelry, ask at local yarn shops, and feel it in person if possible. Price isn’t always an indicator—some affordable yarn is excellent quality, and some expensive yarn isn’t worth it.
Can I substitute yarn in a pattern?
Yes, but carefully. You can substitute yarn of the same weight and yardage, but fiber content matters. A pattern written for wool might not work perfectly with acrylic because the elasticity and drape are different. Always check your gauge on a swatch before committing to the full project when substituting.
Why does my yarn feel sticky or weird?
Some novelty yarns and blends have unusual textures. Some people love them; others find them frustrating to work with. This is personal preference. If it feels wrong to you, choose different yarn. There’s no rule saying you have to love every type.
How much yarn do I actually need?
Always follow pattern requirements, but buy about 10-15% extra. This accounts for gauge adjustments and mistakes. Better to have leftovers than to run short near the end of a project.
Is expensive yarn always better?
Not necessarily. A $3 ball of high-quality acrylic might be better for your specific project than a $15 specialty yarn. Consider fiber content, weight, yardage, and how it feels in your hands. Price is just one factor.
What should I do if my yarn is tangled?
Gently work through the tangles with your fingers, or use a swift and ball winder if you have access to them. Many yarn shops will wind yarn into cakes for free or a small fee. Alternatively, ask a friend to hold the yarn stretched between their hands while you work through it.