Last week, I watched my friend Sarah struggle with her first attempt at single crochet. She’d mastered the chain stitch perfectly, but the moment she tried to work into those chains, everything fell apart. Her stitches were uneven, she kept losing count, and by the third row, her rectangle looked more like a wonky trapezoid. Sound familiar?
Here’s the thing about single crochet – it’s supposedly the “easiest” stitch, but it’s also where most beginners hit their first real roadblock. The tutorials make it look simple (insert hook, yarn over, pull through, yarn over, pull through two), but they don’t tell you about the tight first row that makes your fingers cramp, or why your edges keep slanting inward, or how to keep track of where one row ends and the next begins.
I’ve been crocheting for over fifteen years, and I still remember the frustration of those early single crochet attempts. The good news? Once you understand the mechanics and learn a few key tricks, single crochet becomes your reliable go-to stitch for everything from dishcloths to blankets. It’s sturdy, versatile, and creates a nice, dense fabric that’s perfect for practical projects.
Today, I’m going to walk you through everything you need to know about single crochet – not just the basic technique, but all the little details that make the difference between struggling through your stitches and actually enjoying the process.
Quick Answer
Single crochet is worked by inserting your hook into a stitch, yarning over and pulling through (two loops on hook), then yarning over again and pulling through both loops. The key is maintaining consistent tension and working into the correct part of each stitch.
Getting Started: Tools and Setup
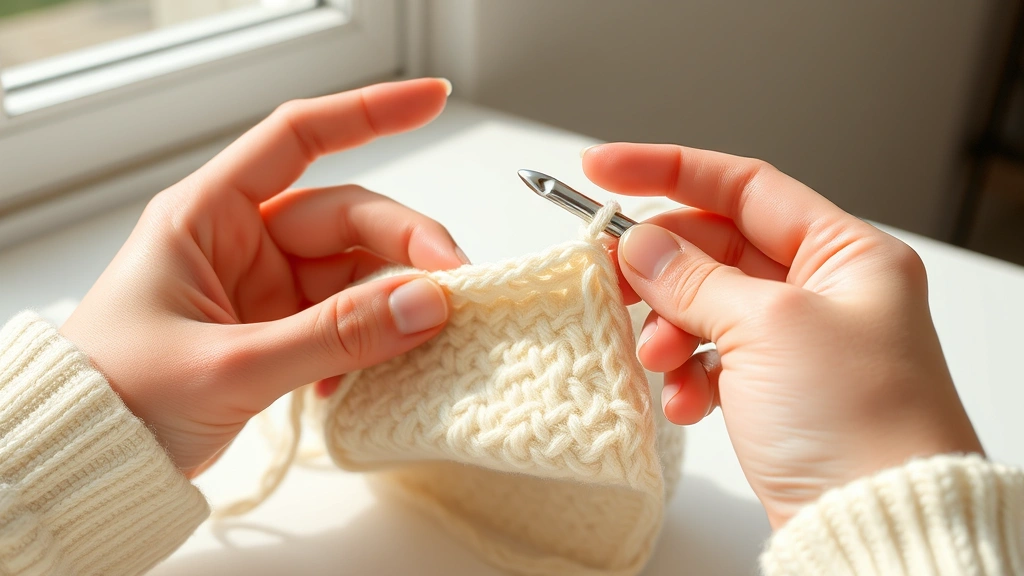
Before we dive into the actual stitching, let’s talk about setting yourself up for success. The hook and yarn you choose can make or break your single crochet experience, especially when you’re learning.
For beginners, I always recommend starting with a worsted weight yarn (category 4) in a light color. Something like Red Heart Super Saver in Off White or Lion Brand Vanna’s Choice in Cream works perfectly. Dark colors hide your stitches and make it harder to see what you’re doing, while slippery yarns like silk or bamboo can be frustrating for beginners.
Pair your worsted weight yarn with a size H/8 (5.0mm) hook. This combination gives you good stitch definition without being too loose or too tight. If you’re someone who tends to crochet tightly (your stitches are hard to work into), go up to an I/9 (5.5mm) hook. If your stitches are loose and sloppy, try a G/6 (4.0mm).
Pro tip: Your hook should slide through your stitches easily, but not so easily that your fabric becomes floppy. Think “smooth glide” rather than “tight squeeze” or “loose wobble.”
Make sure you have good lighting – I can’t stress this enough. Natural light is best, but if you’re crocheting in the evening, get yourself a decent craft lamp. You’ll strain your eyes less and catch mistakes before they become major problems.
Start with a foundation chain of about 20 stitches. This gives you enough room to practice without making the project so wide that it becomes unwieldy. Remember, when working single crochet, you’ll typically chain one extra stitch at the beginning – so for 20 single crochet stitches, you’d chain 21.
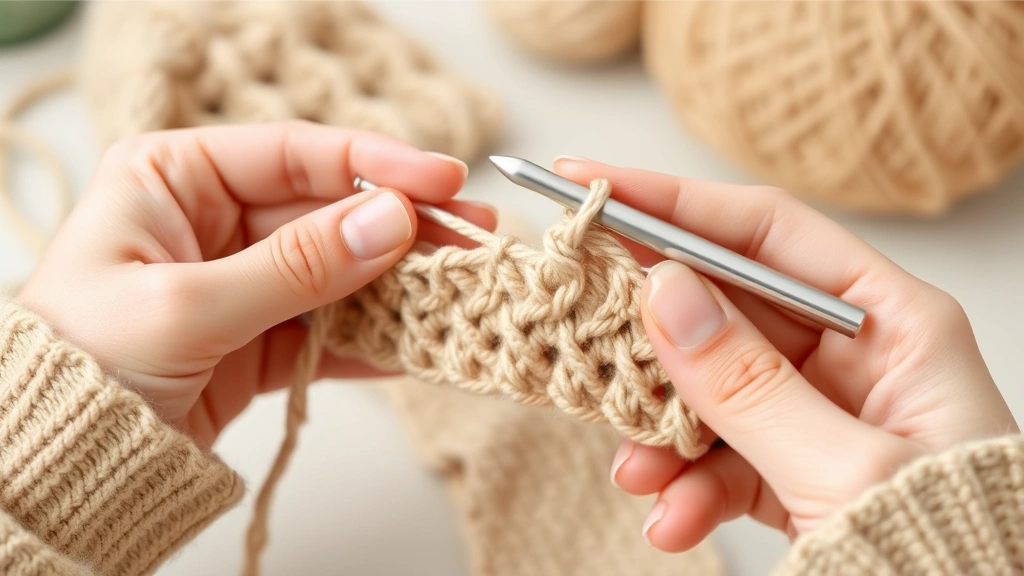
The Basic Single Crochet Technique
Now let’s break down the actual stitch. Single crochet is abbreviated as “sc” in most patterns, and it’s one of the fundamental basic crochet stitches you’ll use constantly.
Here’s the step-by-step process:
- Insert your hook
Push your hook through the second chain from your hook (or into the designated stitch if you’re working subsequent rows). Your hook should go under the top two loops of the chain or stitch.
- Yarn over
Wrap the working yarn over your hook from back to front. This is called “yarning over” or “yo” in patterns.
- Pull through
Draw the yarn through the stitch. You should now have two loops on your hook.
- Yarn over again
Wrap the yarn over your hook once more.
- Pull through both loops
Draw the yarn through both loops on your hook. You should now have one loop remaining on your hook – this is your working loop for the next stitch.
That’s one single crochet complete! The rhythm becomes: insert, yarn over, pull through (two loops on hook), yarn over, pull through both loops.
When you reach the end of your row, you’ll chain 1 and turn your work. This chain-1 doesn’t count as a stitch – it’s just there to bring your hook up to the right height for the next row. Then you’ll work your first single crochet into the first stitch of the previous row.
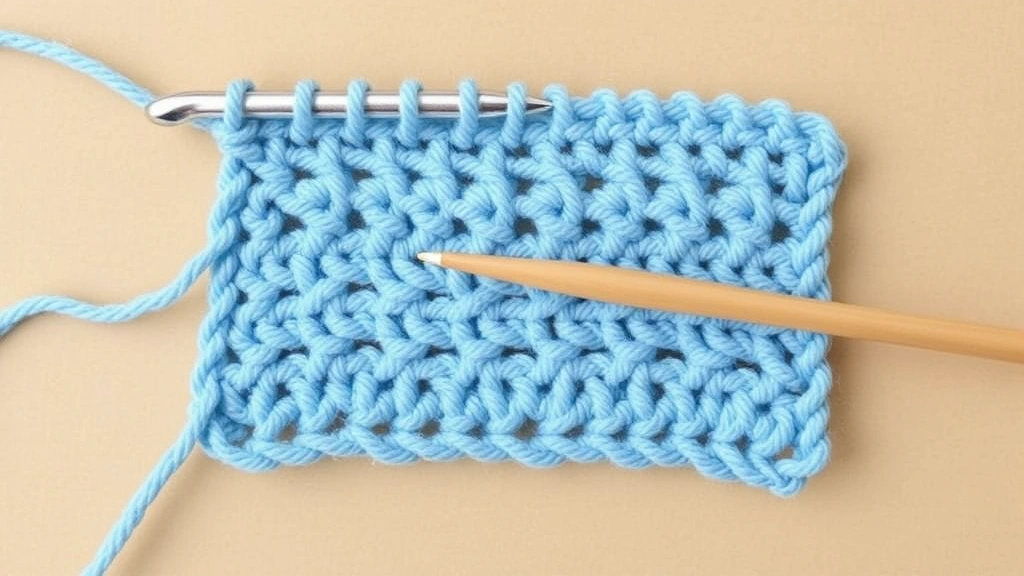
Conquering the First Row
Let’s be honest – the first row of single crochet is often the hardest. Those foundation chains can be tight and difficult to work into, and it’s easy to lose track of where you are.
The biggest challenge is identifying where to insert your hook. When working into a foundation chain, you want to insert your hook under the top loop and back bump of each chain, not through the center of the chain. This creates a neater edge and makes it easier to work into.
If your foundation chain is too tight (a common beginner problem), try one of these solutions:
- Use a hook one size larger for your foundation chain, then switch to your regular hook for the actual single crochet rows
- Make your foundation chain more loosely – it should have some give when you gently stretch it
- Try the foundation single crochet technique, which creates your foundation and first row simultaneously
Count your stitches at the end of each row, especially in the beginning. It’s easy to accidentally skip the first stitch or add an extra stitch at the end. For a foundation chain of 21, you should have 20 single crochet stitches in your first row.
Marking Your Work
Use stitch markers to mark the first and last stitches of each row until you get comfortable recognizing them. This prevents the frustration of losing or gaining stitches without realizing it.
The last stitch of each row can be particularly tricky to identify because it sits right next to your turning chain. Look for the “V” shape at the top – that’s your stitch. The turning chain sits beside it but isn’t counted as a stitch.
Keeping Your Work Even
One of the most common complaints I hear about single crochet is that projects end up looking wonky – edges that slant inward, uneven stitch heights, or fabric that curves unexpectedly. Most of these issues come down to tension and stitch placement.
Consistent Tension
Tension refers to how tightly or loosely you work your stitches. Inconsistent tension creates uneven fabric that looks unprofessional and can affect the size and drape of your finished project.
Here’s what I’ve learned about maintaining good tension:
- Hold your yarn consistently – whether you wrap it around your pinky, use the “pencil grip,” or develop your own method, stick with it
- Don’t death-grip your hook – a relaxed grip actually gives you better control
- Work at a steady pace – rushing leads to uneven stitches
- Take breaks when your hands get tired – fatigue makes tension inconsistent
If you’re a tight crocheter, your stitches will be difficult to work into and your fabric will be stiff. If you’re too loose, your fabric will be floppy and full of gaps. The sweet spot is when your hook slides through stitches easily but the fabric still has structure.
Proper Stitch Placement
Always work into the correct part of each stitch. For standard single crochet, that means under both loops of the “V” at the top of each stitch. Working into only one loop or missing the stitch entirely will throw off your stitch count and create uneven edges.
Pay special attention to your turning chains. In single crochet, the turning chain doesn’t count as a stitch, so don’t work into it when you start the next row. This is different from taller stitches like double crochet, where turning chains often do count.
Common Mistakes and Quick Fixes
After years of teaching crochet, I’ve seen the same mistakes over and over. The good news is that they’re all fixable, and once you know what to look for, you can catch them early.
Losing Stitches
This usually happens at the edges. You might skip the first stitch of a row (it can be hard to see) or forget to work into the last stitch (it sits next to the turning chain). The result is fabric that gets narrower with each row.
Fix: Count your stitches at the end of every row until this becomes automatic. Use stitch markers on the first and last stitches if needed.
Gaining Stitches
The opposite problem – your work gets wider. This often happens when you accidentally work into the turning chain or work two stitches into the same spot.
Fix: Again, counting is key. Also, make sure you’re only working one stitch into each stitch from the previous row.
Uneven Edges
If your edges are slanting or wavy, check your turning chain technique. You should chain 1, then turn your work so the yarn is coming from the back. Work your first single crochet into the first actual stitch, not into the turning chain.
Tight First Row
If working into your foundation chain feels like wrestling with steel cable, your chains are too tight. Next time, use a larger hook for the foundation chain, or practice making your chains with more relaxed tension.
Here’s a trick I learned from my grandmother: after making your foundation chain, gently stretch it. It should give slightly without the chains distorting. If it feels rigid, it’s too tight.
Identifying Mistakes Early
Learn to “read” your crochet. Each row should look consistent – stitches should be roughly the same height and spacing. If something looks off, stop and figure out what happened before continuing. It’s much easier to fix a mistake in the current row than to rip out several rows of work later.
Single Crochet Variations
Once you’re comfortable with basic single crochet, there are several variations that can add texture and interest to your projects without requiring you to learn entirely new stitches.
Back Loop Only (BLO) Single Crochet
Instead of working under both loops of the “V,” you only work under the back loop. This creates horizontal ridges and a slightly stretchy fabric. It’s perfect for ribbing on sweater cuffs or the brim of a hat.
Front Loop Only (FLO) Single Crochet
Working into only the front loop creates a different texture – the unused back loops stand up and create a ridged effect. This technique is often used in amigurumi to create fur-like textures.
Single Crochet Through Back Loop (sc tbl)
This is different from BLO – you’re inserting your hook through the back loop, but from a different angle. It creates a twisted stitch that’s great for structural elements or decorative effects.
Extended Single Crochet
Add an extra yarn over and pull-through step to make your single crochet slightly taller. This creates a fabric that’s between single crochet and half double crochet in height.
| Variation | Best Use | Fabric Effect |
|---|---|---|
| Standard SC | General projects | Dense, sturdy |
| BLO SC | Ribbing, stretch | Horizontal ridges |
| FLO SC | Texture, amigurumi | Standing ridges |
| Extended SC | Between SC and HDC | Slightly more drape |
Best Projects for Single Crochet
Single crochet’s dense, sturdy fabric makes it ideal for certain types of projects. Here are some of my favorites:
Dishcloths and Washcloths
The tight weave of single crochet makes it perfect for cleaning cloths. Use cotton yarn like Lily Sugar ‘n Cream or Bernat Handicrafter Cotton. A typical dishcloth uses about 2 ounces of yarn and measures 8-10 inches square.
Amigurumi
Those cute crocheted animals and dolls rely heavily on single crochet worked in rounds. The dense fabric prevents stuffing from showing through, and the technique works well for shaping. Most amigurumi uses worsted weight cotton yarn with an H/8 hook.
Bags and Baskets
The structural integrity of single crochet makes it excellent for bags, baskets, and other items that need to hold their shape. Try it with cotton yarn for a crisp finish or wool for something softer.
Baby Items
Single crochet creates a fabric with small holes, making it safe for baby items. It’s perfect for baby blankets, hats, and booties. Use soft, washable yarns like baby-specific acrylics or cotton blends.
Scarves and Cowls
While single crochet creates a dense fabric that might seem too thick for scarves, it’s actually great for warm winter accessories. The fabric blocks wind effectively, and you can create interesting textures with stitch variations.
Common Questions
How do I keep my single crochet from curling?
Curling usually happens when your tension is too tight or when you’re working with certain yarn types. Try using a larger hook, relaxing your tension, or blocking your finished piece. Cotton yarns tend to curl less than acrylics.
Why does my single crochet look uneven?
Uneven stitches usually result from inconsistent tension or incorrect stitch placement. Make sure you’re working into the same part of each stitch (under both loops of the “V”) and try to maintain steady tension throughout your work.
How much yarn do I need for a single crochet project?
This depends on your project size and yarn weight. As a general rule, single crochet uses about 25% more yarn than double crochet for the same area. A worsted weight dishcloth (8×8 inches) uses about 2 ounces, while a throw blanket (50×60 inches) might use 1800-2200 yards.
Can I use single crochet for clothing?
Absolutely! Single crochet creates a stable fabric that’s great for structured garments like cardigans, vests, and bags. However, it’s quite dense, so consider using lighter weight yarns or incorporating other stitches for drape.
What’s the difference between single crochet in rows vs. rounds?
In rows, you turn your work at the end of each row and chain 1. In rounds, you work continuously in a spiral or join each round with a slip stitch. The stitch technique is the same, but the construction method differs.
How do I fix a dropped stitch in single crochet?
If you notice a dropped stitch a few rows back, you can often fix it by inserting your hook through the dropped stitch, pulling the working yarn through, and working it back up to the current row. For complex fixes, consider using a smaller crochet hook to work the repair.
Why is my first row of single crochet so much tighter than the rest?
Foundation chains tend to be tighter than regular stitches. Try using a hook one size larger for your foundation chain, making your chains looser, or learning the foundation single crochet technique which eliminates this problem entirely.
Should I count the turning chain as a stitch in single crochet?
No, in single crochet, the turning chain (chain 1) does not count as a stitch. Don’t work into it when you start the next row. This is different from taller stitches where turning chains often do count as the first stitch of the row.
Single crochet might seem basic, but mastering it opens up a world of possibilities. Once you’ve got the tension and rhythm down, you’ll find yourself reaching for this versatile stitch again and again. It’s the foundation for so many beautiful projects, from practical household items to intricate amigurumi creatures.
Remember, everyone’s crochet journey is different. Don’t get discouraged if your first attempts don’t look perfect – even experienced crocheters had to start somewhere. Keep practicing, be patient with yourself, and before you know it, single crochet will become second nature. The satisfaction of creating something beautiful and useful with just a hook and some yarn never gets old.
Happy crocheting, and remember – every expert was once a beginner who refused to give up.