Beginner Crochet Projects That Won’t Leave You Frustrated
Let’s be real—starting crochet can feel overwhelming. There’s a lot of yarn, a lot of hooks, and a whole lot of YouTube videos telling you that you’re doing it wrong. But here’s the thing: crochet doesn’t have to be complicated, and your first projects absolutely don’t need to be perfect. They just need to exist, to teach you something, and honestly, to make you feel like you’ve actually accomplished something cool. That’s the whole point.
I’ve been crocheting for years, and I still remember that nervous energy of holding my first hook, watching the yarn slip through my fingers, wondering if I’d ever actually finish anything. Spoiler alert: I did, and so will you. The secret isn’t talent or magic—it’s picking the right project to start with, understanding what you’re actually learning as you go, and giving yourself permission to make mistakes. They’re not mistakes anyway; they’re design decisions.
In this guide, I’m walking you through genuinely beginner-friendly projects that’ll build your confidence, teach you fundamental skills, and result in something you’ll actually want to keep or gift. We’re talking dishcloths, blankets, scarves, and hats—the classics for a reason.
Why Project Choice Matters More Than You Think
Here’s something nobody tells beginners: picking the wrong starter project is basically setting yourself up to feel frustrated. If you jump straight into a complicated amigurumi (those cute stuffed animals) or a lacy shawl, you’re fighting against your own skill level. It’s like learning to drive and immediately signing up for a race. Not ideal.
The best beginner projects share a few key qualities. First, they use basic stitches—mostly single crochet, double crochet, and maybe a half double crochet. Second, they’re forgiving. If you accidentally add an extra stitch or drop one, it’s not going to completely derail your project. Third, they’re relatively quick to finish. Momentum matters. When you complete something in a week or two, it feels amazing. When you’re staring at the same project three months later, motivation dies.
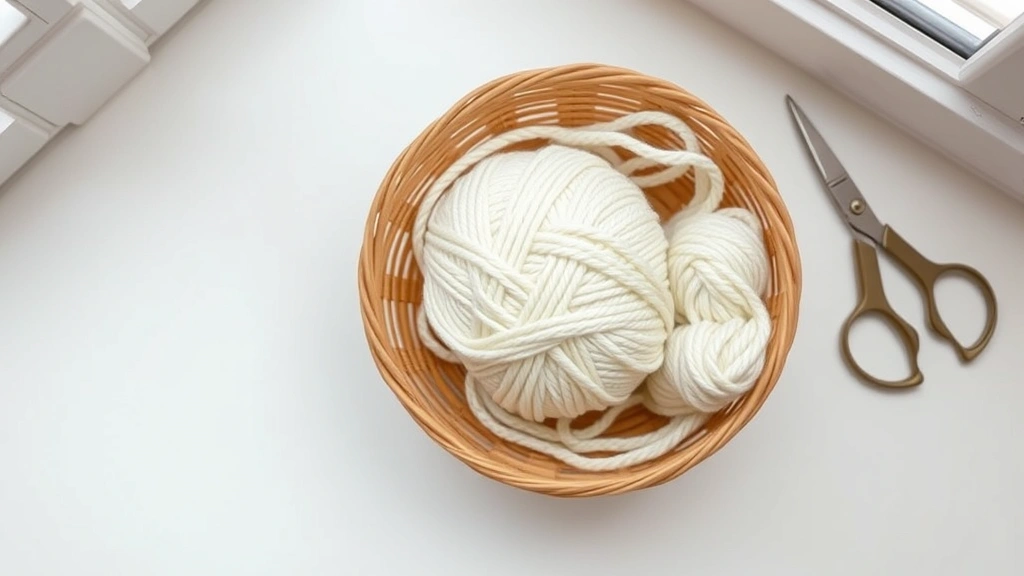
It’s also worth thinking about yarn choice early on. You want something that’s easy to work with—medium weight yarn (often labeled as worsted weight or #4), in a light color so you can actually see your stitches. Dark yarn is beautiful, but when you’re learning, it’s like trying to read in a dimly lit room. Brands like Lion Brand Yarn and Caron make incredibly affordable, beginner-friendly options that won’t break the bank while you’re figuring things out.
Now, let’s talk about what you’ll actually make. The projects I’m sharing aren’t flashy, but they’re real, they’re achievable, and they’ll teach you everything you need to know to move on to more complex work.
The Dishcloth: Your First Real Win
Okay, I’m going to say something that might sound weird: a dishcloth is genuinely one of the best first projects you could possibly make. I know, it sounds unglamorous. You’re not making a gorgeous afghan or a statement sweater. But here’s why dishcloths are actually perfect.
A dishcloth is small (usually about 8×8 inches), so it’s not intimidating. It uses only one or two basic stitches. It works up quickly—you can finish one in an evening or two. And here’s the kicker: when you’re done, you have something functional and useful. You made that. You can use it, gift it, or throw it in a drawer. It’s real.
Here’s a step-by-step breakdown:
- Gather your supplies: You’ll need worsted weight yarn (cotton is traditional for dishcloths, but acrylic works fine), a size H/8 (5mm) hook, and scissors. Grab a yarn needle too, for weaving in those loose ends.
- Cast on: Make a slip knot and chain 25 stitches. This gives you a nice square base to work with.
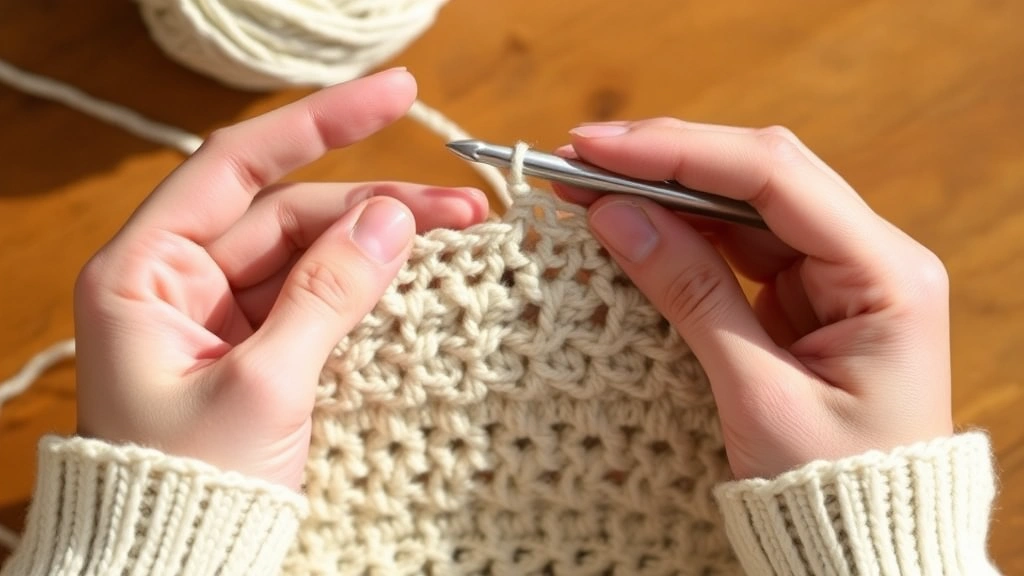
- Work your rows: Single crochet across each row. You’re literally just doing the same stitch over and over. Row 1: single crochet in the second chain from your hook, then in each chain across (that’s 24 stitches). Chain 1, turn your work.
- Keep going: Repeat this pattern for about 24 rows. Single crochet in each stitch, chain 1, turn. You’re building a square, and it’s going to feel meditative.
- Finish strong: Cut your yarn, leaving a 6-inch tail, and pull it through your last loop. Weave in those ends with your yarn needle, and you’re done.
That’s it. You’ve made a dishcloth. You understand tension (how tight your stitches are), you’ve practiced consistency, and you’ve completed something. This is genuinely huge for your confidence, and it’s the foundation for basically everything else in crochet.
If you want to level up slightly, try alternating single crochet and double crochet rows for a little texture variation. Or check out Ravelry, where thousands of free dishcloth patterns exist. Seriously, it’s a rabbit hole of inspiration.
Single Crochet Blankets for Cozy Success
Once you’ve conquered a dishcloth or two, a blanket feels like a natural next step. But here’s where a lot of beginners mess up: they try to make a full-size afghan right away, using intricate stitch patterns. Then they’re six months into a project, losing interest, and wondering why they ever started.
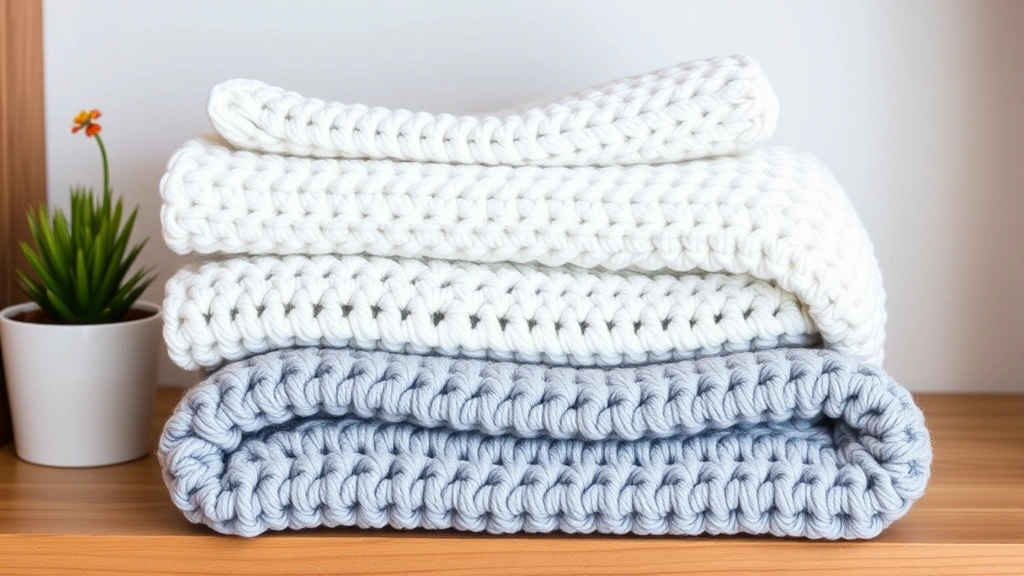
Instead, think smaller and simpler. A lap blanket (roughly 40×50 inches) in single crochet is genuinely beautiful, completely doable, and teaches you about gauge, consistency, and the satisfaction of watching something grow.
Here’s how to approach it:
- Pick your yarn: You’ll want 3-4 skeins of worsted weight yarn for a lap blanket. Something soft—maybe acrylic, or if you want to splurge a little, a cotton blend. This is where Yarnspirations has some solid beginner blanket patterns with video tutorials.
- Calculate your foundation chain: Single crochet is dense, so you don’t need as many chains as you’d think. Aim for about 140 chains. This gives you a nice rectangular base.
- Work in rows: Just like the dishcloth, you’re single crocheting across each row. The difference is you’re doing this for about 200+ rows. Yes, that’s a lot, but it’s also meditative, and you’ll see real progress week to week.
- Watch your edges: This is where beginners often struggle. Make sure your chain-1 turn at the end of each row is consistent. Don’t accidentally skip stitches at the edges, or your blanket will get wonky and trapezoid-shaped.
- Weave in ends as you go: With a blanket, you’ll have a lot of ends to weave in at the end. Pro tip: weave them in as you finish each color or skein. Future you will be grateful.
A single crochet blanket isn’t fancy, but it’s warm, it’s textured, and it’s something you genuinely made with your own hands. There’s real magic in that.
Scarves and the Art of Staying Focused
Scarves are the middle ground between “tiny project” and “huge commitment.” They’re long enough to feel substantial, short enough that you’ll actually finish them, and versatile enough that you can wear them in about a million ways.
The beauty of a scarf is that it forces you to think about a few new things without overwhelming you. You’re working with consistent stitch patterns, you’re managing a longer project, and you’re getting comfortable with tension and drape.
A simple scarf pattern looks like this:
- Foundation: Chain about 20-25 stitches, depending on how wide you want your scarf. A 5-6 inch wide scarf is standard and flattering.
- Pick your stitch: Double crochet is a great choice here because it creates a nice drape and works up faster than single crochet. Single crochet makes a tighter, warmer scarf. Both are beautiful.
- Work until you’re happy: Scarves are usually 60-70 inches long, but honestly, make it whatever length feels right to you. Try it on as you go. You’ll know when it’s done.
- Add texture (optional): Once you’re comfortable, try alternating rows of different stitches. A row of double crochet, then a row of half double crochet, creates visual interest without being complicated.
Here’s something real: scarves are where a lot of people learn about the importance of tension and consistency. If your stitches are tight on row 1 and loose on row 50, your scarf will twist or curve. It’s not a disaster—twisted scarves are actually kind of cool—but it teaches you to pay attention. That attention is what separates “I made a thing” from “I made something intentional.”
Scarves are also incredibly giftable. Everyone wears scarves. Everyone appreciates a handmade one. This is your chance to practice and create something genuinely useful at the same time.
Simple Hats and Shaping Basics
Okay, hats are where things get slightly more interesting. You’re not just going in rows anymore—you’re working in rounds, and you’re learning about shaping. It sounds complicated, but it’s really just a new way of thinking about the same stitches you already know.
A simple beanie is the perfect beginner hat project because it teaches you rounds without requiring complex decreases or intricate stitch work.
Here’s a beginner beanie breakdown:
- Start with a magic ring: This is a technique that lets you start crocheting in a circle. It takes practice, so don’t stress if it feels weird at first. YouTube has hundreds of tutorials. Alternatively, you can just chain 4 and slip stitch to create a circle—totally valid.
- Work in rounds: Instead of chaining and turning at the end of each row, you’re going around and around. You’ll use slip stitch to join each round to the beginning of the round.
- Increase stitches in early rounds: This creates the crown of the hat. You’re basically adding extra stitches to make the circle bigger. A simple pattern might be: Round 1: 6 double crochet in the ring. Round 2: 2 double crochet in each stitch around (12 stitches). Round 3: *1 double crochet, 2 double crochet in next stitch* repeat around (18 stitches). You’re seeing the pattern—you’re spacing out your increases so the circle stays flat.
- Work even rounds: Once your circle is big enough to fit around someone’s head (roughly 20 inches in circumference), you stop increasing and just single crochet around and around until the hat is the right length.
- Finish with decreases: To close the top, you’ll decrease stitches (combine two stitches into one) until you have just a few left, then cut and pull through.
A beanie teaches you rounds, shaping, and the idea that crochet isn’t always flat. That’s genuinely important foundational knowledge, and you’re still using basic stitches. You’re just arranging them differently.
Pro tip: make hats in a chunky yarn. They work up faster, the mistakes are less noticeable, and they’re genuinely cozy. Everyone needs hats.
Common Beginner Mistakes and How to Fix Them
Let’s talk about the stuff nobody likes admitting they struggle with. These are real problems, and they’re totally fixable.
Tension issues: Your stitches are either too tight or too loose. Too tight means your work is stiff and hard to work into. Too loose means it’s floppy and uneven. The fix? Awareness. Pay attention to how you’re holding the yarn and the hook. Experiment with where you’re gripping. It’s not a permanent problem—it’s something you’re learning to control.
Accidentally adding or dropping stitches: This happens constantly. You’re at the end of a row and suddenly you have 25 stitches instead of 24. The solution is to count your stitches at the end of each row, at least for the first few rows. It sounds tedious, but it saves you from frogging (ripping out) an entire blanket.
Uneven edges: If your edges look messy or inconsistent, you’re probably skipping your edge stitches or not turning properly. Remember: chain 1 (or 2, depending on your stitch), turn your work, and make sure you’re crocheting into that very first stitch of the new row.
Twisted projects: Your scarf or blanket is spiraling instead of lying flat. This usually means you’re twisting your work as you turn it. Try placing your work on a flat surface and turning it flat instead of twisting it in your hands.
Weaving in ends is tedious: It absolutely is. But it’s also non-negotiable if you want finished-looking projects. The hack? Use a smaller yarn needle than you think you need, weave in ends as you go, and listen to podcasts or audiobooks while you do it. Suddenly it’s not so bad.
Here’s the thing about all these mistakes: they’re not failures. They’re part of the process. Every experienced crocheter has frogged projects, miscounted stitches, and created accidentally wonky blankets. It’s all part of learning, and it all makes you better.
FAQ
What size hook should I use for beginner projects?
Start with a size H/8 (5mm) or I/9 (5.5mm) hook. These sizes are comfortable to hold, easy to see your stitches in, and work well with medium weight yarn. Once you’re comfortable, you can experiment with different sizes.
How much yarn do I actually need?
For a dishcloth, you need about 50-100 yards. A scarf needs roughly 300-400 yards. A lap blanket needs 800-1200 yards depending on size. When in doubt, buy a little extra. Yarn doesn’t expire, and you’ll use it eventually.
Is acrylic yarn bad?
Not at all. Acrylic is affordable, comes in every color imaginable, and is perfect for beginners. Natural fibers like cotton and wool are lovely, but they’re not necessary when you’re starting out. Make what feels good to you, within your budget.
How do I know if I’m doing it right?
Your stitches should look relatively consistent, your edges should be somewhat straight, and your project should hold together when you pick it up. It doesn’t need to be perfect. Honestly, perfect is boring. Handmade means it has character.
Can I really just pick any pattern from Ravelry?
Not quite. Look for patterns labeled “beginner” or “easy.” Read the reviews—if people are saying it’s confusing, trust them. Stick to patterns using single crochet, double crochet, and half double crochet. Avoid anything mentioning cables, lace, or complex shaping until you’re ready.
What if I really mess up?
You frog it. That means you rip out the stitches and start over. It’s not fun, but it’s not the end of the world either. Sometimes you learn more from frogging and redoing something than you do from getting it right the first time. Plus, you’re not wasting yarn—you’re just using it again.
How long does it really take to get good?
Honest answer? You’ll feel competent after about 3-5 projects. You’ll feel genuinely skilled after maybe 20. But here’s the real thing: you’re good enough right now. Your first dishcloth is a legitimate accomplishment. Don’t wait to feel “ready” to show people what you’ve made.