Last week, I watched my neighbor Sarah struggle with her first crochet project – a simple dishcloth that was supposed to be square but looked more like a wonky trapezoid. She kept asking me, “Why does my crochet keep getting wider?” and honestly, it brought back memories of my own early disasters. That lopsided scarf I made in college? The baby blanket that could’ve doubled as a tent? Yeah, we’ve all been there.
The truth is, crochet projects that mysteriously expand or contract are one of the most common frustrations for beginners and even intermediate crocheters. You start with good intentions, follow the pattern, but somehow your work develops a mind of its own. The good news? This problem is totally fixable once you understand what’s causing it.
Most width changes happen because of inconsistent tension, miscounted stitches, or accidentally adding increases where they don’t belong. Sometimes it’s as simple as your hook catching an extra loop, and other times it’s about how tightly you’re holding your yarn. I’ve seen experienced crocheters suddenly develop this problem when they switch yarn types or try a new stitch pattern.
Quick Answer
Crochet gets wider due to accidental increases from miscounted stitches, inconsistent tension, or working into wrong stitch locations. Count your stitches at the end of each row and use stitch markers to maintain consistent width throughout your project.
Why Your Crochet Gets Wider: The Main Culprits
After helping dozens of crocheters troubleshoot this issue, I’ve noticed the same problems crop up repeatedly. Understanding these root causes will save you hours of frustration and frogging (that’s ripping out your work, for those new to crochet terminology).
Accidental Increases
The biggest culprit is accidentally adding stitches where they don’t belong. This happens when you work two stitches into the same space, miss the correct stitch location, or work into the turning chain when you shouldn’t. I see this constantly with single crochet stitches – that first and last stitch of each row can be tricky to identify.
When working in rounds, like for amigurumi projects, accidental increases are even more noticeable because they create a wavy, ruffled edge. If you’re supposed to have 24 stitches in a round but you end up with 26 or 27, that extra fabric has to go somewhere.
Inconsistent Tension
Your yarn tension – how tightly or loosely you hold the working yarn – directly affects stitch size. When you’re relaxed and watching TV, your stitches might be looser. When you’re concentrating hard on a tricky section, they might tighten up. These variations accumulate over rows, causing width changes.
Pro tip: I keep a small notebook next to my crochet chair to jot down my stitch count after every few rows. It takes two seconds but saves hours of detective work later.
Wrong Hook Size or Yarn Weight
Sometimes the problem isn’t technique – it’s materials. If you’re using a different yarn weight than the pattern calls for, or if your hook size is off, your gauge will be different. A 5mm hook with worsted weight yarn creates different-sized stitches than the same hook with DK weight yarn.
Master Stitch Counting Techniques
Stitch counting might seem tedious, but it’s your best defense against width problems. I learned this the hard way after making a blanket that started at 120 stitches and somehow ended up at 140 by the time I was halfway done.
Counting Methods That Actually Work
For straight projects like scarves or baby blankets, count your stitches at the end of every row for the first few rows, then every 3-5 rows once you establish a rhythm. Use your finger to point at each stitch as you count – it sounds silly, but it prevents miscounts.
When working granny squares or other motifs, count the stitches in each section. For a traditional granny square, you should have the same number of double crochets between each corner space in every round.
Using Stitch Markers Effectively
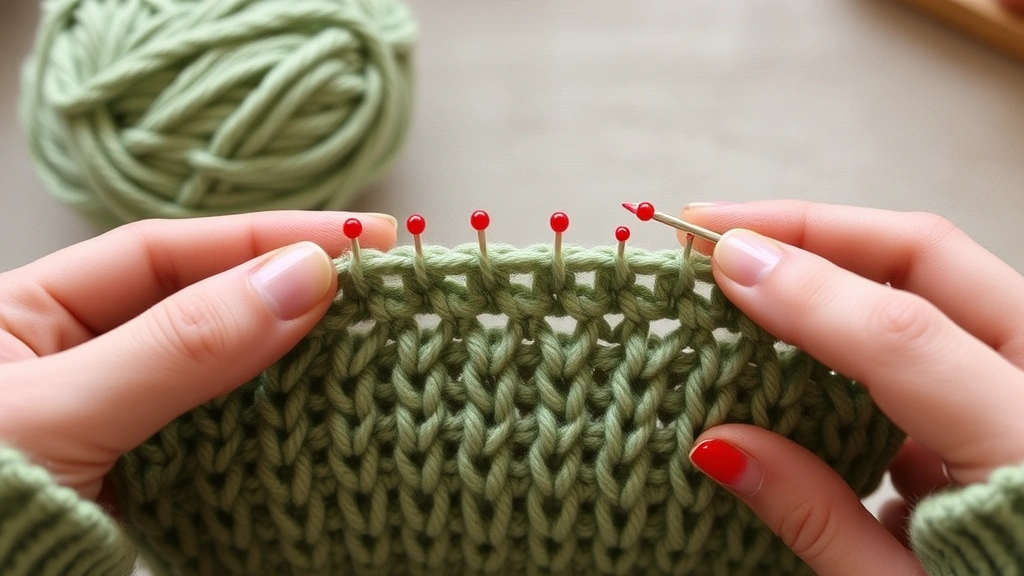
Stitch markers are game-changers for maintaining consistent width. Place one in the first stitch of each row – this helps you identify exactly where to start and end. For longer rows, place markers every 20-25 stitches to break up the counting into manageable chunks.
I use different colored markers for different purposes: red for the beginning of rounds, blue for pattern repeats, and green for shaping sections. This system has saved me countless hours of recounting.
| Project Type | Stitch Marker Strategy | Counting Frequency |
|---|---|---|
| Scarves/Afghans | Mark first stitch of each row | Every 3-5 rows |
| Amigurumi | Mark beginning of each round | Every round |
| Garments | Mark shaping points | After each shaping section |
Maintaining Consistent Tension
Tension control is probably the trickiest skill to master, but it’s crucial for preventing width changes. Your yarn tension affects not just the size of individual stitches, but how they sit next to each other.
Finding Your Natural Tension
Everyone holds yarn differently, and that’s okay. Some crocheters wrap the yarn around their pinky finger, others just drape it over their index finger. The key is consistency. Practice with gauge swatches using your preferred yarn hold until your stitches look uniform.
I recommend practicing with worsted weight yarn in a light color – it’s forgiving and easy to see your stitches clearly. Lion Brand Vanna’s Choice or Red Heart Super Saver are excellent choices for learning consistent tension.
Environmental Factors
Your environment affects your tension more than you might realize. I crochet much more loosely when I’m tired or stressed, and more tightly when I’m focused intently. Temperature matters too – cold hands tend to grip yarn more tightly.
Proper Stitch Placement: Where Exactly Does That Hook Go?
Knowing exactly where to place your hook is fundamental to maintaining consistent width. This is where many crocheters go wrong, especially when working with double crochet stitches or more complex stitch patterns.
Identifying the Correct Stitch Location
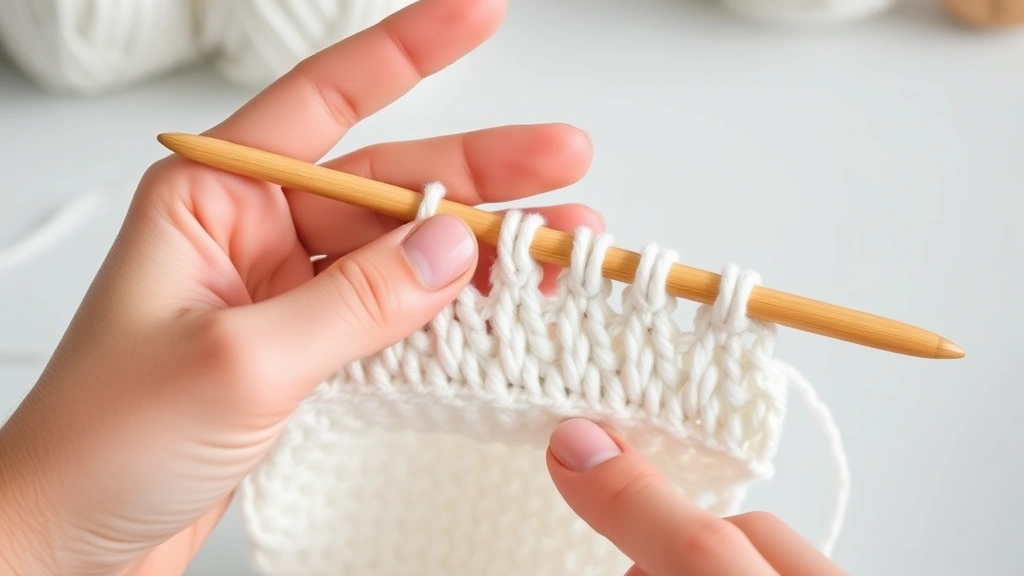
Each crochet stitch has a “post” (the vertical part) and a “top” (the horizontal part with two loops). For most stitches, you insert your hook under both loops of the top. The challenge comes at the beginning and end of rows, where it’s easy to miss stitches or work into the wrong place.
When working in single crochet, the first stitch of each row goes into the very first stitch of the previous row – not into the turning chain. The last stitch goes into the last actual stitch, which can be hard to see if your tension varies.
Turning Chain Troubles
Turning chains are a major source of width problems. In single crochet, the turning chain doesn’t count as a stitch, so you skip it when working the next row. In double crochet, the turning chain usually does count as the first stitch, so you work your last stitch of the row into the top of the turning chain from the previous row.
This gets confusing fast, especially in complex stitch patterns. Always check your pattern’s specific instructions about turning chains – some designers handle them differently.
Reading Patterns Correctly: The Devil’s in the Details
Pattern reading errors cause more width problems than you’d expect. A misunderstood abbreviation or skipped instruction can throw off your entire project. I once spent three hours wondering why my dishcloth pattern wasn’t working before realizing I’d been reading “sc in next 2 sts” as “2 sc in next st.”
Common Pattern Misinterpretations
The difference between “sc in next 2 sts” and “2 sc in next st” is crucial. The first means one single crochet in each of the next two stitches (no increase). The second means two single crochets in one stitch (definite increase). These small distinctions matter enormously for maintaining consistent width.
Parentheses and asterisks in patterns indicate repeats, and missing these can cause major width changes. If a pattern says “*sc in next 3 sts, 2 sc in next st, repeat from * across,” you need to repeat that entire sequence, not just part of it.
Gauge Swatches Save the Day
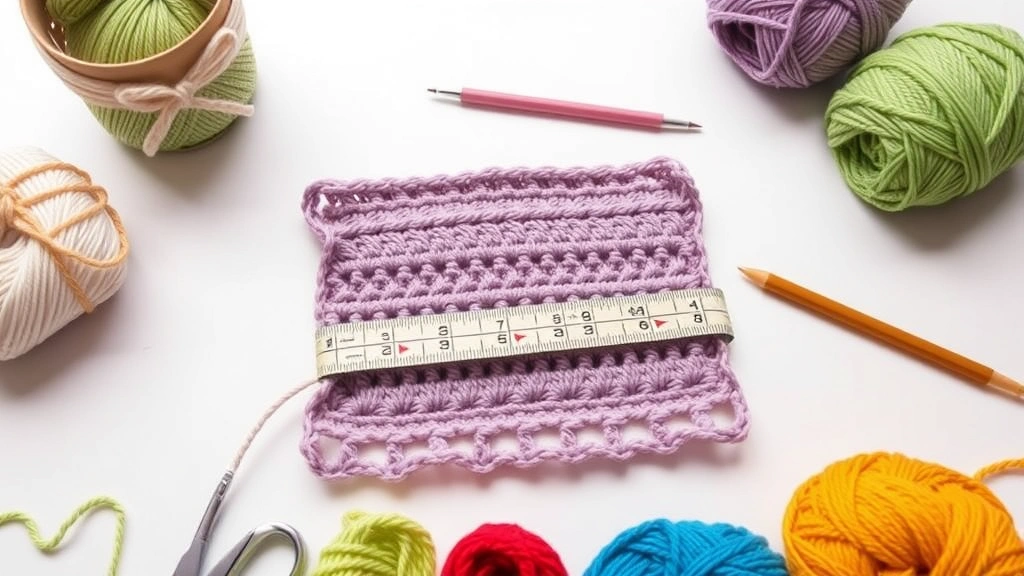
I know, I know – gauge swatches feel like homework when you just want to start your project. But they’re especially important for preventing width problems. A 4-inch square swatch will tell you if your natural tension matches the pattern designer’s expectations.
According to the Craft Yarn Council, gauge should be measured over at least 4 inches of fabric. If your swatch is wider or narrower than specified, adjust your hook size accordingly.
Fixing Width Problems: Damage Control Strategies
So your project is already getting wider – now what? Don’t panic. Depending on how far along you are and what type of project you’re making, there are several ways to fix the problem without starting over.
The Count-and-Compare Method
First, figure out exactly where the problem started. Count the stitches in your current row, then count a few rows back. If you can pinpoint where the extra stitches appeared, you can often frog back to that point and fix just that section.
For projects with color changes, this is easier because the color breaks give you natural counting checkpoints. Mark your stitch count with a piece of tape on each color section – it’s a lifesaver for troubleshooting later.
Strategic Decreasing
If you catch the problem early and only have a few extra stitches, you can decrease them away gradually. Spread the decreases across several rows so they’re not noticeable. For example, if you have 4 extra stitches in a 100-stitch row, decrease 1 stitch every 25 stitches across the next 4 rows.
- Identify Extra Stitches
Count your current row and compare to the pattern requirement. Mark the extra stitches with removable stitch markers.
- Plan Decrease Placement
Spread decreases evenly across the row width to avoid obvious pulling or bunching.
- Execute Gradual Decreases
Work decreases over 3-4 rows rather than all at once for a smoother appearance.
Prevention Strategies: Stop Problems Before They Start
The best way to deal with width problems is to prevent them entirely. These strategies have saved me countless hours of troubleshooting and re-working projects.
Develop Consistent Habits
Create a routine that includes regular stitch counting and tension checks. I count stitches at the end of every row for the first inch of any project, then switch to every few rows once I’m confident in the pattern. This catches problems immediately instead of discovering them 6 inches later.
Keep your crochet tools organized and consistent. Using the same hook, yarn, and lighting setup for each work session helps maintain consistent tension and stitch formation.
Use Technology to Your Advantage
Row counters, whether physical clickers or smartphone apps, help track your progress and make it easier to identify where problems started. I use a simple tally app on my phone to count stitches in long rows – it’s faster than counting manually every time.
Taking progress photos every few inches helps too. You can spot width changes visually that might not be obvious when you’re looking down at your work.
I learned this trick from a fellow crocheter on Ravelry: lay a ruler next to your work every few inches and take a photo. Width changes become obvious when you compare photos side by side.
Choose Beginner-Friendly Patterns
If you’re still building your skills, choose patterns that are forgiving of small width variations. Beginner-friendly projects like simple scarves, dishcloths, or basic afghans won’t be ruined by minor width changes the way fitted garments would be.
Avoid patterns with complex shaping or precise fit requirements until you’ve mastered consistent stitch placement and tension. There’s no shame in building your skills gradually – even experienced crocheters practice new techniques on simple projects first.
Common Questions
Why does my crochet get wider even when I count stitches correctly?
Even with correct stitch counts, your work can get wider due to inconsistent tension or working into the wrong part of stitches. Check that you’re inserting your hook under both loops of each stitch consistently, and monitor your yarn tension throughout your work session. Environmental factors like temperature and fatigue can affect tension without you realizing it.
How often should I count stitches to prevent width problems?
Count stitches at the end of every row for the first 1-2 inches of any new project, then every 3-5 rows once you establish a rhythm. For complex patterns or when learning new stitches, count every row until you’re confident. Use stitch markers to break long rows into manageable counting sections of 20-25 stitches.
What’s the difference between working into a stitch versus working into a space?
Working “into a stitch” means inserting your hook under the two loops at the top of the previous row’s stitch post. Working “into a space” means inserting your hook into the gap between stitches or into a chain space. Confusing these instructions is a common cause of accidental increases that make projects wider.
Can I fix a project that’s gotten too wide without starting over?
Yes, if you catch the problem relatively early. Count back to find where extra stitches appeared, then either frog back to that point or strategically decrease the extra stitches over several rows. For minor width increases (2-4 stitches), gradual decreasing spread across multiple rows often works well without being noticeable.
Why does my tension change during long crochet sessions?
Your hands naturally relax as you get into a rhythm, leading to looser stitches over time. Fatigue, temperature changes, and even your emotional state affect how tightly you grip the yarn. Take breaks every hour to reset your muscle memory, and consider this when planning long crochet sessions.
Should turning chains count as stitches in my stitch count?
It depends on the stitch height and pattern instructions. In single crochet, turning chains typically don’t count as stitches. In double crochet and taller stitches, they usually do count as the first stitch of the new row. Always check your specific pattern’s instructions, as designers handle turning chains differently.
How do I know if my gauge swatch is accurate for preventing width problems?
Measure your gauge swatch after it’s been sitting flat for at least 30 minutes – fresh crochet can be stretched or compressed. Count stitches and rows over exactly 4 inches, not just estimating from a smaller area. If your gauge doesn’t match the pattern, adjust your hook size and make another swatch before starting your project.
What’s the best way to mark my place in complex stitch patterns?
Use different colored stitch markers for different pattern elements: one color for the beginning of rows/rounds, another for pattern repeats, and a third for shaping sections. Keep a written tally of your stitch counts at key points, and take progress photos every few inches to visually track width consistency.
Keeping Your Crochet Consistently Beautiful
Width problems in crochet are frustrating, but they’re also completely preventable once you understand the causes. The key is developing consistent habits around stitch counting, tension monitoring, and careful pattern reading. Yes, it feels like extra work at first, but these habits become second nature quickly.
Remember that every experienced crocheter has made these mistakes. That wonky dishcloth or lopsided scarf isn’t a failure – it’s part of your learning journey. The muscle memory you’re building now will serve you well when you tackle more complex projects later.
Start with your next project: count those stitches, use stitch markers liberally, and don’t be afraid to frog back if something doesn’t look right. Your future self will thank you for taking the time to get it right. Happy crocheting, and remember – even imperfect handmade items are made with love.