How to Choose the Right Yarn for Your Crochet Projects
Let’s be real—walking into a yarn shop or scrolling through an online fiber marketplace can feel absolutely overwhelming. There are so many weights, fiber types, colors, and price points that it’s easy to feel paralyzed before you even pick up a hook. I’ve been there, standing in front of a wall of yarn wondering if I should grab the luxury merino or stick with something budget-friendly. The truth is, choosing the right yarn isn’t about finding some mythical “perfect” option—it’s about understanding what actually matters for your specific project and what’ll make you excited to pick up your hooks every single day.
Over the years, I’ve learned that yarn selection is deeply personal and practical all at once. It’s about matching fiber content to your project goals, understanding how different weights will affect your finished piece, and being honest about your budget and time constraints. Whether you’re working on a cozy blanket, a wearable that needs to hold its shape, or a decorative piece, the yarn you choose will make or break your experience. So let’s walk through this together and break down exactly how to pick yarn that’ll actually work for what you’re making.
Understanding Yarn Weight and What It Means for Your Projects
Yarn weight is probably the first thing you need to nail down, and honestly, it’s the foundation for everything else. Weight isn’t about how heavy the yarn actually feels—it’s about the thickness of the strand and how many yards you get per pound. The Craft Yarn Council has standardized this into categories from 0 (lace) all the way to 7 (jumbo), but most crocheters work with weights 2 through 5.
Let me break down what you’re actually working with:
- Lace (0) and Fingering (1): These are delicate, thin yarns perfect for intricate shawls and detailed work. They require patience and smaller hooks, but the finished pieces are absolutely stunning. If you’re new to crochet, I wouldn’t recommend starting here—these demand precision and experience.
- Sport (2) and DK (3): These weights are fantastic for garments that need drape and definition. Think summer tops, baby blankets, and amigurumi that actually look detailed. They work up slower than bulkier yarns but give you beautiful stitch definition.
- Worsted (4): This is the sweet spot for most crocheters. It’s thick enough to work up quickly, thin enough to show off stitch patterns, and versatile enough for blankets, sweaters, and home décor. Most patterns you’ll find are written for worsted weight.
- Bulky (5) and Super Bulky (6): These are your speed-demon yarns. They work up incredibly fast—like finish-a-blanket-in-a-weekend fast—but they can look chunky and won’t show off intricate stitch patterns. They’re perfect for cozy throws and winter accessories.
Here’s the thing: the weight you choose directly impacts how your finished project looks and feels. A worsted weight sweater will drape differently than a bulky weight sweater, even if you follow the exact same pattern. Lighter weights give you more definition and are better for fitted garments. Heavier weights are forgiving, quick, and great for texture-forward pieces like cables and bobbles.
When you’re looking at a pattern, always check what weight it calls for. If you want to substitute a different weight, understand that you’ll need to adjust your yardage significantly. A general rule: if you’re going up or down one weight category, you’ll need roughly 25-30% more or less yardage. Matching yarn to your pattern is crucial because using the wrong weight can totally change your finished measurements and how the garment wears on your body.
Fiber Content and How It Affects Your Finished Piece
This is where yarn selection gets really interesting because fiber content changes literally everything about how your project feels, wears, and ages. There’s no universally “best” fiber—there’s only what works best for your specific project and your lifestyle.
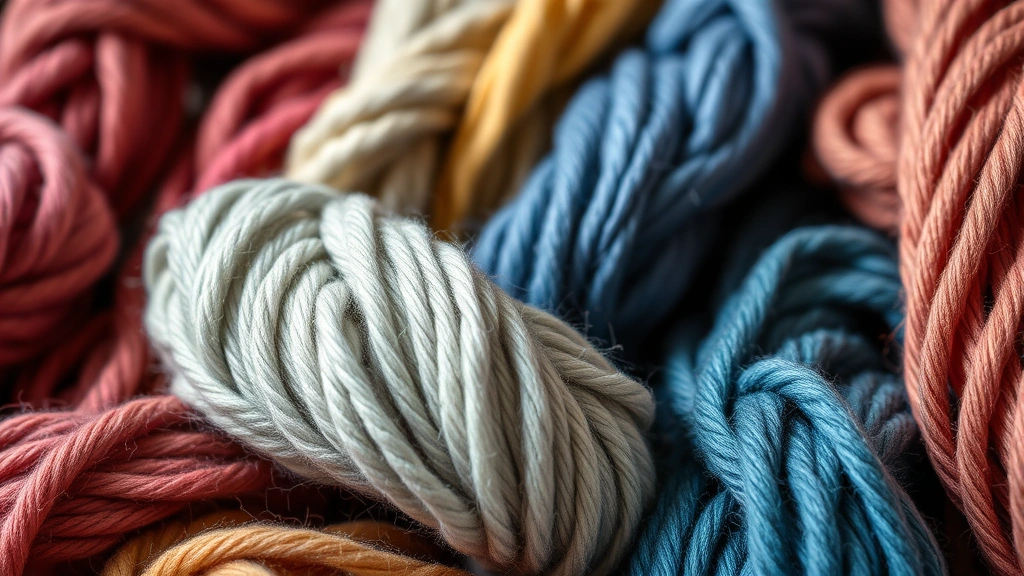
Natural Fibers: These are spun from plant or animal sources, and they each bring something unique to your work.
- Wool: The classic for good reason. It’s resilient, warm, naturally moisture-wicking, and bouncy. It holds its shape beautifully, which is why sweaters and structured pieces love wool. The downside? It can feel itchy if you’re sensitive, and it needs gentle care. Merino wool is softer and less itchy than regular wool, making it perfect for wearables. Superwash wool is treated to be machine-washable, which is a game-changer if you’re making things for kids or people who won’t hand-wash their crochet.
- Cotton: Perfect for warm-weather pieces, kitchen items, and anything that needs to breathe. Cotton doesn’t stretch much, so it’s excellent for structured garments and amigurumi. It’s also durable and gets softer with washing. The trade-off is that cotton is heavier than wool, so it doesn’t drape as fluidly, and it doesn’t insulate like wool does.
- Linen: Crisp, cool, and perfect for summer projects. Linen has beautiful stitch definition and gets softer with every wash. It’s pricey and has less elasticity than wool, but if you’re making a summer tank or a table runner, it’s phenomenal. Linen blends give you some of the benefits without the full cost.
- Alpaca and other specialty fibers: These are luxurious, incredibly soft, and temperature-regulating. They’re expensive, delicate, and sometimes slippery to work with. Save these for special projects where you want that luxe feel.
Synthetic Fibers: Acrylic is the workhorse of the yarn world. It’s affordable, comes in every color imaginable, requires minimal care (throw it in the washing machine), and doesn’t have the same environmental impact concerns as animal fibers. The downside is that it doesn’t regulate temperature well, it can feel plasticky, and it pills more easily than natural fibers. Acrylic blends are your friend—they give you the affordability of acrylic with some of the benefits of natural fibers.
Here’s my honest take: for your first projects, acrylic is totally fine and lets you experiment without guilt. As you get more experienced and confident, you’ll know whether you want to invest in natural fibers for specific projects. Budget-friendly yarn choices don’t have to mean sacrificing quality—they mean being strategic about where you splurge.
Think about the end use of your project. Making a baby blanket that needs frequent washing? Superwash merino or cotton blends are your friend. Making a cozy throw blanket that lives on the couch? Wool or a wool blend will feel amazing and last forever. Making amigurumi gifts? Acrylic is practical because recipients can toss them in the wash without worrying. The fiber choice should match how the finished piece will actually be used.
Choosing Colors and Managing Dye Lots
This is where yarn selection becomes an art form. Color can totally change how your finished project feels, and dye lots—oh man, dye lots can make or break a project.
Let’s start with dye lots. Every time a yarn manufacturer dyes a batch, the color can vary slightly. Slightly. That slight difference becomes VERY obvious when you’re crocheting next to each other. If you’re making a blanket or garment that requires multiple balls, you absolutely need to buy enough yarn from the same dye lot. Check the label—the dye lot number is usually printed right there. When you’re buying yarn, make sure you’re grabbing balls with matching dye lot numbers, or accept that your project will have intentional color variation.
Here’s a pro tip: if you’re making something large and realize you need more yarn, contact the yarn manufacturer’s customer service. Sometimes they can help you find matching dye lots, or you can buy the yarn and intentionally blend the dye lots by alternating skeins or rows. Some crocheters love the striped effect this creates—it becomes a design feature rather than a mistake.
For color selection itself, think about your project’s purpose and your personal style. Are you making a nursery blanket? Soft pastels and neutrals often feel calming. Making a statement scarf? Bold, saturated colors will pop. Making something you’ll wear constantly? Choose a color that makes you feel good every time you put it on. I’ve learned that you’ll actually finish projects faster when you’re genuinely excited about the colors you’re working with.
One strategy that works beautifully: choose a main color that you love, then pick one or two complementary colors for stripes or accents. This keeps your project cohesive without feeling boring. If you’re nervous about color combinations, look at yarn brands’ color palettes or check Ravelry to see what other crocheters have done with the same yarns.
Budget-Friendly Approaches Without Sacrificing Quality
Let’s talk money because yarn projects can get expensive, and that’s real. A single skein of luxury merino might cost $15-20, and a large blanket could need 15-20 skeins. That’s a lot of money to spend on one project.
Here’s how I think about yarn budgeting: be intentional, not restrictive. This means understanding where your money goes and making conscious choices about where to splurge and where to save.
Where to save: For practice projects, amigurumi, afghans, and items that’ll get heavy use (like kitchen cloths), acrylic is genuinely fantastic. Brands like Lion Brand and Caron offer quality acrylic in tons of colors at reasonable prices. You can make beautiful, durable projects without spending a fortune. If you’re learning a new stitch or technique, use affordable yarn so you don’t stress about mistakes.
Where to splurge: If you’re making something you’ll wear against your skin or wrap around yourself (like a shawl or sweater), investing in softer, higher-quality fiber makes a genuine difference in how often you actually use it. A merino wool sweater that feels amazing will get worn constantly. A scratchy acrylic sweater might sit in your closet. That’s not snobbery—it’s just practical economics. Also consider splurging on specialty fibers for gifts you really care about or pieces you want to last decades.
Strategic shopping: Buy yarn on sale when you can, follow your favorite yarn brands on social media for promotions, and check out discount yarn websites for deals on overstock. Yarnspirations often has sales and free patterns. Join local crochet groups—sometimes experienced crocheters will sell stash yarn at reasonable prices, and you might find exactly what you need for less.
Another budget hack: yarn swaps and stash busting. If you have yarn you’re not using, connect with other crocheters to trade. Or challenge yourself to create something with yarn you already own before buying more. Sometimes constraints actually spark creativity.
Matching Yarn to Your Pattern and Skill Level
Here’s where everything comes together. You can’t just pick yarn you love and throw it at a random pattern—you need to think about the relationship between the yarn and the pattern you’re making.
Reading pattern requirements: Every decent pattern tells you the yarn weight it’s designed for, how much yardage you need, and sometimes the recommended fiber content. This isn’t arbitrary—the pattern designer tested the design with that specific yarn to make sure the finished piece has the right drape, stitch definition, and fit. Ignore these at your peril, especially with garments.
That said, you can absolutely substitute yarn if you understand the math. If a pattern calls for worsted weight and you want to use DK instead, you’ll need more yardage (roughly 30% more) because DK is thinner. If you’re going up to bulky weight, you’ll need less yardage. The finished garment measurements will also change, which matters for fit.
Matching to your skill level: This is important and something I wish someone had told me early on. If you’re a beginner, choose patterns that work with stitch definition, not complex textures that disappear into the yarn. Worsted weight is your friend because it’s forgiving and shows off your stitches. Avoid delicate lace-weight yarns that require absolute precision. As you get more experienced, you can tackle finer yarns and more complex stitch patterns because you’ll have the control to make them look intentional rather than accidental.
Also think about the actual crochet process. Some yarns are easier to work with than others. Smooth, non-fuzzy yarns let you see your stitches clearly. Slippery yarns like silk or rayon are beautiful but can be frustrating if you’re still building muscle memory. Textured or fuzzy yarns hide mistakes beautifully but make it harder to see what you’re doing while you’re working. Choose accordingly based on how you like to work.
Testing Before You Commit to a Full Project
This might be the most important section because it’ll save you from yarn regret. Before you buy 20 skeins of something, test it.
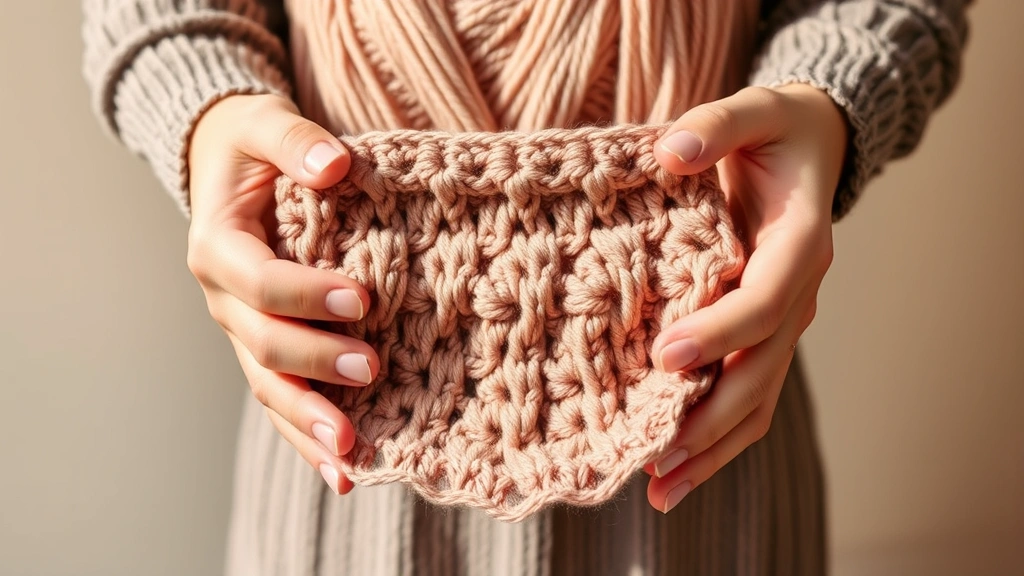
Make a swatch: Crochet a small swatch (at least 4×4 inches) using the hook size and stitch pattern from your project. This tells you so much. Does the yarn feel good in your hands? Does it split easily? Does the stitch definition look like what you want? Does the fabric drape the way you imagined? How does it feel against your skin? Does it itch? After you’ve crocheted the swatch, wash it the way you’d wash the finished project—if it’s going to be machine-washed, machine-wash the swatch. See how it changes. Does it pill? Does it shrink? Does the color hold?
This single step prevents so much heartbreak. I’ve seen people commit 30+ hours to a sweater only to discover the yarn drives them crazy to work with or the finished fabric doesn’t feel good.
Buy a test skein: If you’re considering an expensive yarn, buy just one skein first. You can often find single skeins at yarn shops or online. Crochet with it, wash it, live with it for a few days. Then decide if you want to commit to a whole project. This is especially smart with unfamiliar fiber blends or yarn brands.
Read reviews: Check Ravelry for reviews of specific yarns. Other crocheters will tell you honestly if a yarn is splitty, itchy, pills easily, or holds its shape beautifully. They’ll also tell you if it’s worth the price or if there’s a better alternative.
The reality is that yarn selection is a skill you develop over time. Your first project might teach you that you hate working with fuzzy yarn, or that you love the way cotton feels. Your third project might show you that superwash wool is worth the extra cost. Your tenth project might reveal that you actually prefer acrylic blends for certain applications. This is all valuable information that helps you make better choices as you go.
Yarn selection isn’t something to overthink or feel anxious about. It’s a chance to be intentional about your creative process and think about what you actually want to make and how you want to feel while making it. Start with patterns that specify yarn weight, buy yarn that matches those specifications, do your swatch, and trust yourself. You’ll figure out what works for you, and honestly, that’s half the fun of this craft.
FAQ
Can I substitute yarn weights in patterns?
You can, but you need to adjust your yardage and understand that the finished project will change. Generally, going up or down one weight category requires about 25-30% more or less yardage. Always check the final measurements because fit might be affected, especially with garments. Matching yarn to your pattern carefully is crucial for success.
What’s the difference between superwash and regular wool?
Superwash wool has been treated with a special process that makes it machine-washable without felting. Regular wool requires hand-washing in cool water. If you’re making something for someone who won’t hand-wash it, superwash is the practical choice. The price is usually slightly higher, but it’s worth it for wearables.
How do I know if yarn will feel itchy?
The best way is to touch it in person before buying or test a swatch by washing and wearing it. Some people are sensitive to regular wool but find merino or alpaca soft. Fiber content matters, but so does the individual yarn’s processing. Reading reviews on Ravelry helps because people will mention if a yarn is itchy.
Is expensive yarn always better?
Not necessarily. Expensive yarn is often better for specific applications—a luxury merino sweater might be worth the cost because you’ll wear it constantly and it’ll last forever. But a $3 acrylic skein can produce a beautiful, durable blanket. Match the yarn to the project and your actual needs, not just the price tag.
What should I do if I run out of yarn?
If you’re close to finishing, you might be able to use a similar weight in a complementary color for the last round or two. If you need more in the same yarn, contact the manufacturer about matching dye lots. Some crocheters intentionally blend dye lots by alternating skeins. For future projects, always buy a little extra yarn (usually 10-20% more than the pattern calls for) as insurance.
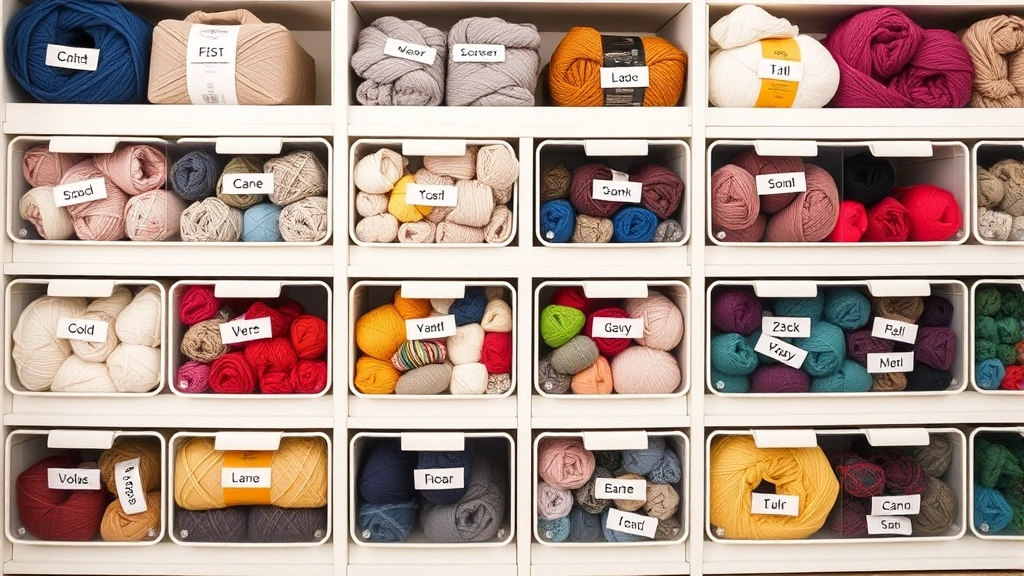
How do I manage yarn stash without it taking over my home?
This is real. Be intentional about what you buy—don’t grab yarn just because it’s pretty unless you have a specific project in mind. Store yarn in clear bins where you can see what you have. Join a crochet guild or community and do stash-busting challenges. Most importantly, give yourself permission to use your yarn. It exists to be crocheted, not to sit in bins forever.